4-68
N60 NETWORK STABILITY AND SYNCHROPHASOR MEASUREMENT SYSTEM – INSTRUCTION MANUAL
FLEXLOGIC DESIGN USING ENGINEER
CHAPTER 4: INTERFACES
4
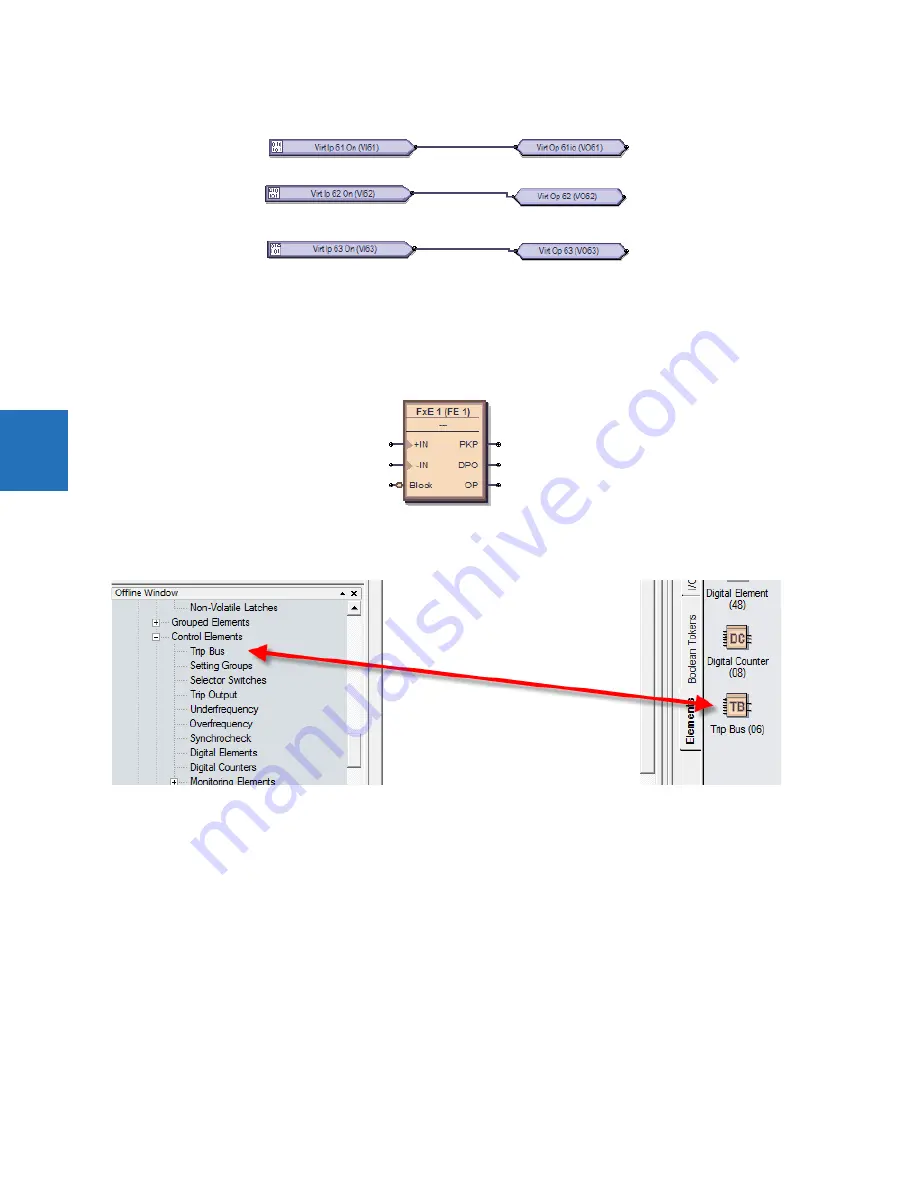
Figure 4-72: Completed inputs and outputs
9.
Add any remaining blocks or information. Right-click a block to copy and paste it. Notes are as follows.
Add a text box — Drawing Tools > Text
Add a FlexElement — Elements > FlexElement. An analog input is expected where a small arrow head shows in the
box.
Figure 4-73: FlexElement accepts analog inputs on left side where arrow heads display
Add an Element —
Elements
tab. Available elements reflect the product, for example the
Control Elements
category.
Figure 4-74: Elements reflect Control Elements
10. Check for any blocks that have a red outline. These are invalid. Fix them before continuing, for example by configuring
them.
11. Compile the logic diagram to check for errors by clicking the
Compile
button at the bottom left or by pressing the
F7
key.
If prompted about a message about sorting, click
Yes
to apply the default (for this example), which can be automatic
sorting based on an algorithm that applies fastest execution time.
With successful compiling, the file is saved and the FlexLogic equations populate automatically. Scroll up through the
compile messages, with the red errors being the only messages that require fixing before proceeding.
The figure shows that we forgot to add the "Io" suffix to the names of virtual outputs 62 and 63, as indicated by
"Warning: Virtual output xx using default name." This warning is a minor warning.
The warning "input using disabled feature" means that input needs to be enabled. Double-click the block, click the
View Associated Screen
button, enable the setting, save, and recompile.
The output and messages are explained in the next section.


