3-11
ă
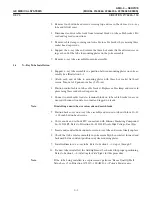
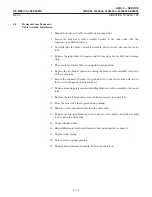
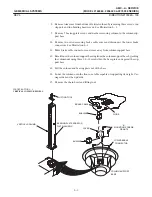
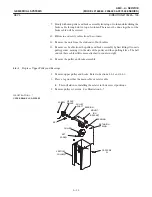
1. Mount thebrakeand cableassembly on theinner tube.
2. Securethebrakeand cableassembly bracket to theinner tubewith two
capscrews. See Illustration 3-6.
3. Carefully slidethebrakeand cableassembly, and theinner tubeinto thecenter
tube.
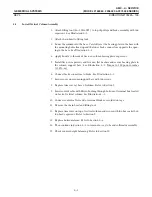
4. Replace the inner shaft, two spacers and two bearings. Secure with two retaining
rings.
5. Place center and inner tubes in an upside down position.
6. Replacethetwo brakecapscrews securing thebrake& cableassembly to therear
of the center tube.
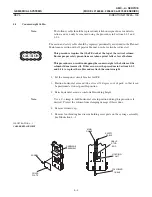
7. Secure the connector bracket and ground wire to the center tube with two or
three screws (depends on unit you have).
8. Replace mounting plate capscrew holding brake and cable assembly to the center
tube.
9. Replace the latch block and secure it with four screws to center tube.
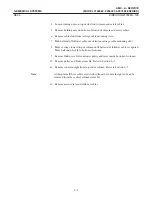
10. Placetheouter tubein an upsidedown position.
11. Slide the center and inner tubes into the outer tube.
12. Replacethetwo stop block capscrews and securethebrakeand cableassembly
to the end of the outer tube.
13. Connect Brake Cable.
14. Extend Horizontal Arm until clearance hole on underside is exposed.
15. Replacecableclamp.
16. Return arm to upright position.
17. Replace horizontal arm assembly. Refer to Section 3-6.
Summary of Contents for AMX 4+
Page 1: ...0 0 1 1 2 2...
Page 2: ......
Page 3: ...D D D D D D D D D D D D D D D D...
Page 4: ...D D D D D D D D...
Page 6: ...iv...
Page 8: ...vi...
Page 14: ...xii...
Page 18: ...xvi...
Page 32: ...1 14...
Page 48: ...3 14...
Page 84: ...5 10...
Page 106: ...7 12...
Page 112: ...8 6...
Page 116: ...9 4...
Page 131: ......
Page 132: ...3 2 2 1 0 3 5 0 2 0 4 0 2...


