4-7
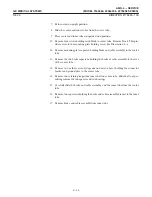
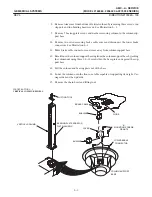
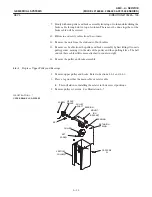
8. Remove old safety cable from column.
9. Push new safety cable stud end through top of column over top of upper pulley.
10. Push ball end into counterweight slot.
11. Install cable retainer clip.
12. Install trim weights.
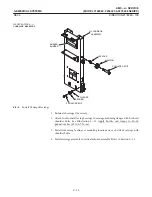
13. Thread new safety cable through back of carriage.
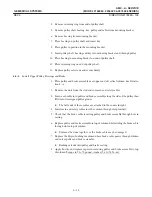
14. Raise vertical arm to comfortable working height.
15. Apply Loctite to threads of cable stud. Install jam nut on cable stud.
16. Install cable stud through carriage horizontal strut and install holding nut.
17. Set cable tension in accordance with Section 4Ć3Ć4. Tighten cable jam nut.
Do not allow cables to twist while setting tension.
Reassemble Unit
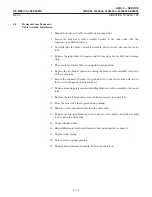
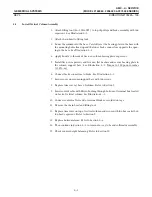
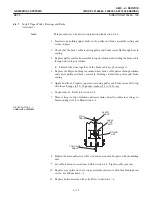
1. Replace carriage access plate and four binding head screws.
2. Install column cap.
3. Move horizontal arm through full range of motion, ensuring that it moves
smoothly with equal force throughout its range. Ensure that both cables run
smoothly through upper pulley.
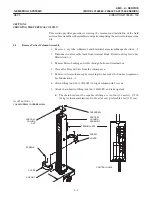
Vertical Column Cable Tension
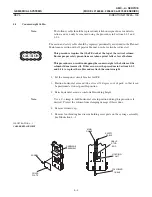
Tension in the vertical column cables can be measured two ways: when the column is
horizontal (as when replacing the counterweight) or vertical (as when replacing the
main and safety cables). Table 4-1 lists the tension values required for the different
attitudes.
TABLE 4-1
COLUMN ATTITUDE
CABLE TENSION
COLUMN ATTITUDE
MAIN
SAFETY
FOLLOWER
HORIZONTAL
60 LB (27 KG)
5–10 LB (2.3–4.5 KG)
N/A
VERTICAL
N/A
N/A
10–15 LB (4.5–6.8 KG)
N/A – Not applicable; value not measured
Summary of Contents for AMX 4+
Page 1: ...0 0 1 1 2 2...
Page 2: ......
Page 3: ...D D D D D D D D D D D D D D D D...
Page 4: ...D D D D D D D D...
Page 6: ...iv...
Page 8: ...vi...
Page 14: ...xii...
Page 18: ...xvi...
Page 32: ...1 14...
Page 48: ...3 14...
Page 84: ...5 10...
Page 106: ...7 12...
Page 112: ...8 6...
Page 116: ...9 4...
Page 131: ......
Page 132: ...3 2 2 1 0 3 5 0 2 0 4 0 2...


