5.
NOTICE:
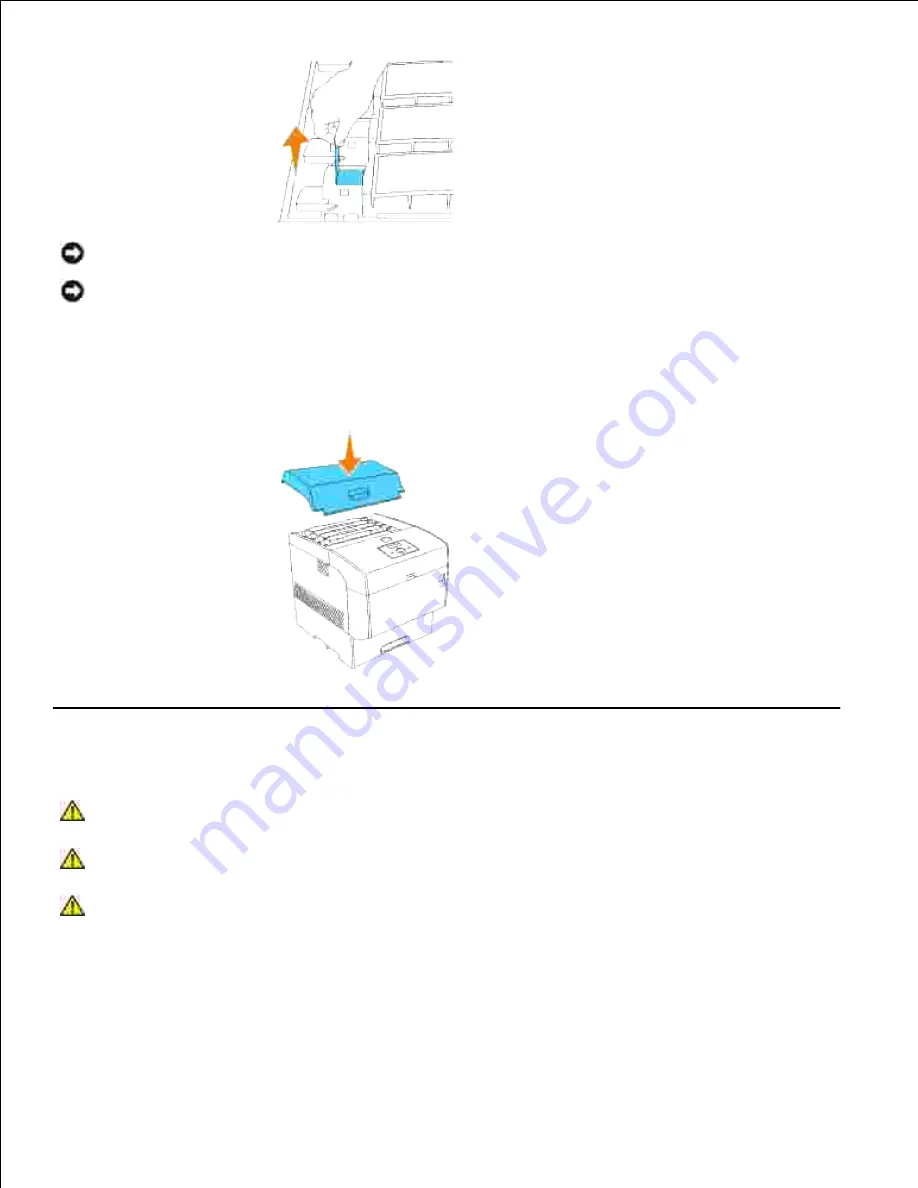
Pull the toner seal straight up. Pulling the toner seal diagonally may tear the seal.
NOTICE:
If it takes more than five seconds until you remove the toner seal after inserting the toner
cartridge in the printer, an error message may appear. In this case, perform step 4 again, or turn the
printer off once and then on again.
Replace the top cover by inserting its front side into the printer first.
6.
Replacing the Transfer Roller
CAUTION:
Before performing any of the following procedures, read and follow the safety
instructions in your
Owner's Manual
.
CAUTION:
Never throw a used transfer roller into a fire. It could explode resulting in burns
and injuries.
CAUTION:
Do not touch the edge of the plate at the upper side of the transfer roller
because it is sharp.
Dell transfer rollers are available only through Dell. You can order more online at
www.dell.com/supplies
or by phone. To order by phone, see your
Owner's Manual
.
Dell recommends Dell transfer roller for your printer. Dell does not provide warranty coverage for problems
caused by using accessories, parts, or components not supplied by Dell.
Summary of Contents for 5110cn - Color Laser Printer
Page 4: ......
Page 57: ......
Page 62: ......
Page 109: ......
Page 129: ...Transparency 36mm or 25 sheets Label 36mm Envelope 36mm ...
Page 211: ...5 Close the front cover 6 Insert the tray into the printer and push until it stops 7 ...
Page 223: ...Insert the trays into the printer Push the trays in until they stop 6 ...
Page 282: ...Close the top cover 4 Close the front cover 5 How to install the Toner Cartridge 1 ...
Page 293: ...Close the front cover 8 Turn on the printer 9 ...
Page 339: ...Reattach the paper tray cover to the back of the printer 9 ...


