Remove the top and bottom sheets of a ream before loading the print
media.
Load a print media source only when it is empty.
Envelope misfeeds or multiple
feeds occur.
Remove the stack of envelopes from the multipurpose feeder.
Page breaks in unexpected
places.
Check the
Time-Out
in the
System Settings
menu. Increase the setting.
Job prints from the wrong
source or on the wrong print
media.
Check the
Paper Type
in the
Tray Settings
menu on the printer
operator panel and in the printer driver.
Print media does not stack
neatly in the output bin.
Turn the print media stack over in the tray or multipurpose feeder.
Printer does not duplex pages.
Make sure
2 Sided
is selected in both the
PCL (
Printer Control
Language
)
menu on the printer operator panel and in the printer driver.
Make sure you have enough printer memory installed.
Print Quality Problems
Problem
Action
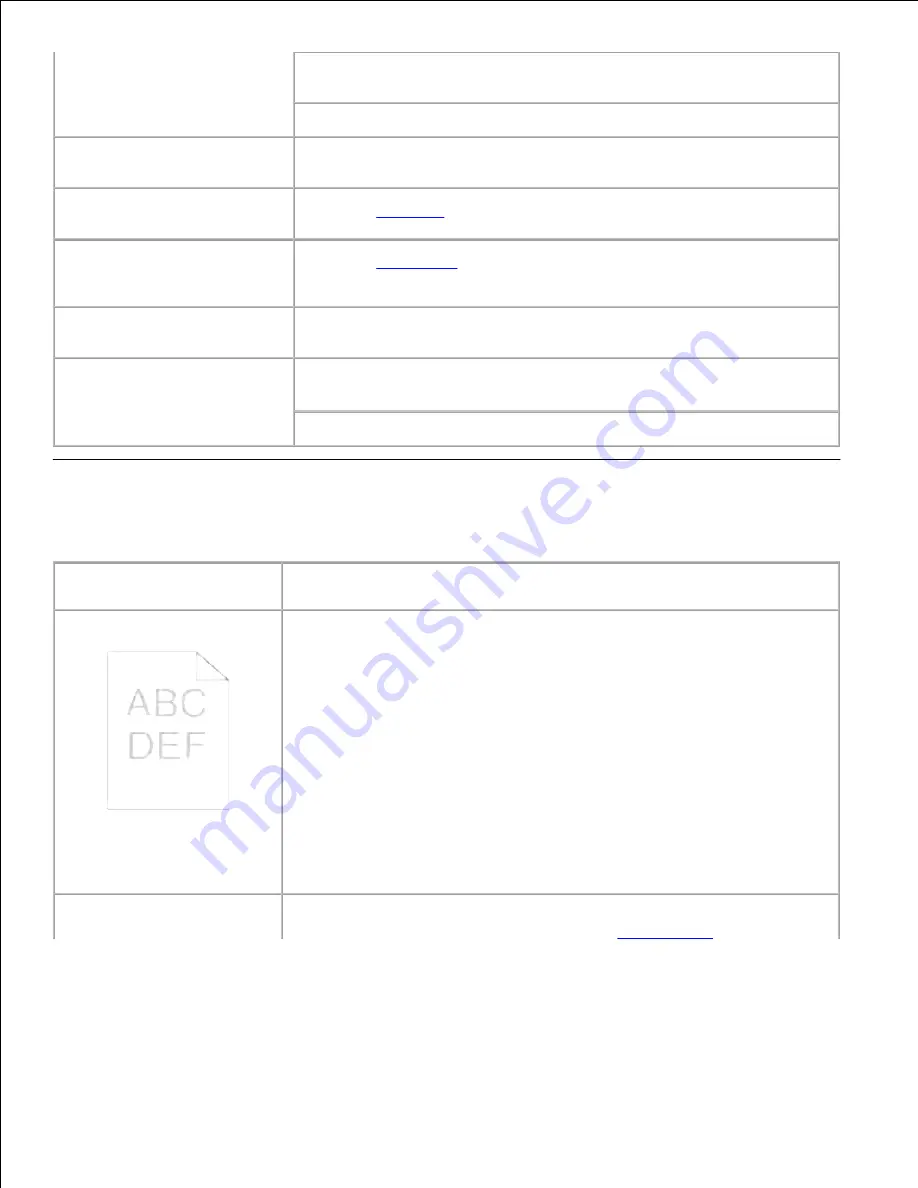
Print is too light.
· The toner may be low. Confirm the amount of the toner and change the
toner cartridges if necessary.
· Set the
Toner Saving Mode
check box to off in the
Advanced
tab in the
printer driver.
· If you are printing on an uneven print surface, change the
Paper Type
settings in the
Tray Settings
menu. See "Tray Settings."
· Verify that the correct print media is being used.
· The imaging drum may need to be replaced. Change the imaging drum.
· The developer is damaged. Contact Dell. See "Contacting Dell" in the
Owner's Manual.
· The transfer roller may need to be replaced. Contact Dell. See
"Contacting Dell" in the
Owner's Manual.
· The drive assembly developer is damaged. Contact Dell. See "Contacting
Dell" in the
Owner's Manual.
Toner smears or print comes
off page.
· If you are printing on an uneven print surface, change the
Paper Type
settings in the
Tray Settings
menu. See "
Tray Settings
."
Summary of Contents for 5110cn - Color Laser Printer
Page 4: ......
Page 57: ......
Page 62: ......
Page 109: ......
Page 129: ...Transparency 36mm or 25 sheets Label 36mm Envelope 36mm ...
Page 211: ...5 Close the front cover 6 Insert the tray into the printer and push until it stops 7 ...
Page 223: ...Insert the trays into the printer Push the trays in until they stop 6 ...
Page 282: ...Close the top cover 4 Close the front cover 5 How to install the Toner Cartridge 1 ...
Page 293: ...Close the front cover 8 Turn on the printer 9 ...
Page 339: ...Reattach the paper tray cover to the back of the printer 9 ...


