6/ Repair Procedures
6-12
1503-0151-000
5/26/0
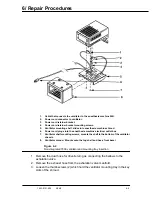
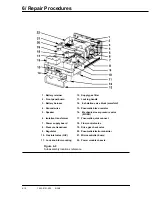
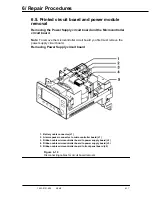
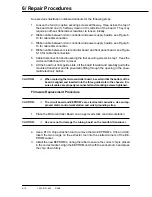
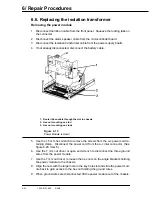
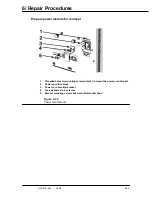
If removing the power supply board or the microcontroller board, remove the fol-
lowing connectors; see illustration numbered callouts that correspond to the follow-
ing steps.
1. Disconnect the battery cable connector (J1) from the power supply board.
Connector has lock tabs.
2. Disconnect the ribbon cable connector (J2) between the microcontroller board
and the power supply board. Note the connector has lock tabs. Squeeze to re-
lease.
3. Disconnect the second ribbon cable connector (J3) between the micro control-
ler board and the power supply board.
4. Disconnect the ribbon cable connector (J5) between the microcontroller board
and the front panel circuit board. Connector has lock tabs. Note the routing of
this cable through the slot in the chassis.
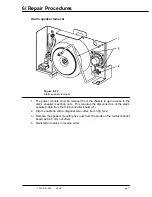
5. Disconnect the cable connector (J1) from the alarm speaker to the microcon-
troller board.
6. Not shown. Disconnect the cable connector (J4) from the isolation transformer
to the power supply board.
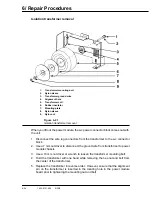
7. Completely loosen the two (2) captive securing screws at the top two corners
of the board. It may require an off-set, flat-blade screwdriver to loosen initially.
8. Use the 7 mm nut driver to loosen the hex nuts on the bottom angle mount of
the board. It is not necessary to take the nuts completely off. The chassis
studs are in key-hole slots, slide the board back and lift it off and out of the
chassis.
Summary of Contents for Aestiva 7900 SmartVent
Page 2: ...1503 0151 000 3 27 97 ...
Page 4: ...1503 0151 000 3 27 97 ...
Page 12: ...Notes viii 1503 0151 000 3 27 97 ...
Page 18: ...1 Introduction 1 6 1503 0151 000 5 26 0 Notes ...
Page 44: ...2 Theory of Operation 2 26 1503 0151 000 3 27 97 Notes ...
Page 46: ...3 Post Service Checkout 3 2 1503 0151 000 5 26 0 Notes ...

