


User’s Manual
66
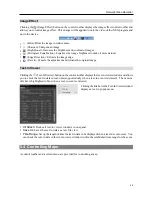
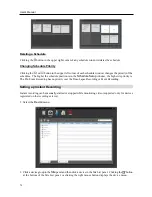
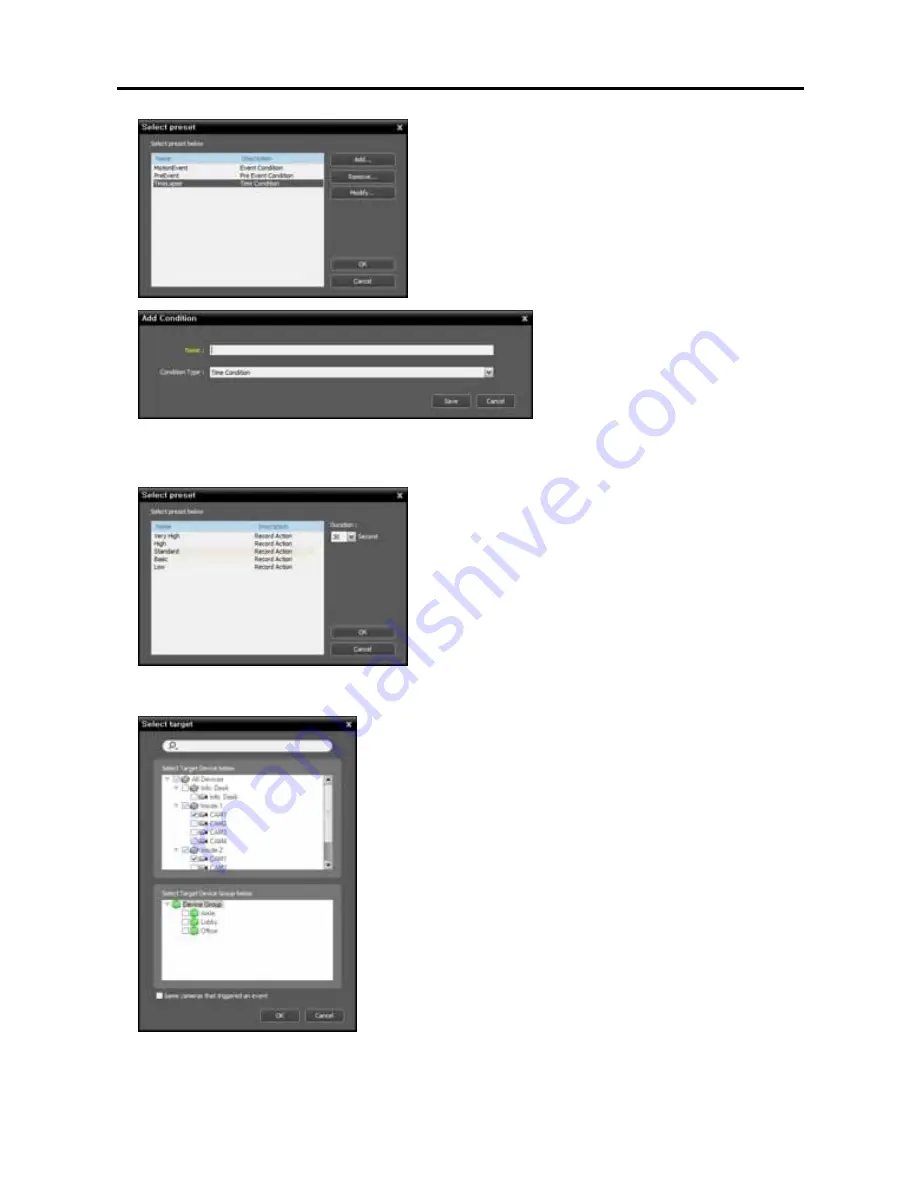
You can add a new Preset or edit a saved Preset by clicking
the
Add
or
Modify
button. Clicking the
Add
or
Modify
button displays the following setup screen.
Enter the Preset name and select
Time
Condition
from the
Condition Type
list.
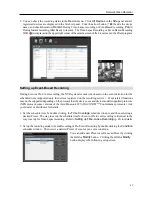
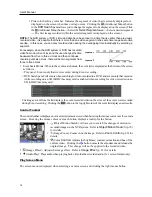
3.
Double click the
Action
schedule window and select the desired Preset (supported only for devices which
use the iNEX protocol).
A stream to use for recording (network cameras only) or a
codec, resolution, frame rate and quality setting values
(network video transmitters only) are allocated to each Preset.
The stream or setting values allocated to each Preset is
different depending on the device. Refer to
12.2
Managing Devices, Editing Device Information
(p. 104)
for details.
Duration
: This is not supported for time-lapse recording.
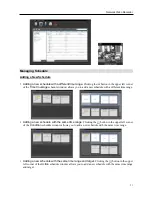
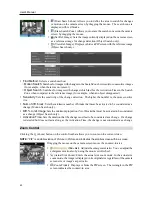
4.
Select the cameras to be recorded after double clicking the
Target
schedule window.
Select cameras from the device list to record video or select device
groups from the device group list. The
Same cameras that
triggered an event
option is not supported during Time-Lapse
recording.
Summary of Contents for CRINEXSN04-2TB
Page 1: ......
Page 2: ......
Page 8: ...User s Manual vi Troubleshooting 160 Specification 161 Index 163 ...
Page 18: ...User s Manual 10 ...
Page 32: ...User s Manual 24 ...
Page 54: ...User s Manual 46 ...
Page 70: ...User s Manual 62 ...
Page 82: ...User s Manual 74 ...
Page 94: ...User s Manual 86 ...
Page 102: ...User s Manual 94 ...
Page 142: ...User s Manual 134 ...
Page 164: ...User s Manual 156 ...
Page 170: ...User s Manual 162 ...


