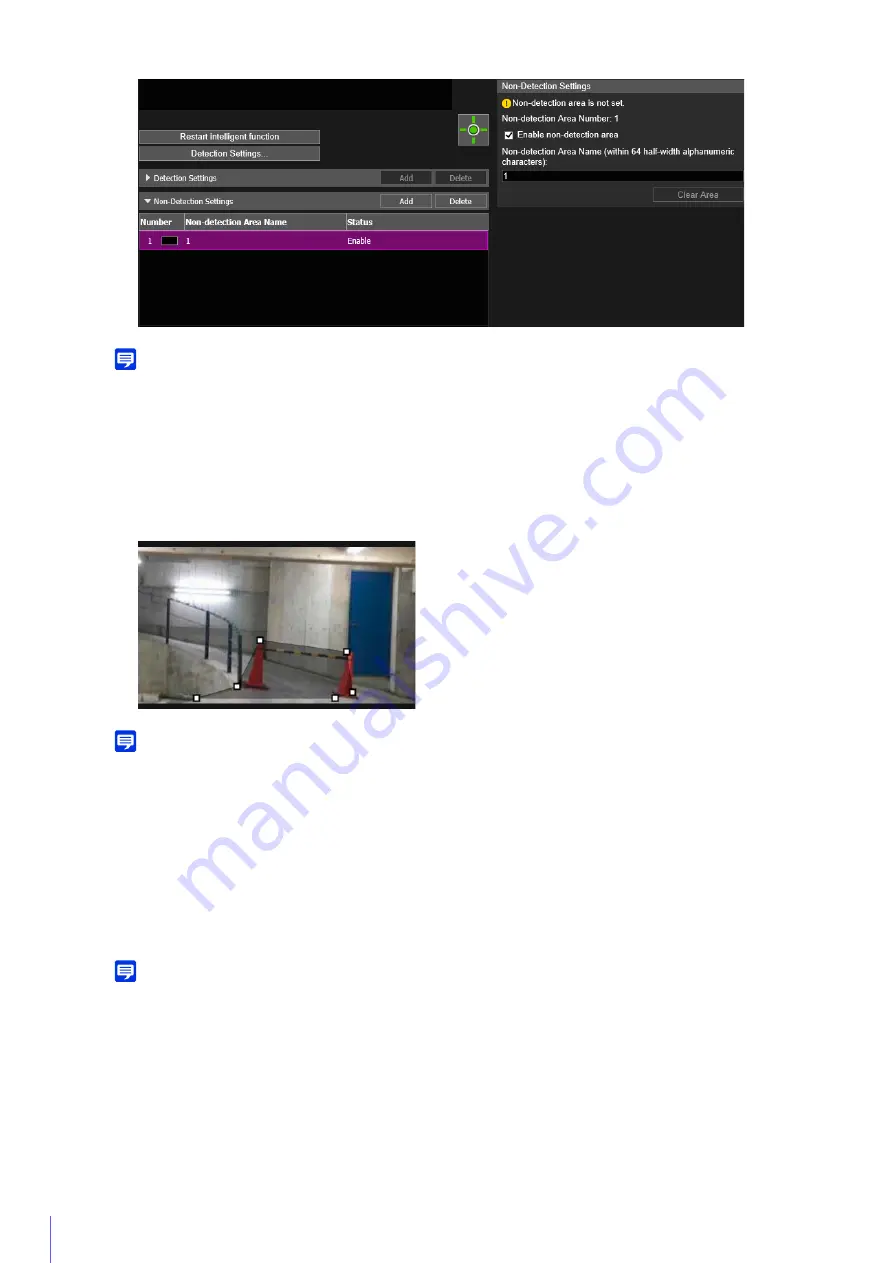
118
Note
• Up to five non-detection area settings can be registered.
• To disable non-detection area settings, clear the [Enable non-detection area] checkbox.
• To delete non-detection area settings, select the non-detection area settings to delete and click [Delete] in Non-detection Area
Settings (List).
Click the mouse to create a polygon. For information on the creation method, please refer to “Using [Polygonal]”
Note
• You can create a polygonal area with a maximum of 32 vertices. You cannot set a non-detection area with only a straight line.
• Click [Clear Area] to set the non-detection area again.
• Enter [Non-detection Area Name (within 64 half-width alphanumeric characters)] as necessary.
• The non-detection area is shown in the video display area in black. The display color cannot be selected.
The settings are saved in the camera.
Note
Click [Clear] to discard the settings and restore the settings saved in the camera. However, note that non-detection areas only
added to the non-detection areas by clicking [Add] are all discarded.
The status of the specified non-detection settings can be checked in the video display area and the [Status]
column in [Non-Detection Settings].
If the [Enable non-detection area] checkbox is cleared, [Disable] is displayed for the [Status] column in [Non-
Detection Settings], and the non-detection area is not shown in the video display area.
3
Set a non-detection area in the video display area.
4
To register multiple non-detection areas, repeat steps 2 and 3.
5
Click [Apply].
6
Check the detection result.


