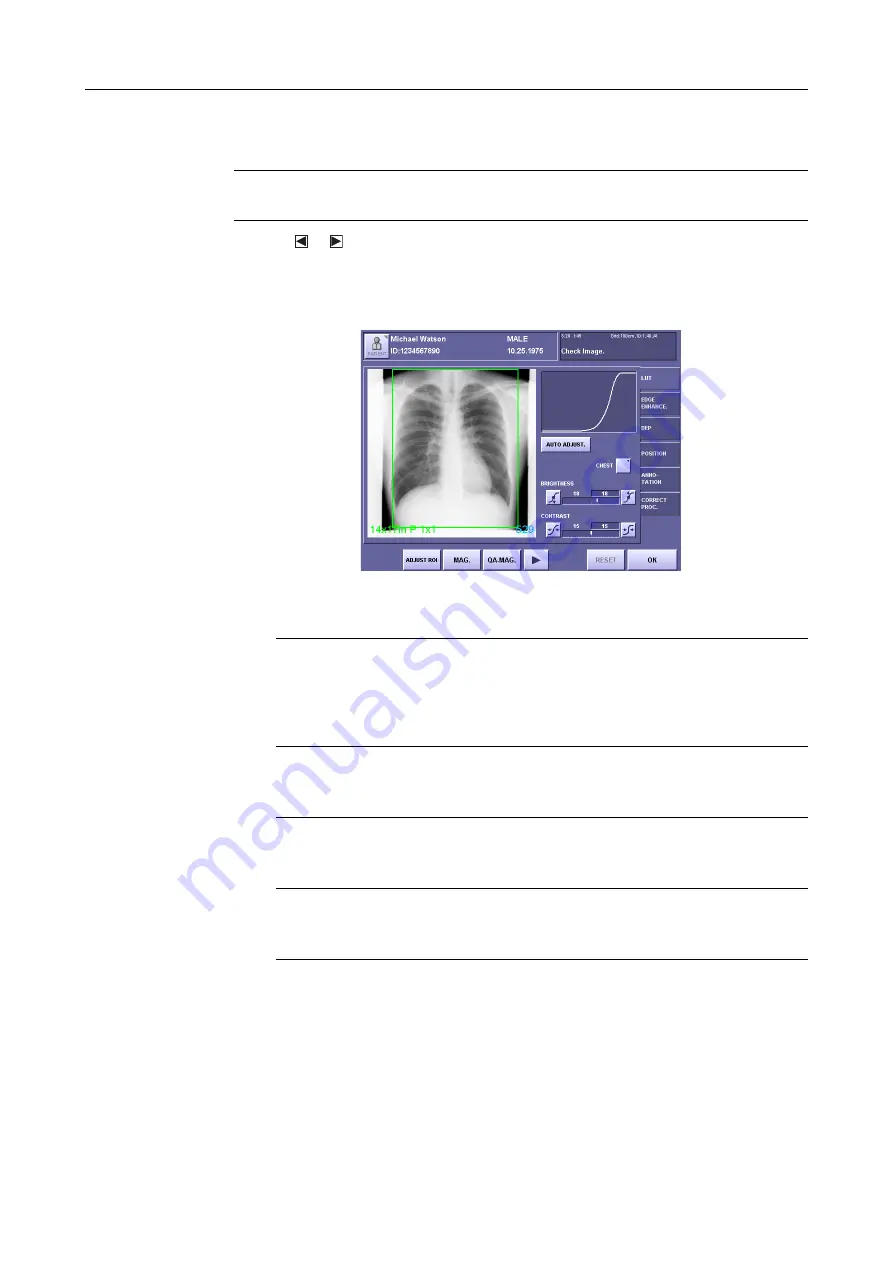
7. Processing the Image (QA Mode Screen)
– 66 –
7.2 Operations Available on QA Screen
NOTE:
After performing QA processing and touching [OK]
to
exit the QA screen, it
may not be possible to return to parameters even after touching [RESET].
Touching or at the bottom of the QA screen switches the display options at the bottom
between the commands
[RESET]
and
[OK]
and the commands
[OPTION]
,
[SAVE PARAM]
,
Frequency Processing (
[Standard Frequency Processing]
,
[MLT(F) Frequency
Processing]
,
[MLT(M) Frequency Processing]
, and
[MLT(S) Frequency Processing]
).
LUT Tab
To set the image processing parameters
Touch the tabs to set the parameters.
The parameters cannot be changed for images loaded from external storage media in the
study list.
To adjust the trimming area or density adjustment area (
→
Touch
[Adjust TRIM]/[Adjust ROI]
to select the range.
To display a magnified image (
→
Touch
[MAG]
or
[QA-MAG]
.
To adjust the gamma correction of the operation unit (
→
Touch
[OPTION]
To return the parameters to their original values
Touch
[RESET]
.
Summary of Contents for CXDI-1
Page 9: ...Starting Up Shutting Down 1 Starting Up Shutting Down the CXDI ...
Page 15: ...Exposure and Output 2 Taking an Image 3 Output Control Process Viewer ...
Page 38: ...2 Taking an Image 30 ...
Page 60: ...5 Viewing Multiple Images Multi View Screen 52 ...
Page 70: ...6 Browsing Completed Studies Study List 62 ...
Page 71: ...Processing the Image 7 Processing the Image QA Mode Screen ...
Page 103: ...CXDI Adjustment 8 Calibration 9 Self test ...
Page 110: ...8 Calibration 102 ...
Page 116: ...9 Self test 108 ...
Page 117: ...Troubleshooting 10 Before Calling a Service Engineer 11 Questions and Answers ...
Page 136: ...11 Questions and Answers 128 ...
Page 156: ...B Using the Rejection Reason Input Function 148 ...
Page 162: ...C Using the Sensor Unit Attach Detach Function 154 ...
Page 169: ......


