7. Processing the Image (QA Mode Screen)
– 74 –
3
Set the REX.
Touch or to select a setting from
1 to 16383
.
Or, touch the frame and enter the value from the ten key window.
The larger the number, the lighter the entire image. The smaller the number, the darker
the entire image.
BONE #2
The low density area can be seen almost the same as in BONE
#1. However, soft tissue in a high density area can be observed
more clearly.
CHEST #2
This is the version of the CHEST gray scale curve that
supports high contrast.
BONE #3
This is the version of the BONE #1 gray scale curve that
supports high contrast.
BONE #4
This is the version of the BONE #2 gray scale curve that
supports high contrast.
REX usage examples
To observe over time a patient whose image has been taken before, take the image
using the same exposure conditions, contrast, and gray scale curve as before.
You can also observe under the same conditions by setting the gray scale to REX
ADJUST. and setting the REX to the same value as before.
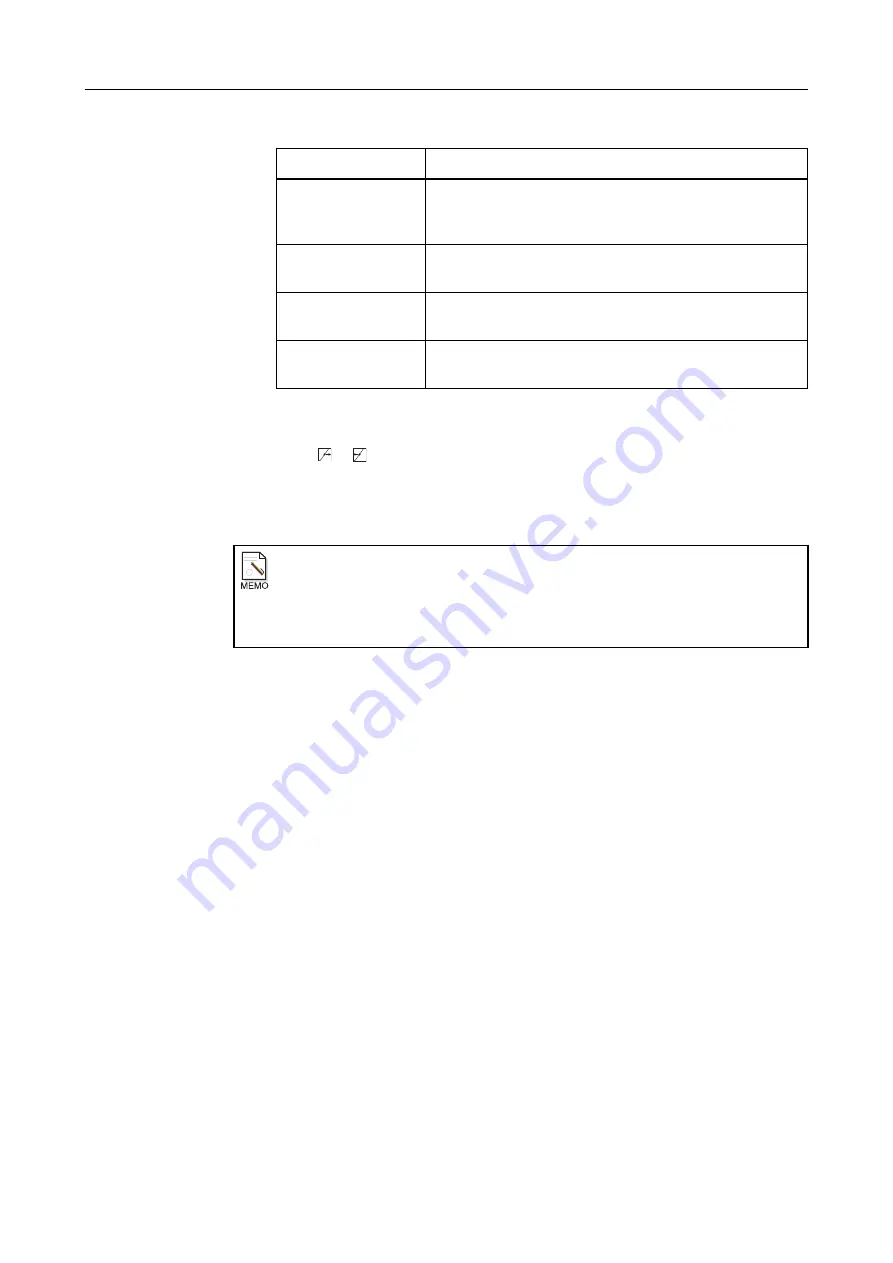
Table 7.4.2: Gray scale Curves and Their Characteristics
Name
Features
Summary of Contents for CXDI-1
Page 9: ...Starting Up Shutting Down 1 Starting Up Shutting Down the CXDI ...
Page 15: ...Exposure and Output 2 Taking an Image 3 Output Control Process Viewer ...
Page 38: ...2 Taking an Image 30 ...
Page 60: ...5 Viewing Multiple Images Multi View Screen 52 ...
Page 70: ...6 Browsing Completed Studies Study List 62 ...
Page 71: ...Processing the Image 7 Processing the Image QA Mode Screen ...
Page 103: ...CXDI Adjustment 8 Calibration 9 Self test ...
Page 110: ...8 Calibration 102 ...
Page 116: ...9 Self test 108 ...
Page 117: ...Troubleshooting 10 Before Calling a Service Engineer 11 Questions and Answers ...
Page 136: ...11 Questions and Answers 128 ...
Page 156: ...B Using the Rejection Reason Input Function 148 ...
Page 162: ...C Using the Sensor Unit Attach Detach Function 154 ...
Page 169: ......


