CHAPTER 3 PROGRAMMING WITH ICONS
PD-3000
75
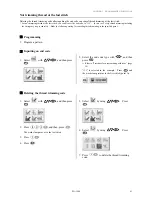
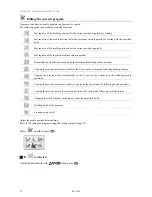
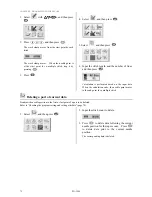
1. Adjust the needle position with
to the
first point of a part for which low-speed sewing
is set.
2. Select
, and then press
.
3. Select an option of low-speed sewing with
.
4. Press
.
5. Press
.
6. Adjust the needle position with
to a
point at which setting of low-speed sewing is
canceled.
7. Press
.
8. Select a low-speed sewing code as in step 2, and
then press
.
9. Select Low-speed 0 with
.
10. Press
.
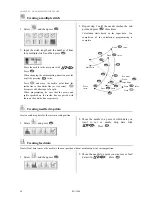
Creating split data
Specify breakpoints for sewing a series of different patterns.
For details, refer to "Programming different patterns by splitting each in sequence" (page 39).
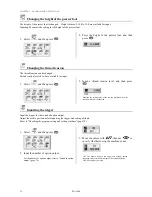
1. Select
, and then press
.
2. Use
to specify whether to stop the
needle at the lower end or not, and then press
.
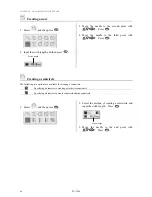
Basting
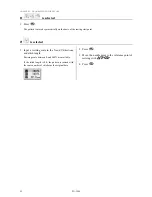
Basting can be input.
1. Select
, and then press
.
2. Use
to select ON/OFF, and then press
.
ON: The needle stops at the lower end.
Thread breakage is not carried out.
OFF: The needle stops at the upper end.
Thread breakage is carried out.
Summary of Contents for PD-3000
Page 8: ...PD 3000 ...
Page 9: ...PD 3000 Chapter 1 Read Me ...
Page 12: ...CHAPTER 1 READ ME 4 PD 3000 ...
Page 13: ...PD 3000 Chapter 2 Setting Up Your Programmer ...
Page 28: ...CHAPTER 2 SETTING UP YOUR PROGRAMMER 20 PD 3000 ...
Page 29: ...PD 3000 Chapter 3 Programming with Icons ...
Page 95: ...PD 3000 Chapter 4 Programming with Commands ...
Page 152: ...CHAPTER 4 PROGRAMMING WITH COMMANDS 144 PD 3000 ...
Page 153: ...PD 3000 Chapter 5 Extended Option Output ...
Page 181: ...PD 3000 Chapter 6 Reading Saving Deleting Program and Formatting Media ...
Page 190: ...CHAPTER6 READING SAVING DELETING PROGRAM AND FORMATTING MEDIA 182 PD 3000 ...
Page 191: ...Chapter 7 Checking Copying Moving Changing Program ...
Page 199: ...PD 3000 Chapter 8 Displaying Sewing Machine Program ...
Page 201: ...PD 3000 Chapter 9 Displaying a Clock ...
Page 204: ...CHAPTER 9 DISPLAY A CLOCK 196 PD 3000 ...
Page 205: ...PD 3000 Additional Information ...

