CHAPTER 4 PROGRAMMING WITH COMMANDS
PD-3000
125
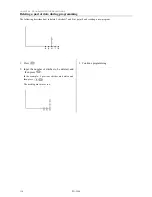
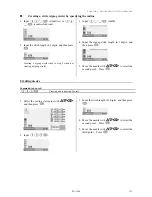
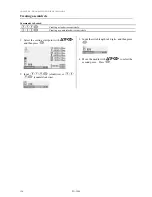
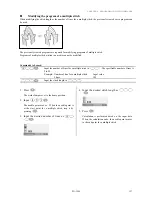
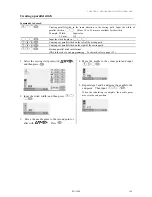
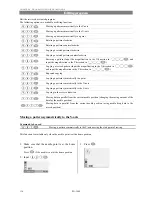
Creating a zigzag stitch
Commands to be used
Creating a zigzag width. Input the zigzag width in
See “
Creating a circle
”
(page
121)
Creating a zigzag width. Input the zigzag stitch length in
See “
Creating a circle
”
(page
121)
Carrying out zigzag stitch symmetrically to the sewing path
Carrying out zigzag stitch on the left of the sewing path
Carrying out zigzag stitch on the right of the sewing path
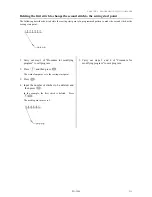
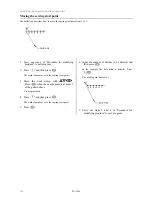
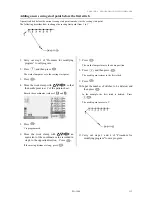
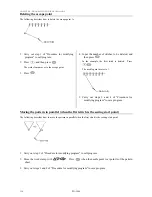
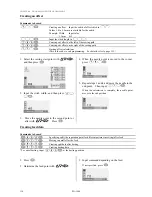
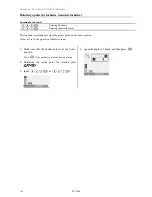
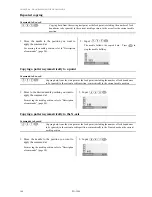
1. Select the sewing start point with
,
and then press
.
2. Input
(width).
3. Input the zigzag stitch length in 3 digits, and
then press
.
4. Move the needle with
to select the
second point. Press
.
5. Input
at the end position of
the needle.
Input
for creating on the left of
the sewing path and
for creating on
the right of the sewing path.
Summary of Contents for PD-3000
Page 8: ...PD 3000 ...
Page 9: ...PD 3000 Chapter 1 Read Me ...
Page 12: ...CHAPTER 1 READ ME 4 PD 3000 ...
Page 13: ...PD 3000 Chapter 2 Setting Up Your Programmer ...
Page 28: ...CHAPTER 2 SETTING UP YOUR PROGRAMMER 20 PD 3000 ...
Page 29: ...PD 3000 Chapter 3 Programming with Icons ...
Page 95: ...PD 3000 Chapter 4 Programming with Commands ...
Page 152: ...CHAPTER 4 PROGRAMMING WITH COMMANDS 144 PD 3000 ...
Page 153: ...PD 3000 Chapter 5 Extended Option Output ...
Page 181: ...PD 3000 Chapter 6 Reading Saving Deleting Program and Formatting Media ...
Page 190: ...CHAPTER6 READING SAVING DELETING PROGRAM AND FORMATTING MEDIA 182 PD 3000 ...
Page 191: ...Chapter 7 Checking Copying Moving Changing Program ...
Page 199: ...PD 3000 Chapter 8 Displaying Sewing Machine Program ...
Page 201: ...PD 3000 Chapter 9 Displaying a Clock ...
Page 204: ...CHAPTER 9 DISPLAY A CLOCK 196 PD 3000 ...
Page 205: ...PD 3000 Additional Information ...

