CHAPTER 4 PROGRAMMING WITH COMMANDS
PD-3000
121
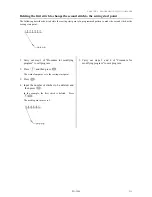
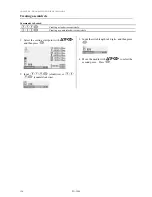
Creating a curve
Commands to be used
Input the stitch length in
.
Example:
Pitch
Input
value
0.5
mm
005
12.0
mm
120
This command represents completing creation of a curve.
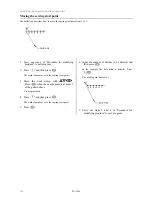
Increase the number of plotting points to create a smoother curve. One to 99 points are available for plotting.
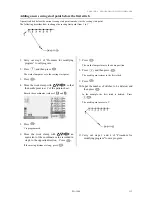
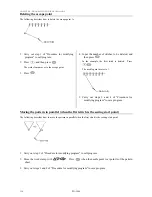
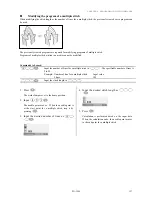
1. Select the sewing start point with
,
and then press
.
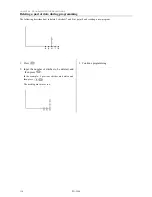
2. Input the stitch length in 3 digits, and then press
.
3. Move the needle with
. Press
.
4. When the needle point is moved to the end
point, press
.
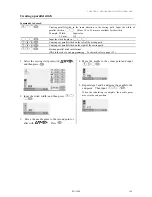
Creating a circle
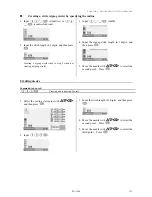
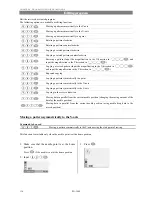
The following five commands are available for creating a circle
Creating a circle by specifying 3 points on the circumference (Input the overlap stitch counts
in
.)
Specifying a diameter to create a clockwise circle (Input the overlap stitch counts in
.)
Specifying a diameter to create a counterclockwise circle (Input the overlap stitch counts in
.)
Specifying a radius to create a clockwise circle (Input the overlap stitch counts in
.)
Specifying a radius to create a counterclockwise circle (Input the overlap stitch counts in
.)
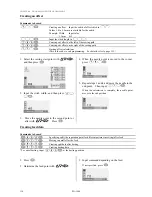
Input the following command to create a zigzag circle.
Input this command to create a zigzag circle. Input the zigzag width in
.
The zigzag width can be specified from 1.0 to 25.5 mm. To specify the width of 10.0 mm
or more, input
and input the width in 3 digits, then press
.
Example: Zigzag width
Input value
3.5mm
18.0mm
Input this command to create a zigzag circle.
Input the zigzag stitch length in
.
Example: Pitch
Input value
0.5mm
005
12.0mm
120
Summary of Contents for PD-3000
Page 8: ...PD 3000 ...
Page 9: ...PD 3000 Chapter 1 Read Me ...
Page 12: ...CHAPTER 1 READ ME 4 PD 3000 ...
Page 13: ...PD 3000 Chapter 2 Setting Up Your Programmer ...
Page 28: ...CHAPTER 2 SETTING UP YOUR PROGRAMMER 20 PD 3000 ...
Page 29: ...PD 3000 Chapter 3 Programming with Icons ...
Page 95: ...PD 3000 Chapter 4 Programming with Commands ...
Page 152: ...CHAPTER 4 PROGRAMMING WITH COMMANDS 144 PD 3000 ...
Page 153: ...PD 3000 Chapter 5 Extended Option Output ...
Page 181: ...PD 3000 Chapter 6 Reading Saving Deleting Program and Formatting Media ...
Page 190: ...CHAPTER6 READING SAVING DELETING PROGRAM AND FORMATTING MEDIA 182 PD 3000 ...
Page 191: ...Chapter 7 Checking Copying Moving Changing Program ...
Page 199: ...PD 3000 Chapter 8 Displaying Sewing Machine Program ...
Page 201: ...PD 3000 Chapter 9 Displaying a Clock ...
Page 204: ...CHAPTER 9 DISPLAY A CLOCK 196 PD 3000 ...
Page 205: ...PD 3000 Additional Information ...

