76
Ch. 4 Using Labels and Stamps
Using Labels and Stamps
●
●
●
●
●
●
●
●
●
●
●
●
●
●
●
●
●
●
●
●
●
●
●
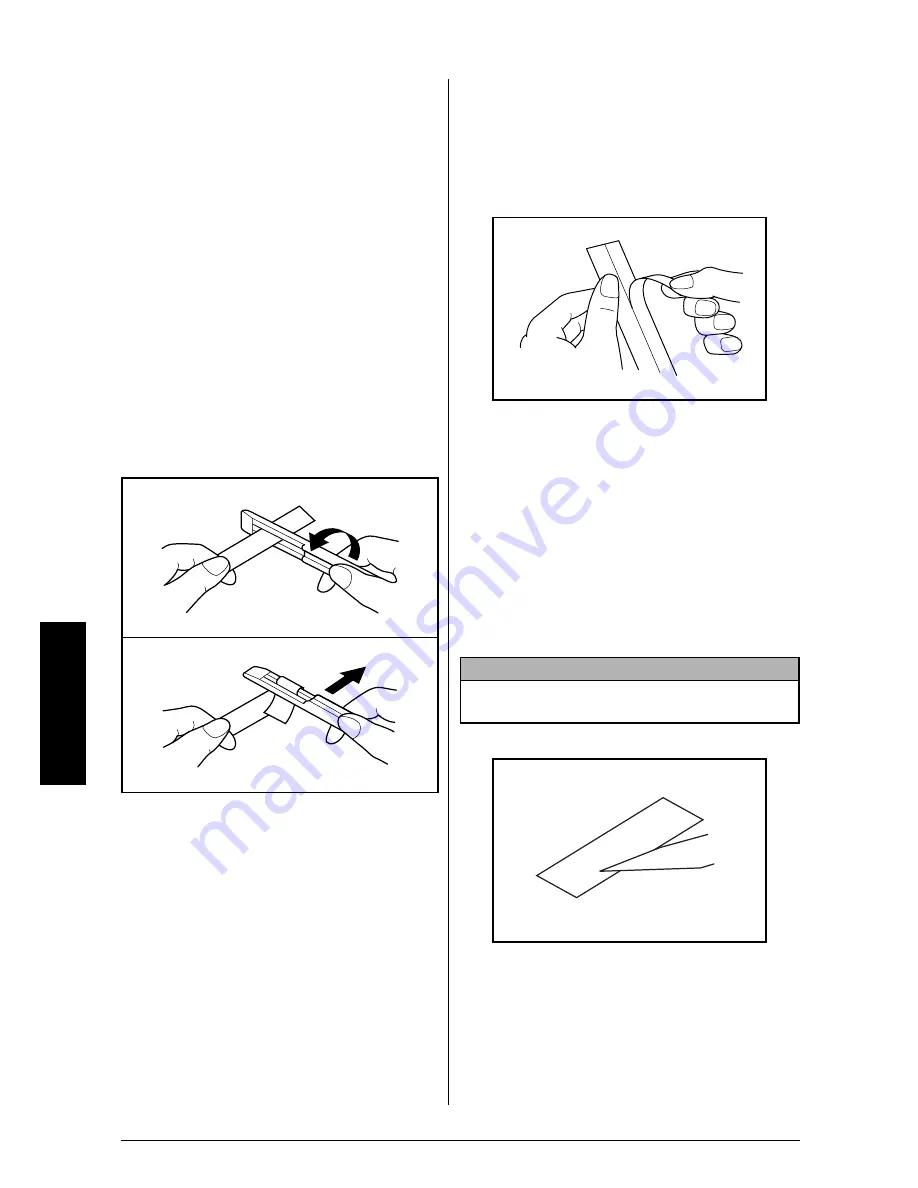
Laminated tape
The backing from labels printed on laminated
tapes can easily be removed if a half cut setting
was used (refer to page 70). However, if a half
cut setting was not used, the backing paper can
be removed by using the enclosed lettering
stick.
1
Hold the tape in your left hand, with the
printed surface facing up, and hold the let-
tering stick in your right hand.
2
Pass the tape halfway through the long nar-
row hole in the stick.
3
Turn the stick three quarters of a turn
towards you and pull the stick away from
you as shown below.
4
Peel off the label backing.
●
●
●
●
●
●
●
●
●
●
●
●
●
●
●
●
●
●
●
●
●
●
●
Non-laminated tape
5
Slightly fold labels printed on non-lami-
nated tape in half so that the inside edges of
the two backing pieces come off the label,
enabling them to be peeled off easily.
●
●
●
●
●
●
●
●
●
●
●
●
●
●
●
●
●
●
●
●
●
●
●
Instant-lettering tape
By printing your text on instant-lettering tape
(rub-on transfers), you can transfer the text
directly onto a sheet of paper.
1
Place the label with its printed side facing
down on the paper.
2
Rub the label’s non-printed side with the
enclosed lettering stick.
GH
ABCDEF
ABCDEF
NOTE
☞
Hold the label very firmly so that it does not
move while you transfer the text.
A
B
C
Summary of Contents for P-touch 9400
Page 3: ......
Page 10: ...1 Ch 1 Before You Start Before You Start Chapter 1 Before You Start ...
Page 16: ...7 Ch 2 Getting Started Getting Started Chapter 2 Getting Started ...
Page 31: ...22 Ch 2 Getting Started Getting Started ...
Page 32: ...23 Ch 3 Functions Functions Chapter 3 Functions ...
Page 84: ...75 Ch 4 Using Labels and Stamps Using Labels and Stamps Chapter 4 Using Labels and Stamps ...
Page 101: ...92 MACHINE SPECIFICATIONS ...
Page 102: ...93 Appendix Appendix Appendix ...
Page 125: ...116 ...
Page 126: ...Printed in Japan UT1533001 A ...


