19
Ch. 2 Getting Started
Getting Star
ted
9
Check that the layout contains the text that
you want to use.
0
Click the Finish button. A new layout docu-
ment containing the pre-formatted text is
created.
On a Macintosh computer:
1
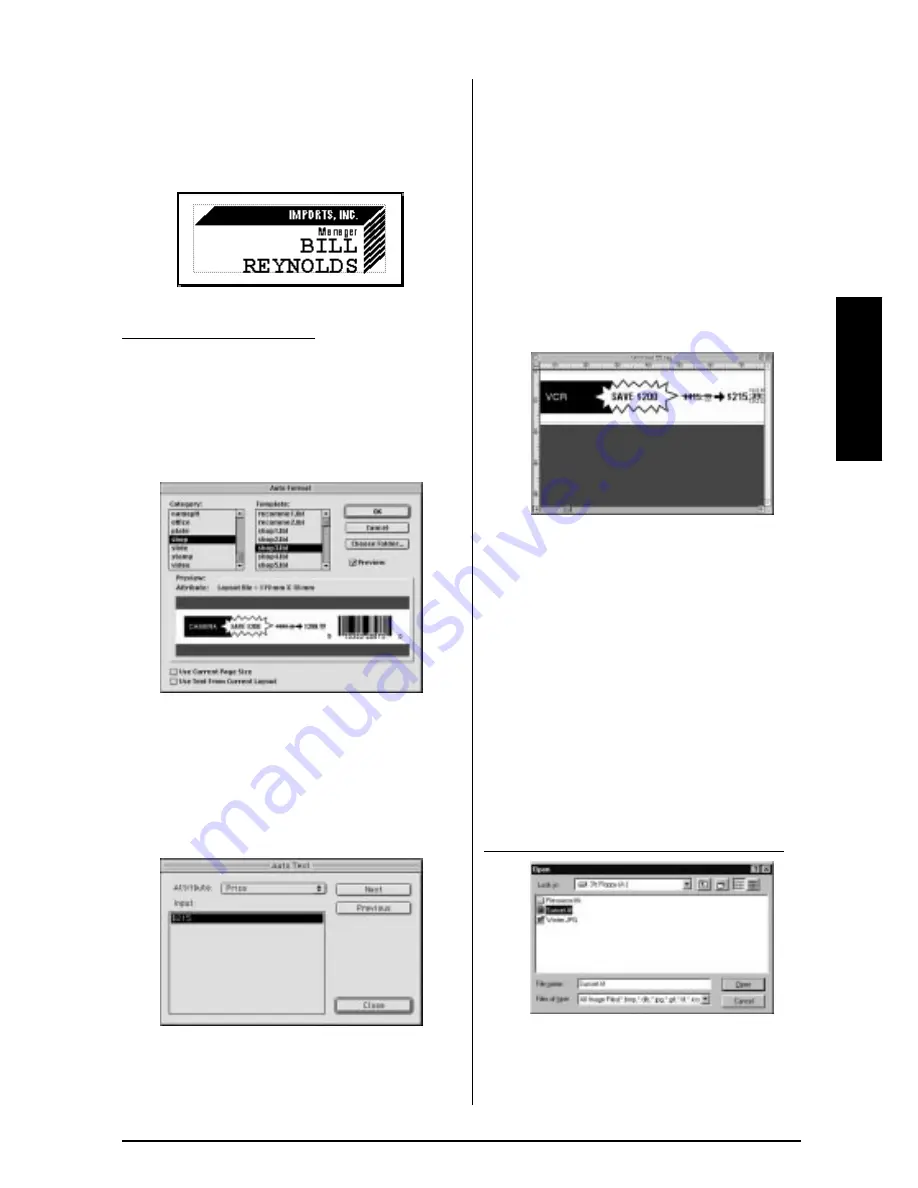
Select the [Auto Format] command in the
[File] menu to display the Auto Format dia-
logue box.
2
In the “Category:” list box, select the cate-
gory containing the template that you wish
to use. For this example, let’s select “shop”.
3
In the “Template:” list box, select the tem-
plate that you wish to use. Let’s select the
one named shop3.lbl.
4
Click the OK button. A new layout contain-
ing the selected pre-formatted text is cre-
ated and the Auto Text dialogue box is
displayed.
5
Click the Next or the Previous buttons until
the text that you wish to change appears in
the “Input:” edit box. Here, the first line of
text that we wish to change, “CAMERA”, is
already displayed.
6
Change the text so that the desired text is
entered. We can start by changing the prod-
uct name to “VCR”.
7
Repeat steps
5
and
6
until all of the text is
entered in the way that you want, and then
click the Next button. Let’s finish editing the
text by changing the original price to
“$415.” and the sale price to “$215.”
8
Click the Close button. The text in the lay-
out is replaced by the newly entered text.
Importing a graphics file:
With the P-touch Editor application, you can
also import images files in a variety of formats
(.bmp, .dib, .jpg, .gif, .tif, .ico, and .wmf on the
PC or PICT, JPEG, TIFF and BMP on the Mac)
into your layout.
1
With a layout document displayed, select
the [Image] command in the [Insert] menu
(in the PC software) or the [Object] menu
(in the Mac software). A dialogue box that
allows you to select the image file appears.
When using the P-touch Editor for the PC:
Summary of Contents for P-touch 9400
Page 3: ......
Page 10: ...1 Ch 1 Before You Start Before You Start Chapter 1 Before You Start ...
Page 16: ...7 Ch 2 Getting Started Getting Started Chapter 2 Getting Started ...
Page 31: ...22 Ch 2 Getting Started Getting Started ...
Page 32: ...23 Ch 3 Functions Functions Chapter 3 Functions ...
Page 84: ...75 Ch 4 Using Labels and Stamps Using Labels and Stamps Chapter 4 Using Labels and Stamps ...
Page 101: ...92 MACHINE SPECIFICATIONS ...
Page 102: ...93 Appendix Appendix Appendix ...
Page 125: ...116 ...
Page 126: ...Printed in Japan UT1533001 A ...


