


Creating the Split-Line
Next you will use the Flange surface to create the small split-line feature at
the center line.
The Flange surface can only be built from a surface edge, not a curve. This is
because it measures its angle from the surface edge, not from a draft direction.
So first, you will template your curves to make it easier to select the surface
edges.
1
Choose Pick > Component and modify the options so that only curves
will be selected.
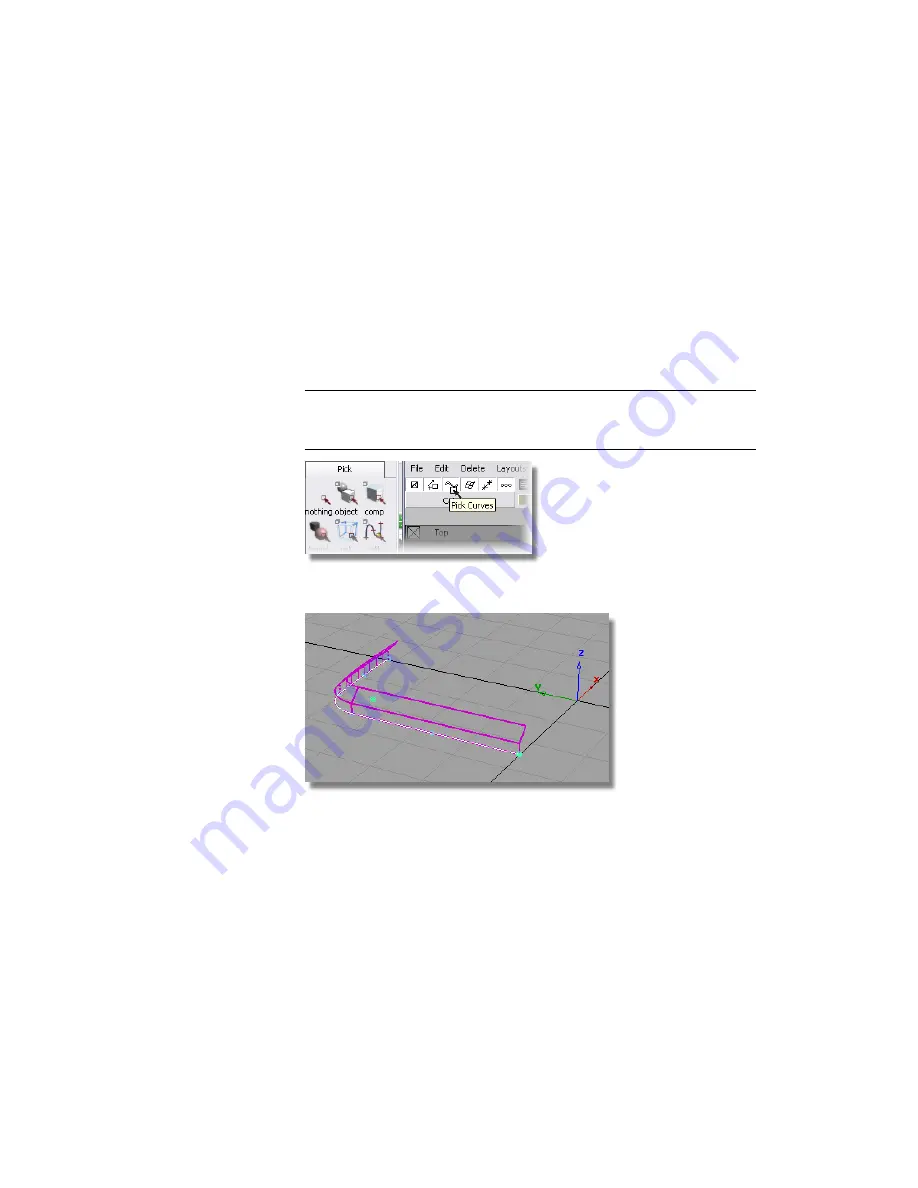
2 TIP
You can either double-click the Pick > Component icon to set up the
options in the option window, or you can use the small icons in the menu
bar, as shown below.
3
Drag a pick box across the model. Only the curves are selected.
4
Choose ObjectDisplay > Template to turn the curves into a template that
will not be selected by the Pick > Object tool.
Now you will create some small Flange surfaces to represent the split-line
detail.
Part 2: Creating the Side Surfaces | 421
Summary of Contents for ALIAS 2010
Page 1: ...Autodesk Alias 2010 Learning Alias March 2009 Part No 712B1 050000 PM05A ...
Page 8: ...2 ...
Page 12: ...6 ...
Page 18: ... Check the community site for tips and tricks 12 Chapter 2 Getting help on Alias ...
Page 202: ...Select the circle curve 196 Chapter 5 Modeling a Joystick ...
Page 248: ...The row of CVs is selected and highlighted in yellow 242 Chapter 5 Modeling a Joystick ...
Page 284: ...278 ...
Page 309: ...Part 2 Intersecting and Trimming 303 ...
Page 399: ...On Your Own 393 ...
Page 404: ...398 ...
Page 465: ...Part 4 Creating the Screen Recess 459 ...
Page 491: ...Then choose the inner arc to complete the trimming Part 6 Control Button 485 ...
Page 514: ...508 Chapter 7 Modeling an MP3 Player ...
Page 517: ...5 e The Round tool can create a corner surface between three edges Quiz Answers 511 ...
Page 518: ...512 ...
Page 612: ...606 ...
Page 629: ...Visualizing a PDA 623 ...
Page 685: ...Use the scene you have just set up and create some detail views of the design On Your Own 679 ...
Page 721: ...2 Click the Map button next to the Bump parameter Part 4 Creating a 2D bump texture 715 ...
Page 736: ...730 ...


