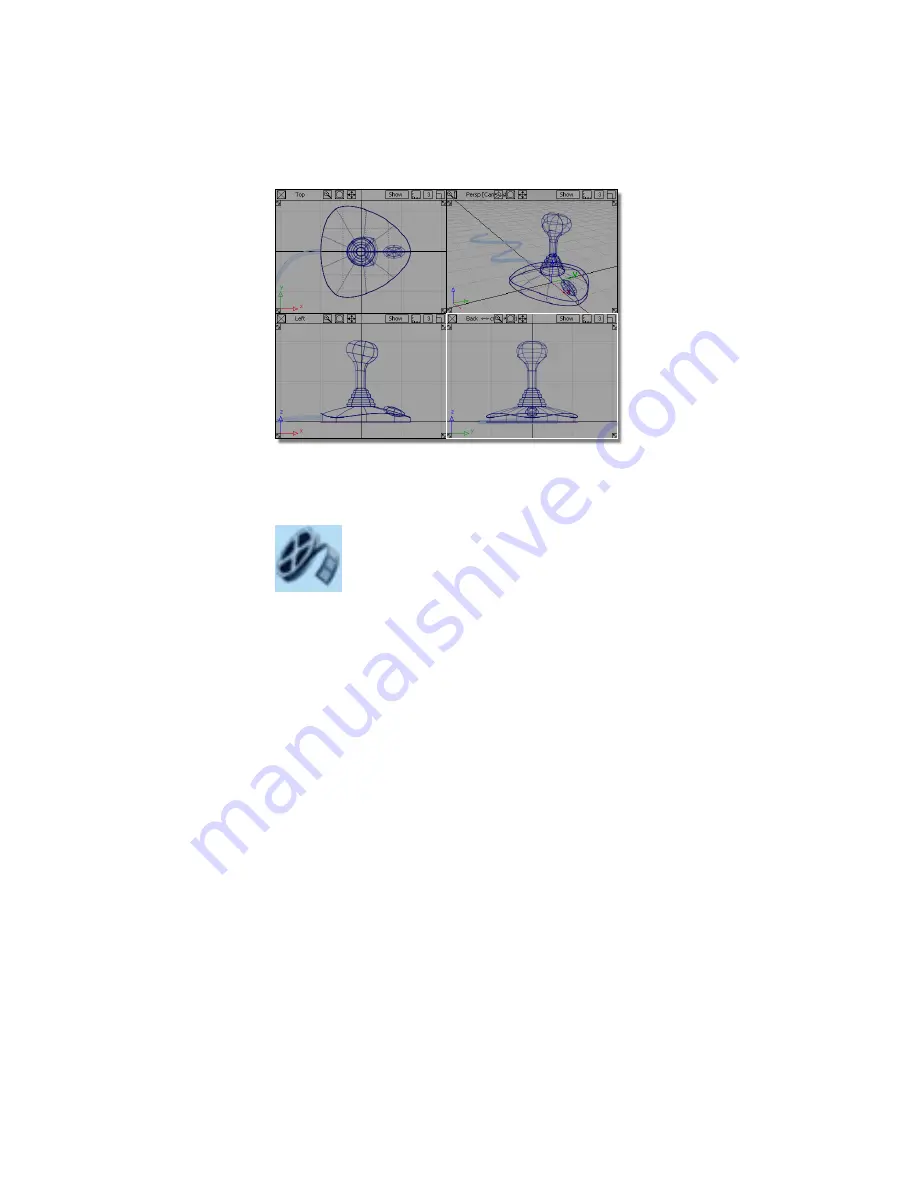
If you were not successful in part 7, open the file called
joystick_part8.wire
,
located in the
wire
directory of the
CourseWare
project. This file contains the
completed model from Part 7.
Watch
Part 8
of the tutorial.
Shading the view
In the previous desk lamp tutorial, Diagnostic Shading was used to visualize
the model. In this tutorial, you will use Hardware Shade. Hardware shading
allows for more visual effects and introduces you to the techniques you will
use for rendering in later tutorials.
You will start by making the cable surface pickable, so it can be shaded.
1
On the Layer Bar, press and hold the
left mouse button
on the
Cable
layer, choose Set State, then Pickable to make cable surface active.
2
Tumble the view until you get a good view of the joystick and cable. Hold
down the
Shift
and
Alt
(Windows) or
Shift
and
Command
(Mac) keys and
use the
left mouse button
to tumble the view.
Part 8: Visualizing the Model | 265
Summary of Contents for ALIAS 2010
Page 1: ...Autodesk Alias 2010 Learning Alias March 2009 Part No 712B1 050000 PM05A ...
Page 8: ...2 ...
Page 12: ...6 ...
Page 18: ... Check the community site for tips and tricks 12 Chapter 2 Getting help on Alias ...
Page 202: ...Select the circle curve 196 Chapter 5 Modeling a Joystick ...
Page 248: ...The row of CVs is selected and highlighted in yellow 242 Chapter 5 Modeling a Joystick ...
Page 284: ...278 ...
Page 309: ...Part 2 Intersecting and Trimming 303 ...
Page 399: ...On Your Own 393 ...
Page 404: ...398 ...
Page 465: ...Part 4 Creating the Screen Recess 459 ...
Page 491: ...Then choose the inner arc to complete the trimming Part 6 Control Button 485 ...
Page 514: ...508 Chapter 7 Modeling an MP3 Player ...
Page 517: ...5 e The Round tool can create a corner surface between three edges Quiz Answers 511 ...
Page 518: ...512 ...
Page 612: ...606 ...
Page 629: ...Visualizing a PDA 623 ...
Page 685: ...Use the scene you have just set up and create some detail views of the design On Your Own 679 ...
Page 721: ...2 Click the Map button next to the Bump parameter Part 4 Creating a 2D bump texture 715 ...
Page 736: ...730 ...


