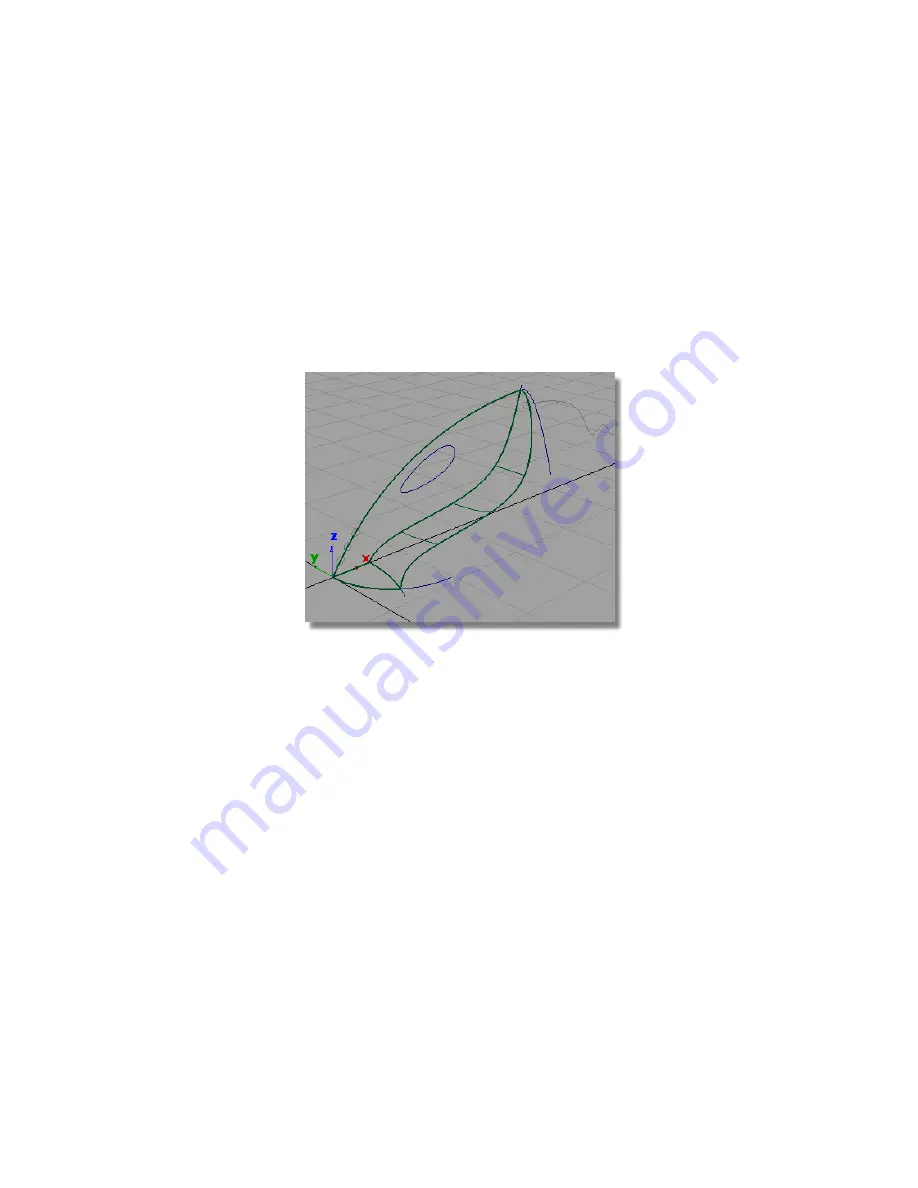
Creating the body fillet
Next, you will create a fillet surface along the intersected edge of the vacuum
cleaner body.
The Surface Fillet tool uses surface indicators to choose which side of a
surface to create the fillet. These indicators are easier to see in a wireframe
view. So you will first turn off the shaded view.
1
Return to a wireframe view by clicking the wireframe icon in the
diagnostic Shading section of the Control Panel.
The upper surface only has lines showing on its edges. To improve the
visualization of the surface, and to make it easier to select, you can
increase the number of lines across the surface using the patch precision
tool.
Next, you will increase the patch precision for the upper surface.
2
Choose Pick > Object and select the upper surface.
3
Choose Object Edit > Patch Precision .
Part 3: Surface Fillet | 309
Summary of Contents for ALIAS 2010
Page 1: ...Autodesk Alias 2010 Learning Alias March 2009 Part No 712B1 050000 PM05A ...
Page 8: ...2 ...
Page 12: ...6 ...
Page 18: ... Check the community site for tips and tricks 12 Chapter 2 Getting help on Alias ...
Page 202: ...Select the circle curve 196 Chapter 5 Modeling a Joystick ...
Page 248: ...The row of CVs is selected and highlighted in yellow 242 Chapter 5 Modeling a Joystick ...
Page 284: ...278 ...
Page 309: ...Part 2 Intersecting and Trimming 303 ...
Page 399: ...On Your Own 393 ...
Page 404: ...398 ...
Page 465: ...Part 4 Creating the Screen Recess 459 ...
Page 491: ...Then choose the inner arc to complete the trimming Part 6 Control Button 485 ...
Page 514: ...508 Chapter 7 Modeling an MP3 Player ...
Page 517: ...5 e The Round tool can create a corner surface between three edges Quiz Answers 511 ...
Page 518: ...512 ...
Page 612: ...606 ...
Page 629: ...Visualizing a PDA 623 ...
Page 685: ...Use the scene you have just set up and create some detail views of the design On Your Own 679 ...
Page 721: ...2 Click the Map button next to the Bump parameter Part 4 Creating a 2D bump texture 715 ...
Page 736: ...730 ...


