3–20
Pagis Pro User's Guide
Contents
Index
7. Pull down the Forms menu in the Pagis Editor and choose
Detect Fields.
The Editor looks for horizontal lines on the scanned image. The
detected fields are placed in a layer above the image file in cyan
(light blue) for higher visibility.
8. Prepare to type into the fields.
•
You can edit the size of any field. Click it to display corner
handles. Click and hold on a handle and move it until the
field is the desired height and width.
•
If an incorrect field is added, simply click on it, and press the
Delete key to remove it.
•
If no field is added where there should be one, you can add
one. Pull down the Forms menu, and click the Add Field
command. The mouse pointer now appears as a Text tool, and
you can point to the desired area, click and drag to create a
new field.
•
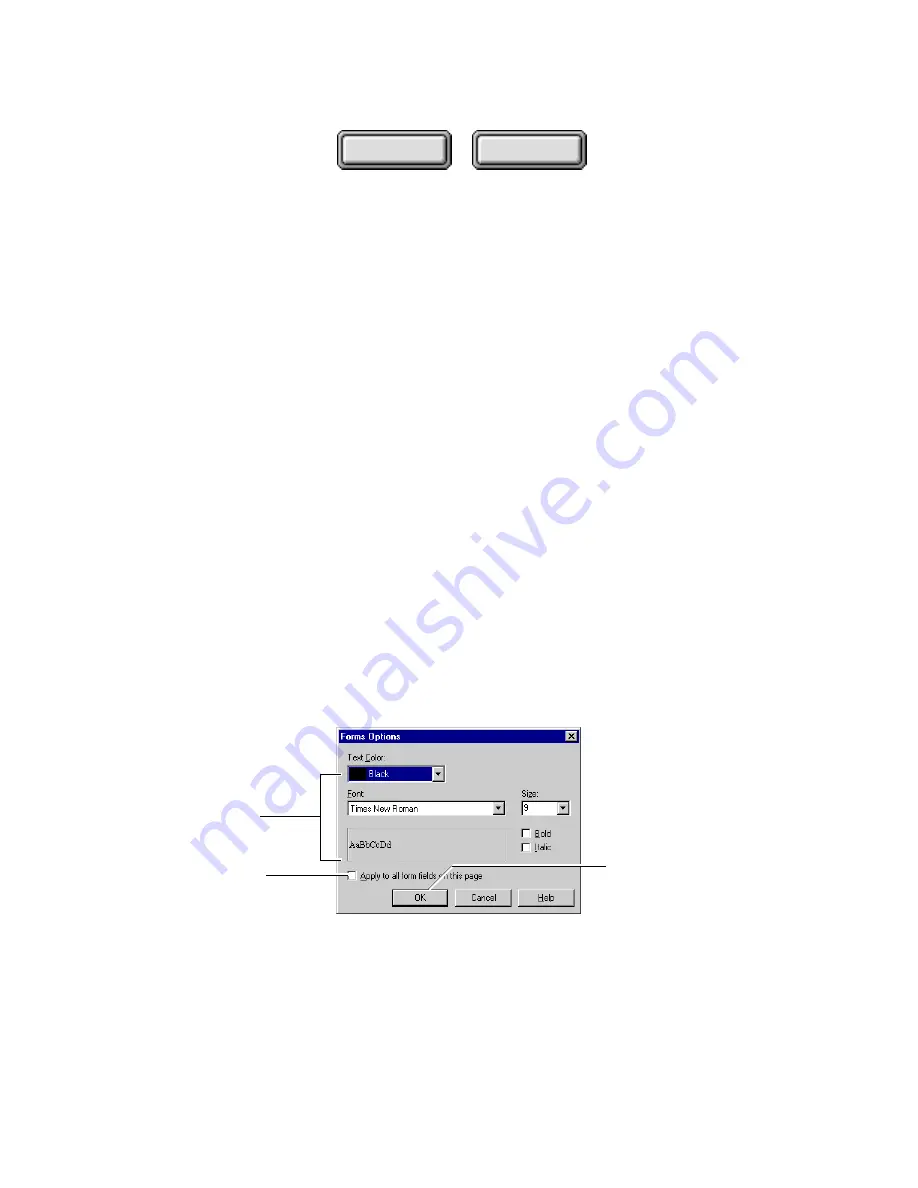
Before entering text in the fields, you can pull down the
Forms menu and select the Options command. This displays
the Forms Options dialog box, which lets you specify the
font attributes (Figure 3–17).
Specify font attributes
Click to apply attributes
to all fields
Click to close the dialog box
and confirm the new options
Figure 3–17. Forms Options dialog box


