97
5.2 Measurement options
5.2.1 Measurement table
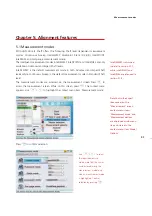
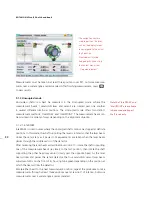
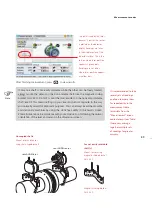
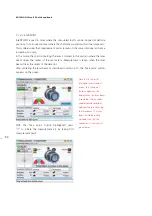
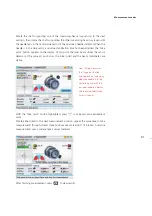
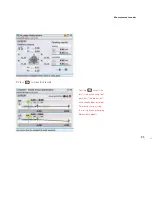
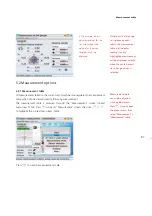
All measurements taken on the current set of machines are registered in a measurement
table which can be viewed directly following measurement.
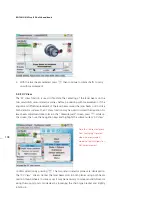
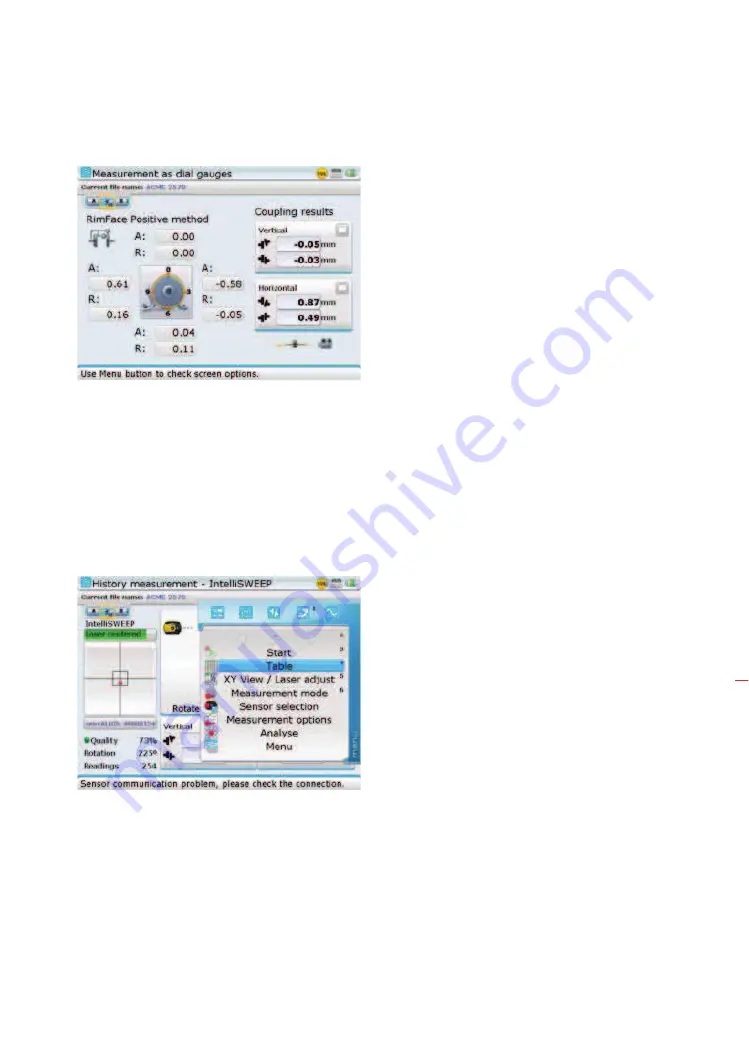
The measurement table is accessed through the “Measurement” screen context
menu item ‘Table’. Press
q
while on “Measurement” screen, then use
f
/
g
to highlight the context menu item ‘Table’.
Press
e
to view the measurement table.
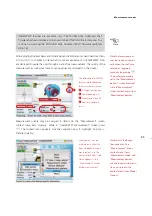
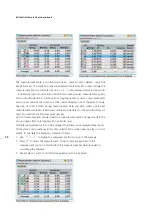
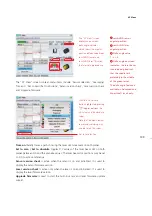
Note that if a dial gauge
set-up already exists
within the measurement
table, dial indicator
readings for any
highlighted measurement
will be displayed instantly
when the context menu
item ‘Gauge values’ is
selected.
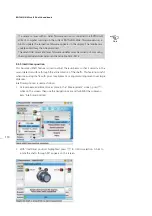
In this example, the dial
indicator readings for the
‘rim and face positive’
method for the given
coupling results are
displayed.
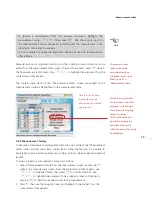
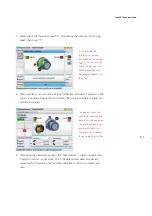
Measurement table
can also be accessed
via the global menu.
Press
q
twice to open
the global menu, then
select ‘Measurement’ ->
‘Measurement table’.
Measurement table
Содержание ROTALIGN Ultra iS
Страница 1: ...ROTALIGN Ultra iS Operating handbook Shaft alignment...
Страница 11: ...ROTALIGN Ultra iS Shaft handbook 10 This page intentionally left blank...
Страница 56: ...55 Horizontal shaft alignment 1 2 4 5 6...
Страница 123: ...ROTALIGN Ultra iS Shaft handbook 122 Page intentionally left blank...
Страница 141: ...ROTALIGN Ultra iS Shaft handbook 140 This page intentionally left blank...
Страница 177: ...ROTALIGN Ultra iS Shaft handbook 176 Page intentionally left blank...
Страница 207: ...ROTALIGN Ultra iS Shaft handbook 206 Page intentionally left blank...
Страница 213: ...ROTALIGN Ultra iS Shaft handbook 212 Declaration of conformity...
Страница 219: ...ROTALIGN Ultra iS Shaft handbook 218...

