ROTALIGN Ultra iS Shaft handbook
40
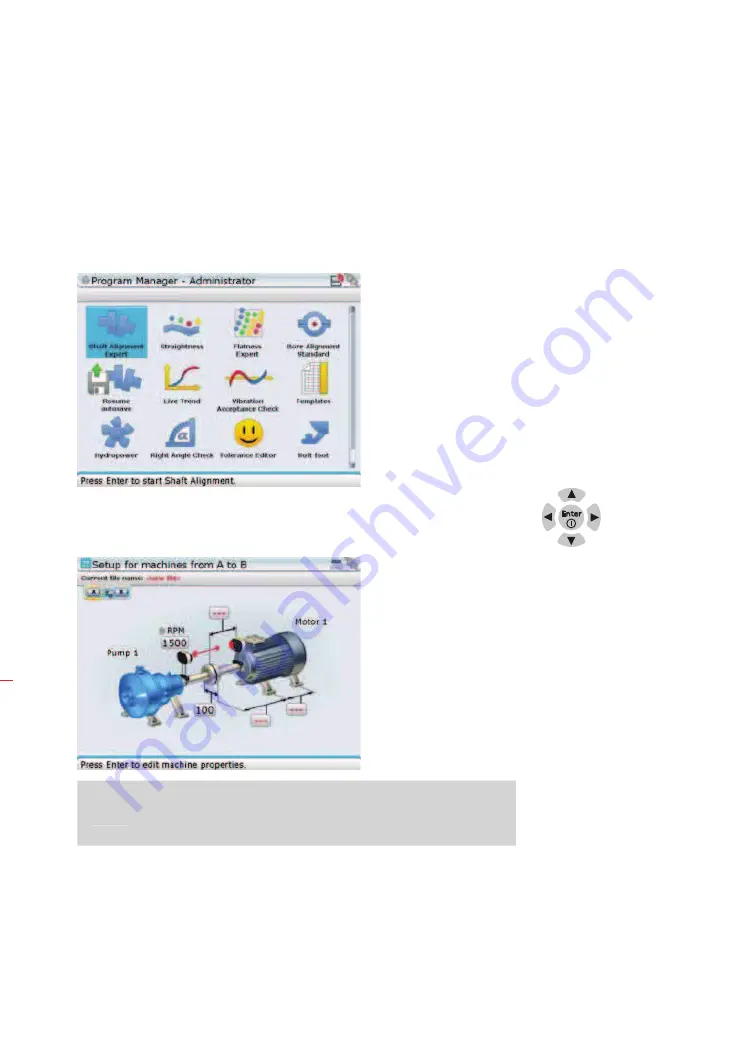
4.6 Switch ROTALIGN Ultra iS on and start application
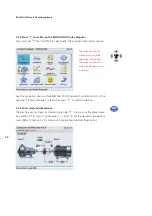
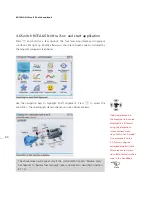
Press
e
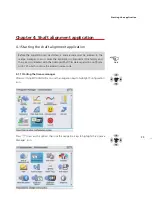
and hold for a few seconds. The four laser adjustment and alignment
condition LEDs light up. Shortly afterwards, the splash screen appears, followed by
the program manager screen below.
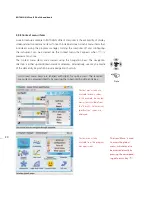
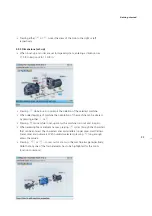
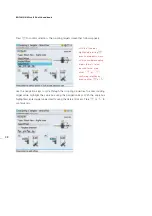
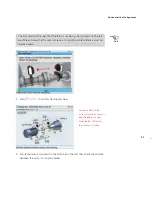
Use the navigation keys to highlight ‘Shaft Alignment’. Press
e
to access the
application. The opening template in the set-up screen below appears.
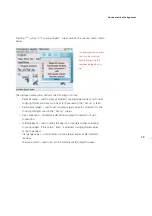
The above screen will appear only if the customization option ‘Resume policy’
has been set to ‘Resume files manually’. (See customization - described in section
8.1.10)
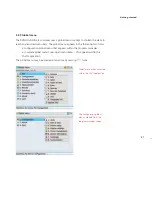
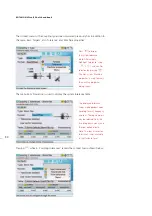
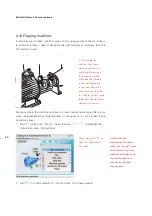
If desired, elements in
the machine train can be
displayed in 2-D format
using the dimensions
screen context menu
item ‘Switch to 2D mode’.
One may revert to the
3-D format using the
corresponding ‘Switch to
3D mode’ context menu
item. Both formats will be
used in this handbook.
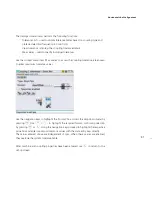
Note
The above screen will appear only if the customization option ‘Resume policy’
has been set to ‘Resume files manually’. (See customization - described in section
8.1.10)
Содержание ROTALIGN Ultra iS
Страница 1: ...ROTALIGN Ultra iS Operating handbook Shaft alignment...
Страница 11: ...ROTALIGN Ultra iS Shaft handbook 10 This page intentionally left blank...
Страница 56: ...55 Horizontal shaft alignment 1 2 4 5 6...
Страница 123: ...ROTALIGN Ultra iS Shaft handbook 122 Page intentionally left blank...
Страница 141: ...ROTALIGN Ultra iS Shaft handbook 140 This page intentionally left blank...
Страница 177: ...ROTALIGN Ultra iS Shaft handbook 176 Page intentionally left blank...
Страница 207: ...ROTALIGN Ultra iS Shaft handbook 206 Page intentionally left blank...
Страница 213: ...ROTALIGN Ultra iS Shaft handbook 212 Declaration of conformity...
Страница 219: ...ROTALIGN Ultra iS Shaft handbook 218...

