Capturing Screens
You can capture screens during the testing process to add to customized reports as a graphical support element.
Captured screens can then be moved from the ADX via a USB device then imported into PowerDB Dashboard to create
your custom report.
NOTE: You can either move or copy images captured on the ADX by selecting the appropriate
option during this process. However, moving captured images helps manage database load. You are
responsible for file storage an management after images are removed from the ADX.
To capture screens and transfer files, you will need a USB keyboard to control the capture process and a USB flash drive
to transfer the files.
1. Connect the drive and keyboard to the ADX.
2. On the screen you want to copy, press the keyboard’s PrtScn button. The captured screen will shrink briefly and
display inside a white border, indicating that a capture was made. The image is saved to the Images folder.
3. To transfer captured screens, you must completely exit the ADX software.
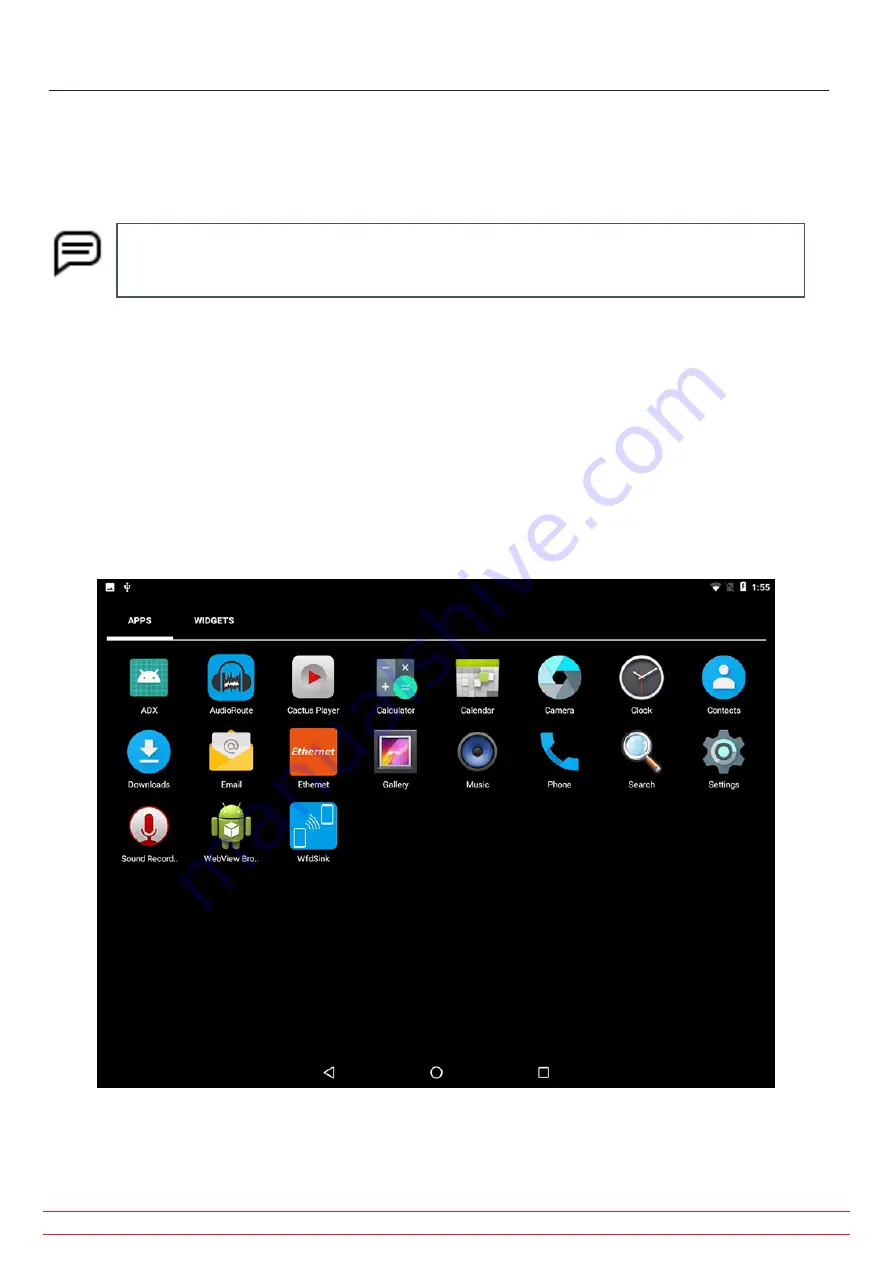
4. From the Android desktop, press on the Downloads icon if it is present.
5. If not, press on the round APPS icon (bottom center).
6. On the APPS screen, click on the Downloads icon.
Fig 147:
Android desktop round APPS icon bottom center; Download icon.
www.megger.com
Megger Baker ADX User Guide
153
Capturing Screens
Содержание ADX15
Страница 1: ...Megger Baker ADX Automated Diagnostic Test Equipment User Guide...
Страница 2: ...www megger com Megger Baker ADX User Guide...
Страница 10: ...www megger com Megger Baker ADX User Guide viii Table of Contents...
Страница 44: ...www megger com Megger Baker ADX User Guide 34...
Страница 84: ...www megger com Megger Baker ADX User Guide 74 Routes...
Страница 148: ...www megger com Megger Baker ADX User Guide 138...
Страница 172: ...www megger com Megger Baker ADX User Guide 162...


