


6-67
Using Various Functions > Functions
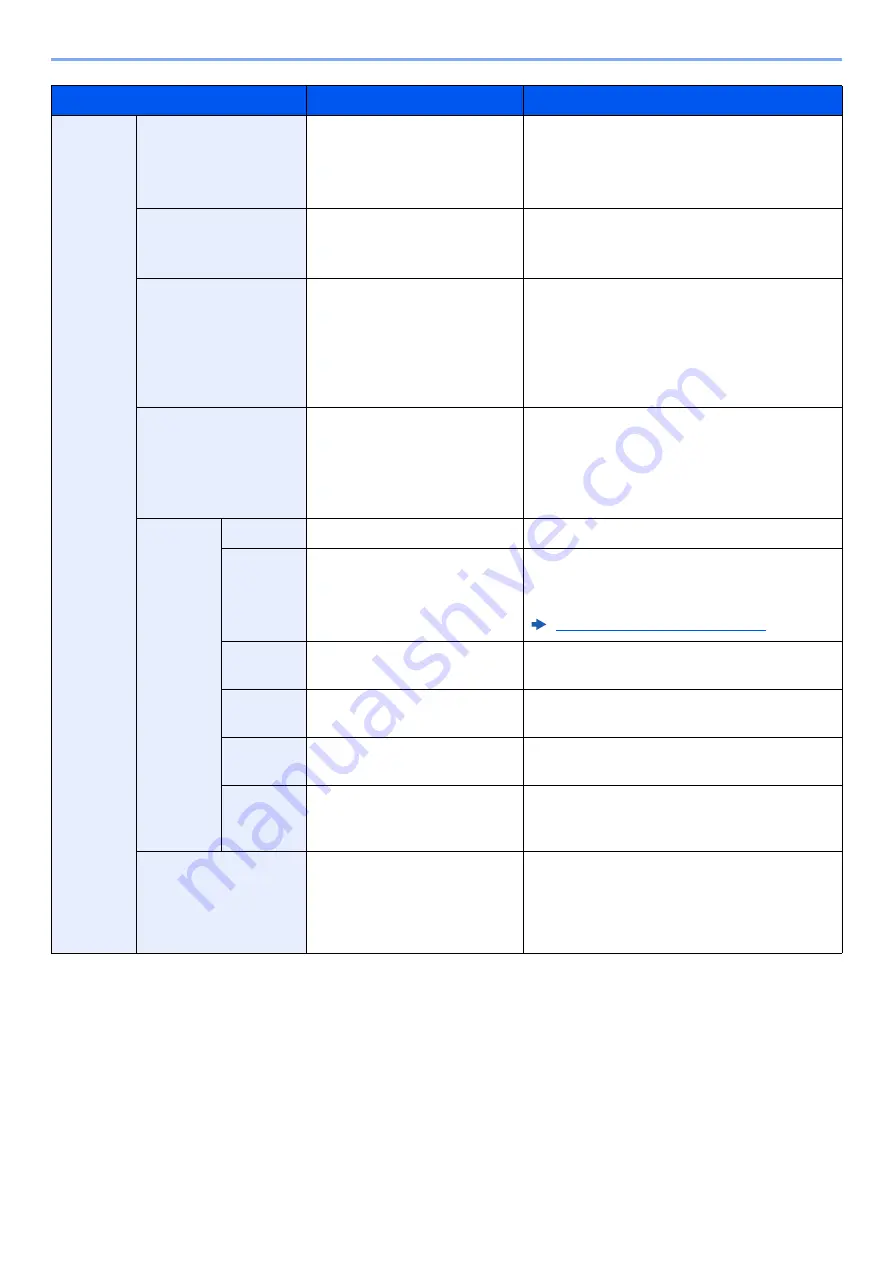
On
Bates Stamp
Date, User Name, Serial
Number, Numbering, Text 1,
Text 2
Set the stamp to be printed.
When [
Text 1
] or [
Text 2
] is selected, select
the entry field and enter the text string.
After you have set the stamp, select [
Next >
].
Date Format
MM/DD/YYYY, DD/MM/YYYY,
YYYY/MM/DD
Set the date format.
This setting is available when "Date" is set in
"Bates Stamp".
Numbering Default
1 to 9999999
Set the starting sequence number.
If you select [
Fixed Digit Number
] > [
On
],
you can set the number of digits of the serial
number (1 to 7 digits).
This setting is available when "Numbering" is
set in "Bates Stamp".
Position
Top Left, Top Middle, Top
Right, Middle Left, Center,
Middle Right, Bottom Left,
Bottom Middle, Bottom Right
Set the stamp position to be printed.
Select [
Position
] and select the bates stamp
position.
Specify the stamp position using numeric
values.
Font
Font
Courier, Letter Gothic
Set the font of bates stamp.
Size
Registered font sizes are
displayed.
Set the font size of bates stamp.
For details on registering font sizes, refer to
the following:
Font (Bates Stamp) (page 8-32)
Color
Black, Cyan, Magenta, Yellow,
Red, Green, Blue, White
Set the color of bates stamp.
Style
None, Bold, Italic, Bold/Italic
Set the font style of bates stamp. Select a font
style by checking the checkbox.
Display
Pattern
Transparent, Clipping,
Overwrite
Set the display method of bates stamp.
Density
10 to 100%
(in 10% increments)
Set the density of bates stamp color.
Set the value by using [
+
], [
-
] or the numeric
keys.
Original Orientation
Top Edge on Top,
Top Edge on Left, Auto
*1
Select the orientation of the original document
top edge to scan correct direction. Select
[
Original Orientation
] to choose orientation
of the originals, either [
Top Edge on Top
] or
[
Top Edge on Left
].
*1 This function can only be used when the optional OCR Scan Activation Kit is installed.
Item
Value
Description
Содержание 358ci
Страница 1: ...kyoceradocumentsolutions com Operation Guide 508ci 408ci 358ci...
Страница 83: ...2 13 Installing and Setting up the Machine Touch Panel Example System Menu Screen Move the screen up and down...
Страница 233: ...5 23 Operation on the Machine Sending Document via E mail 6 Press the Start key Sending starts...
Страница 539: ...10 20 Troubleshooting Regular Maintenance 3 Empty the Punch Waste Box 4 Install the Punch Waste Box 5 Close the cover...
Страница 541: ...10 22 Troubleshooting Regular Maintenance 4 Install the Punch Waste Box 5 Close the cover...
Страница 586: ...10 67 Troubleshooting Clearing Paper Jams 4 Remove any jammed paper 5 Push Right Cover 2 and Cassette 3 back in...
Страница 592: ...10 73 Troubleshooting Clearing Paper Jams 8 Remove any jammed paper 9 Push Right Cover 1...
Страница 611: ...10 92 Troubleshooting Clearing a Staple Jam 4 Install the Staple Cartridge Holder 5 Close the front cover...
Страница 613: ...10 94 Troubleshooting Clearing a Staple Jam 4 Install the Staple Cartridge Holder 5 Close the front cover...
Страница 657: ...Index 10 X XPS Fit to Page 6 85 Default 8 34 Z Zoom 6 42 Default 8 32...
Страница 658: ......
Страница 661: ...is a trademark of KYOCERA Corporation 2019 KYOCERA Document Solutions Inc 2019 7 2WHKDEN200...


