6-80
Using Various Functions > Functions
Scan to Office Function
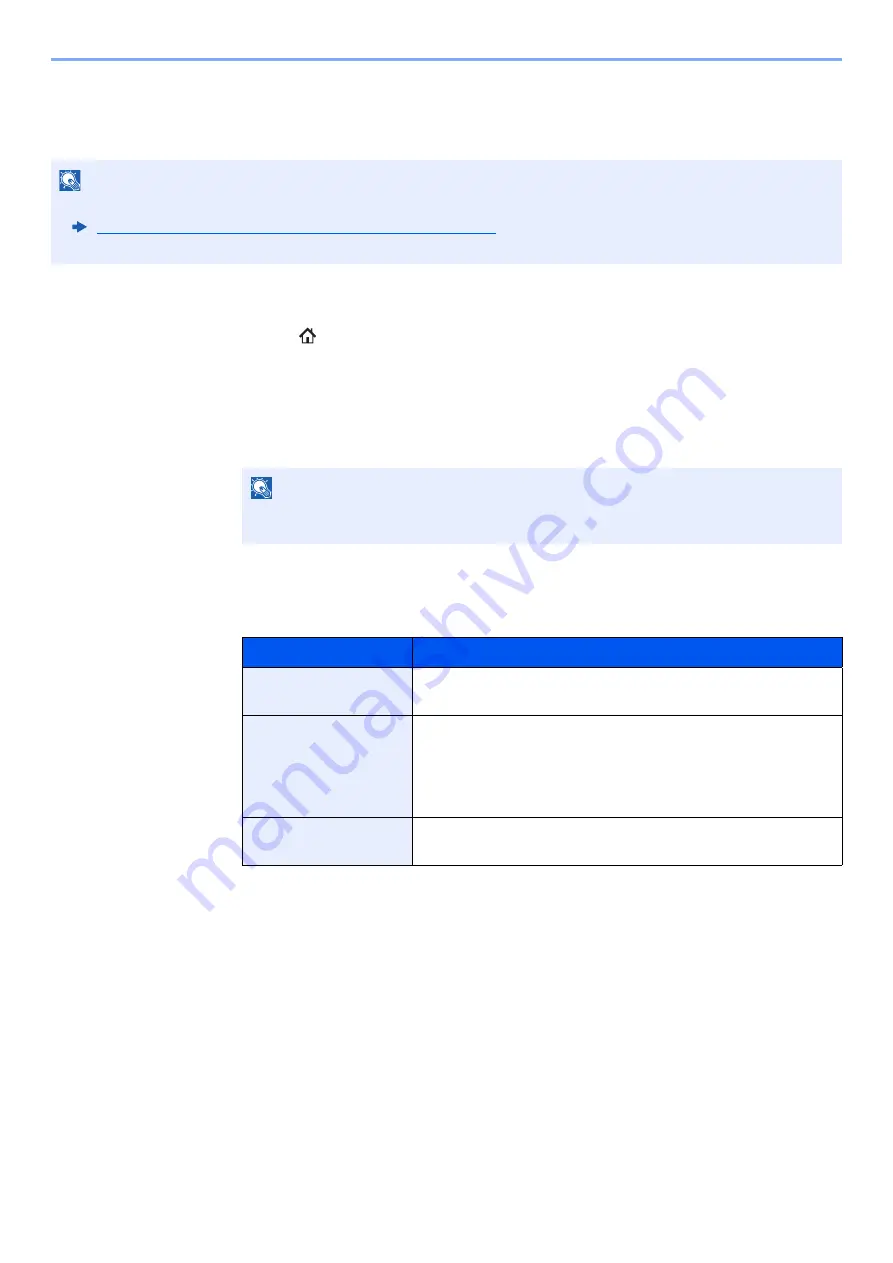
This machine provides the function which converts scanned documents including text, figures and pictures into
searchable and editable Microsoft Office (Word, Excel and PowerPoint) 2007 or later data format, via OCR processing.
1
Display the screen.
1
[Home]
(
) key >
[Send]
>
[Org./Sending Data Format]
>
[File Format]
2
Configure the settings.
1
Select
[Word]
,
[Excel]
or
[PowerPoint]
as a file format.
2
Select
[OCR Text Recognition]
>
[On]
.
3
Select the language of the document which you wish to scan >
[OK]
.
4
Select
[OCR Output Format]
and select an OCR output mode from the table below >
[OK]
.
3
Press the [Start] key.
NOTE
• This function can only be used when the optional OCR Scan Activation Kit is installed.
Scan extension kit(A) "OCR Scan Activation Kit" (page 11-6)
• The scanned result may not be realized perfectly according to condition of the documents.
NOTE
When you select
[Off]
, the documents are converted into the Microsoft Office data
(scanned image).
Item
Description
Text + Graphics
Converts the scanned documents into the editable and
searchable Microsoft Office data format.
Text + Graphics with
Scanned Image
Converts the scanned documents into two types of data: one is
the editable and searchable Microsoft Office data format and
the other one is the Microsoft Office data format with scanned
image. You can edit text and layout of the editable data by
referring the scanned image.
Scanned Image with
Searchable Text
Converts the scanned documents into the searchable
Microsoft Office data format (scanned image).
Содержание 358ci
Страница 1: ...kyoceradocumentsolutions com Operation Guide 508ci 408ci 358ci...
Страница 83: ...2 13 Installing and Setting up the Machine Touch Panel Example System Menu Screen Move the screen up and down...
Страница 233: ...5 23 Operation on the Machine Sending Document via E mail 6 Press the Start key Sending starts...
Страница 539: ...10 20 Troubleshooting Regular Maintenance 3 Empty the Punch Waste Box 4 Install the Punch Waste Box 5 Close the cover...
Страница 541: ...10 22 Troubleshooting Regular Maintenance 4 Install the Punch Waste Box 5 Close the cover...
Страница 586: ...10 67 Troubleshooting Clearing Paper Jams 4 Remove any jammed paper 5 Push Right Cover 2 and Cassette 3 back in...
Страница 592: ...10 73 Troubleshooting Clearing Paper Jams 8 Remove any jammed paper 9 Push Right Cover 1...
Страница 611: ...10 92 Troubleshooting Clearing a Staple Jam 4 Install the Staple Cartridge Holder 5 Close the front cover...
Страница 613: ...10 94 Troubleshooting Clearing a Staple Jam 4 Install the Staple Cartridge Holder 5 Close the front cover...
Страница 657: ...Index 10 X XPS Fit to Page 6 85 Default 8 34 Z Zoom 6 42 Default 8 32...
Страница 658: ......
Страница 661: ...is a trademark of KYOCERA Corporation 2019 KYOCERA Document Solutions Inc 2019 7 2WHKDEN200...


