85
Now record the Song
15.
With the
“Record
pending” display showing, press
PLAY
and start to play. The tracks
shown with the “R” symbol will be recorded (provided that they are active in
LOCAL
or
MIDI
IN
).
16.
End your recording with
STOP
. If you have programmed the “Edit Stop to Bar” param-
eter, the recording stops automatically at the end of the selected bar of the Song
pointer.
17.
You can use the
“rewind”
button
(<<)
to go back to any point of the Song, press the
STOP
button again to return to the beginning, or modify the “Locator” parameter to
reach a precise point. You can press
PLAY
to record other notes (adding new notes in
“Overdub”, or substitute old notes with new ones in “Replace”).
18.
During the recording you can select a different Performance (in the currently selected
Bank/Song). You can also make use of the Function Controllers, the pedals and the
wheels.
If you are recording with the “Tempo rec” option activated, all Tempo variations
effected from the control panel (but not via M
IDI
) will be recorded. Vary the Tempo
using the
DIAL
, in the appropriate window which opens when you press
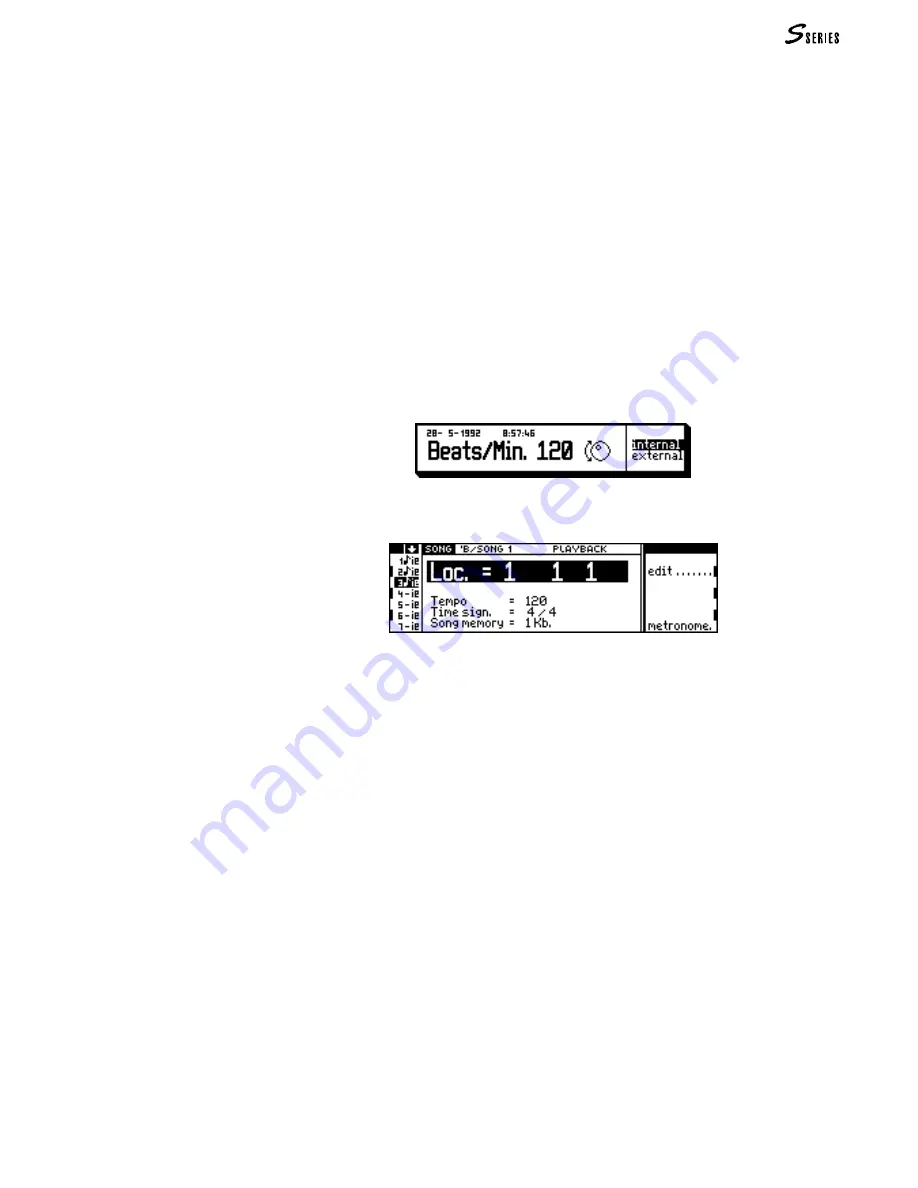
CLOCK
:
“Clock” window: Rotate the dial to modify the Tempo and escape with
EXIT
.
19.
Press
RECORD
to escape the
“Record pending”
display and to recall the
Playback
display:
20.
If you want to record other tracks, or the same tracks in “Overdub” or in “Replace”,
repeat the procedure from the beginning (point 1).
Recording methods
There are two Song recording methods to choose from:
•
record all the tracks of the Performance in a single step; in this way you can secure a
live performance;
•
record one track at a time, creating the Song by superimposing the instrument parts
that make up the Song.
In the first case, set all the tracks required of the Performance in
Record
. If you want to
change Performance during the recording, activate all the tracks that you think you will
record (nevertheless, you will only record the tracks in which notes or M
IDI
events are
effectively inserted).
In the second case, activate one track at a time. If you are recording from a keyboard or
master keyboard via M
IDI
-C
OMMON
, activate the single mode for the
LOCAL
source. Repeat
the recording procedure for each track until the song is finished.
While you are recording new tracks, those already recorded will be heard in playback. If
you want to isolate the track in record, press the
SOLO
button.
When you record jazz, rock, pop, etc. music, it is generally best to record the drum track
first, then the tracks dedicated to the accompaniment, then the melody. The drum track
(drumkit) is usually assigned to track 10 (to conform to GM standards). If you are not an
expert with the Sequencer, listen to the demonstration Songs supplied by Generalmusic;
they are excellent examples of how the S Series can be programmed.
(9) Recording a Song
Содержание S2 Turbo
Страница 1: ......
Страница 3: ...MUSICPROCESSORS OWNER S MANUAL ...
Страница 17: ...INTRODUCTION 1 1 INTRODUCTION INTRODUCTION ...
Страница 21: ...5 LAYOUTS 2 LAYOUTS S2 S3 Front panel S2 S3 Rear panel S2R Front panel S2R Rear panel ...
Страница 42: ...26 OVERVIEW ...
Страница 120: ...104 PRACTICAL GUIDE ...
Страница 140: ...124 SAMPLE TRANSLATOR ...
Страница 256: ...II APPENDIX ...
Страница 257: ...MIDI iii MIDI IMPLEMENTATION CHART MIDI CONTROLLERS SYSTEM EXCLUSIVE ...
Страница 267: ...Waveforms Sounds Performances xiii WAVEFORMS SOUNDS AND PERFORMANCES ...
Страница 278: ...XXIV APPENDIX ...
Страница 279: ...ROM Drumkits and Percussion Samples xxv DRUMKITS AND PERCUSSION SAMPLES ...
Страница 291: ...TECHNICAL SPECIFICATIONS xxxvii TECHNICAL SPECIFICATIONS ...
Страница 293: ...GLOSSARY a GLOSSARY ALPHABETICAL INDEX TROUBLESHOOTING GLOSSARY ALPHABETICAL INDEX TROUBLESHOOTING ...
Страница 302: ...J TROUBLESHOOTING ...


