GE H
EALTHCARE
D
IRECTION
FQ091013, R
EVISION
1
V
IVID
I
N
AND
V
IVID
Q
N S
ERVICE
M
ANUAL
3-56
Section 3-7 - Completing the Hardware Installation
3-7-3-2
Charging the Battery
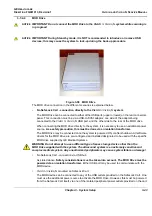
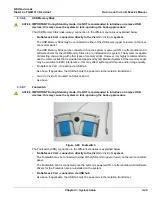
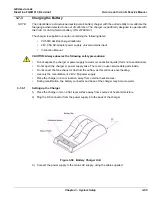
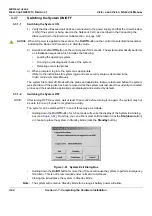
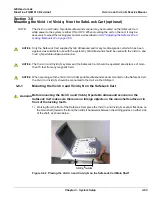
1) Place the battery into the battery bay making sure that the 5-way connector is fully seated.
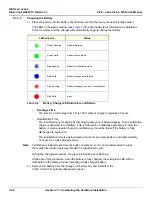
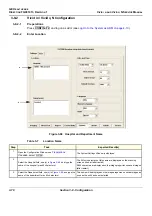
The LEDs in the status window (see
) will provide status information as detailed in
below, and the charger will automatically begin to charge the battery.
•
Recharge Time
:
The time for a full charge from 0% to 100% state of charge is typically 4.5 hours.
•
Recalibration Time
The recalibration cycle begins by discharging away any residual capacity. Then a calibration
charge is delivered to the battery. This is followed by a calibration discharge. Finally the
battery is given a regular charge. A calibration cycle will be faster if the battery is fully
discharged to begin with.
The recalibration time is approximately 9 hours for an empty battery, and approximately
14 hours for a fully-charged battery.
Note:
Calibration is initiated each time the button is pressed, so it is not recommended to press
the recalibration button part way through the recalibration cycle.
During the charging procedure, the green LED will be seen flashing.
At the end of this procedure, when the battery is fully charged, the solid green LED will be
illuminated in the status window, indicating a fully charged battery.
2.) Remove the battery from the charger unit battery bay and install it in the
Vivid
i
n/Vivid q N portable ultrasound scanner.
LED Indicator
Status
Green Flashing
Battery charging
Green Solid
Battery fully charged
Blue flashing
Battery in Calibration mode
Blue Solid
Battery fuel gauge calibrated
Red Flashing
Battery fuel gauge in need of recalibration
Red Solid
Error
Table 3-4
Battery Charger LED Indicators and Status
Содержание Vivid in
Страница 2: ......
Страница 30: ...GE HEALTHCARE DIRECTION FQ091013 REVISION 1 VIVID I N AND VIVID Q N SERVICE MANUAL xxviii...
Страница 739: ......

