232001410G(10)
124
CAUTION
Please make sure that the lens carriage will not collide with the Rotary Chuck prior to
starting work by lowering down the work table first.
OPERATION
:
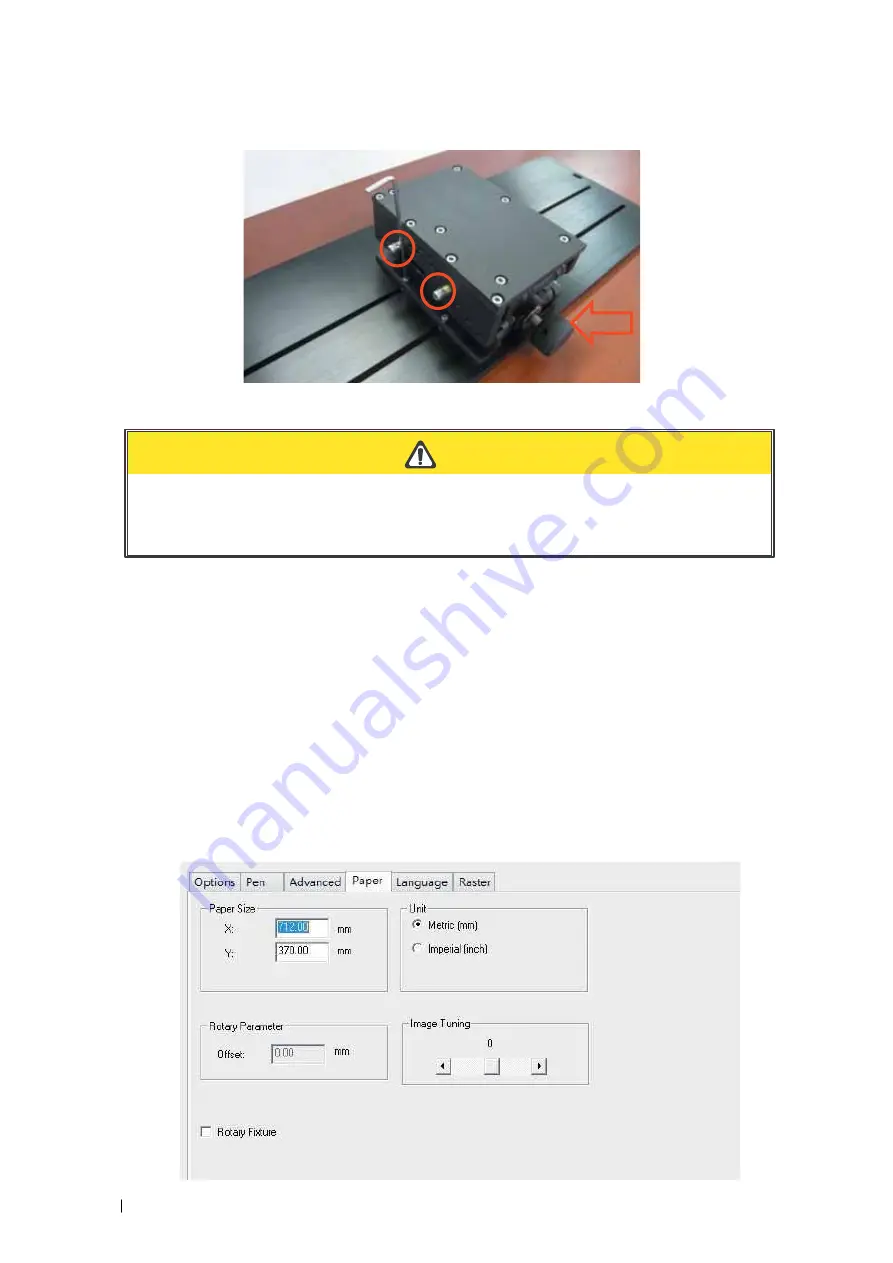
1) Use a ruler to measure the diameter (at the point on the work piece you will be engraving) and
length of the work piece you will be engraving. Make a record of this.
2) Unlock the adjustable rear end of the Rotary Chuck, load the work piece onto the Rotary Chuck
by centering the object to the clamping end and adjustable rear end. Adjust the leveling screws
on the rear end of Rotary Chuck to make sure the work object is centering to the clamping end,
thus work piece is horizontally leveling to the laser carriage in X axis. Slide the adjustable rear
end to accommodate the length of the work piece firmly.
3) Manually move the laser carriage to the proper X/ Y location on the work object where you will do
laser engraving or cutting. Hit the Auto Focus button on control panel and the laser machine will now
properly focus at the location to be laser engraved or cut.
4) Prepare the graphic you would like to work with the Rotary Chuck, print it to GCC laser Print Driver,
and go to “Paper” page of the Print Driver.
Содержание S290LS Series
Страница 1: ...www delinit by...
Страница 2: ......
Страница 4: ......
Страница 10: ...232001410G 10 6...
Страница 19: ...232001410G 11 15 Step 3 Use a flathead screwdriver to remove the brackets that secures the bars in place...
Страница 35: ...232001410G 10 31...
Страница 36: ...232001410G 10 32...
Страница 40: ...232001410G 10 36...
Страница 41: ...232001410G 10 37...
Страница 113: ...232001410G 10 109 8 Now you are ready to output the modified image by clicking File Print...
Страница 144: ...9 232001410G 10 140 Chapter 9 Basic Troubleshooting...
Страница 146: ...10 232001410G 1 1 142 Chapter 10 Appendix Glossary LaserPro S290LS Specification Sheet...


