17.1 Storage Expansion - Entry
Proceed as follows:
1. Replace the six blank inserts one after the other by 2.5" 2TB SATA 10,000 rpm hard
disks.
CAUTION!
If the system is operating, to avoid temperature rise do not leave any bay empty
longer than necessary.
2. If further expansion (to more than 16TB) is intended, continue with the "
Storage Expansion starting with 16TB" on page 451
.
3. Reboot the ETERNUS CS800 via the remote management pages, see
. When the system boots up, a background initialize procedure
is started. The new disks are automatically integrated into the system and put into
service. No further actions are required.
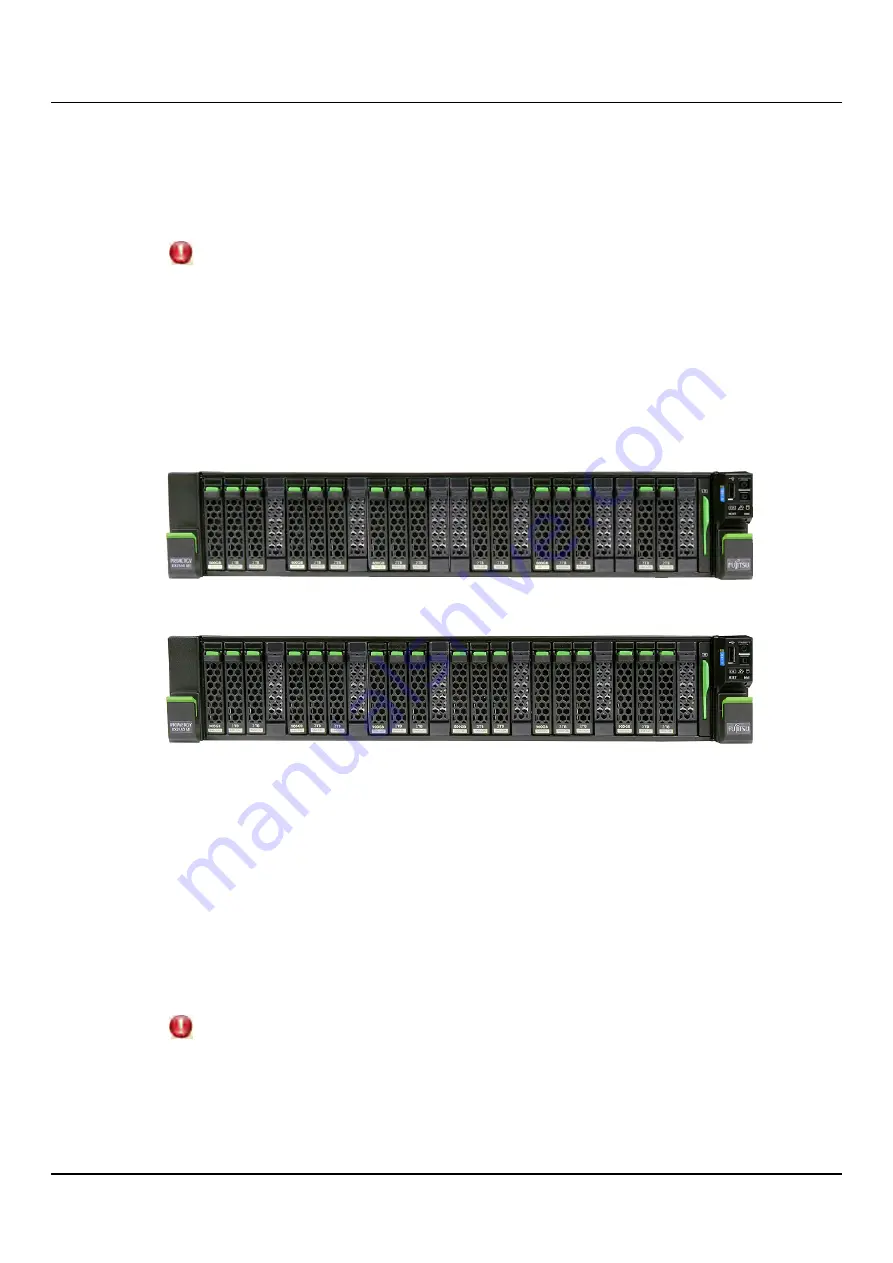
Figure 317: Entry system without JX40 S2 - first extension (16TB)
Figure 318: Entry system with JX40 S2 - first extension (16TB)
17.1.2 Procedure of Storage Expansion starting with 16TB
To enhance the capacity from 16TB to 24TB, six additional 2.5" 2TB SATA 10,000 rpm rpm
hard disks must be added to the bays 4, 8, 12, 16, 20 and 24 of the server.
Proceed as follows:
1. Replace the six blank inserts one after the other by 2.5" 2TB SATA 10,000 rpm hard
disks.
CAUTION!
If the system is operating, to avoid temperature rise do not leave any bay empty
longer than necessary.
2. If further expansion (to more than 24TB) is intended, continue with the
ETERNUS CS800
451
Содержание ETERNUS CS800 S6
Страница 1: ...English ETERNUS CS800 S6 User Guide V3 2 7 Edition April 2017 ...
Страница 131: ...7 3 The Remote Management Console Figure 98 Remote Management Pages Map ETERNUS CS800 131 ...
Страница 173: ...8 8 AIS Connect Figure 132 AISConnect Wizard Confirm ETERNUS CS800 173 ...
Страница 449: ...16 2 Storage Subsystem Figure 313 Inserting the 3 5 inch HDD module ETERNUS CS800 449 ...


