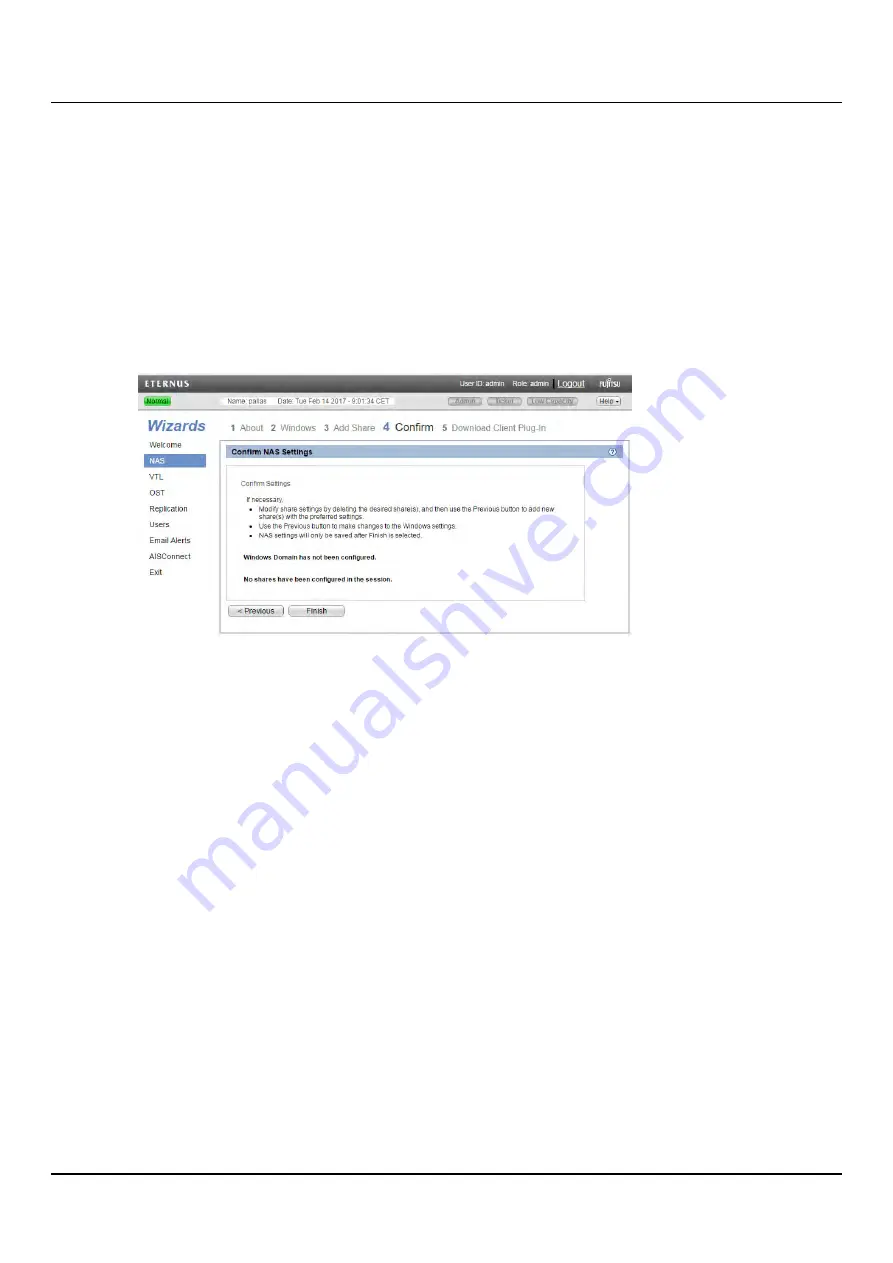
8.2 NAS Wizard
Step 4: Confirm
1. Review the settings you selected to make sure they are correct (see
). If necessary, click
Previous
to return to a previous step to
make changes.
2. To make changes to a NAS share you added, first select the share and click
Delete
to
delete the share. Then click
Previous
to return to the previous step and add a new
share.
3. After you have confirmed all settings, click
Finish
. The wizard configures the ETERNUS
CS800 with the settings you selected.
Figure 103: NAS Wizard: Confirm
Step 5: Download Client Plug-in
To download the Application Specific (RMAN) Plug-in, click
Download Client Plug-in
(see
"NAS Wizard: Download Client Plug-in" on page 140
). On the download page, download
the correct RMAN Plug-in for your Oracle Database and operating system.
The README file enclosed with the download describes how to install, configure and use
the plug-in.
ETERNUS CS800
139
Содержание ETERNUS CS800 S6
Страница 1: ...English ETERNUS CS800 S6 User Guide V3 2 7 Edition April 2017 ...
Страница 131: ...7 3 The Remote Management Console Figure 98 Remote Management Pages Map ETERNUS CS800 131 ...
Страница 173: ...8 8 AIS Connect Figure 132 AISConnect Wizard Confirm ETERNUS CS800 173 ...
Страница 449: ...16 2 Storage Subsystem Figure 313 Inserting the 3 5 inch HDD module ETERNUS CS800 449 ...


