55
•
If the TeraStation fails to boot after drive 1 or 2 is replaced, remove any media cartridges, then replace them
after the TeraStation has booted.
Erase Data on the TeraStation Completely
Under some circumstances, data from formatted drives can be recovered. The disk erasure process in this section
does a much more thorough job of erasing data. This procedure is recommended for removing all data from a drive
in a way that makes it nearly impossible to recover with current tools. All data on the drives is completely erased.
The TeraStation will then be in the following state:
•
All drives in JBOD
•
An empty shared folder on each drive
•
All settings returned to their default values
•
All logs deleted
If you remove a drive and then erase all data on the TeraStation, the LCD will show the E22 error message and the
number of the removed drive. You can still use the TeraStation.
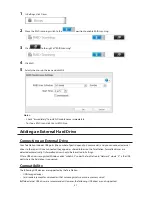
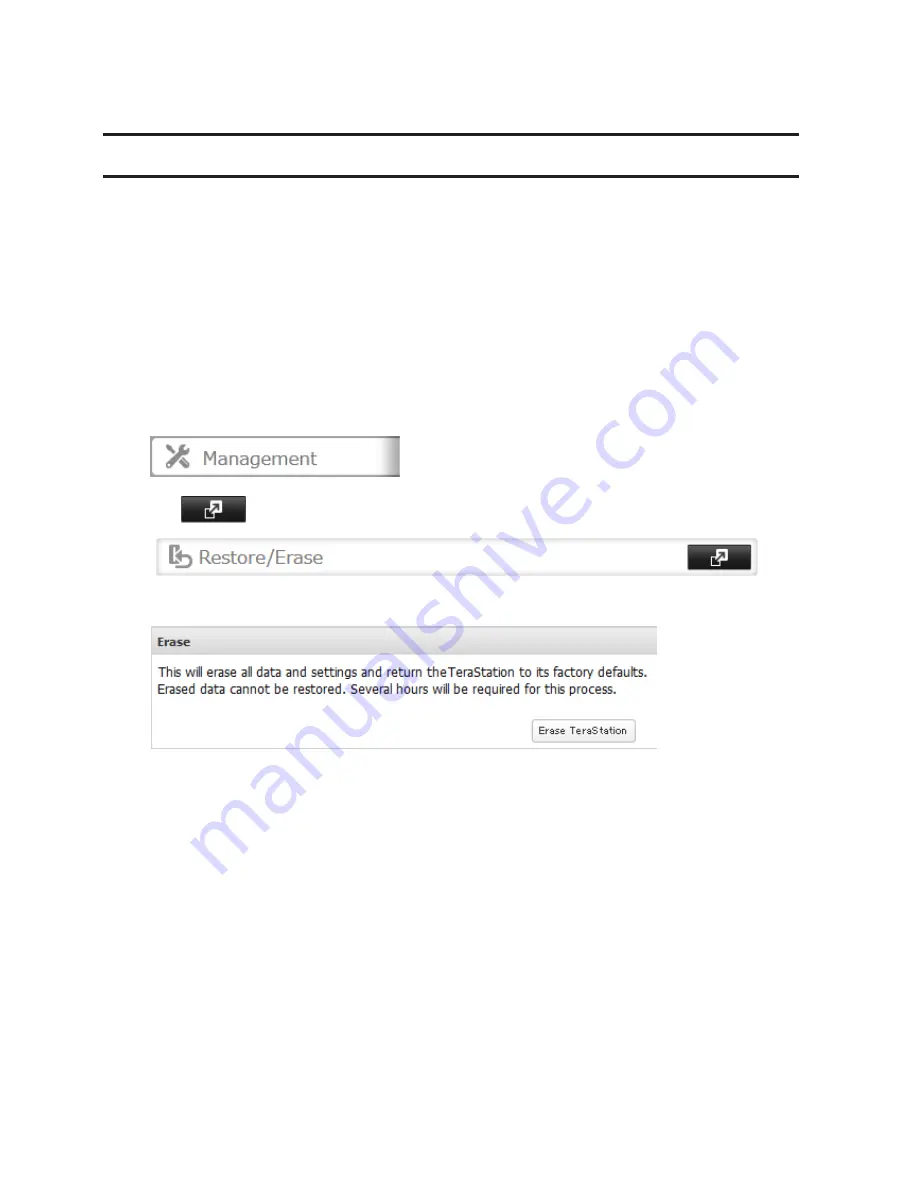
1
In Settings, click
Management
.
2
Click
to the right of "Restore/Erase".
3
Click
Erase TeraStation
.
Содержание TeraStation WSS 5000
Страница 10: ...9 Chapter 1 Installation Diagrams TS5800D TS5800DN TS5800DWR µ µ µ µ TS5600D TS5600DN µ µ µ µ ...
Страница 60: ...59 6 Click Edit under NAS Volume 7 Click Create Volume ...
Страница 67: ...66 2 Select the TeraStation name from the drop down menu of Target and click Register iSCSI Device 3 Click OK ...
Страница 88: ...87 2 Click to the right of Backup 3 Click List of LinkStations and TeraStations ...
Страница 90: ...89 3 Click Create New Job Note Up to 8 backup jobs can be configured ...
Страница 104: ...103 18Click Time Machine ...
Страница 105: ...104 19Click Select Backup Disk 20Select the TeraStation then click Use Disk ...
Страница 116: ...115 3 Click Create New Job ...
Страница 117: ...116 4 Select backup settings such as date and time to run 5 Click Add 6 Click Browse under Backup Source Folder Name ...
Страница 128: ...127 3 Click Edit 4 Click Browse 5 Select the shared folder that you want to make available to iTunes then click OK ...
Страница 131: ...130 9 Click Open Squeezebox The Squeezebox s settings will open ...
Страница 136: ...135 4 Open the License tab then click Activate Free License To deactivate the license click ...
Страница 138: ...137 3 Click Next 4 Click Find Cameras ...
Страница 144: ...143 2 Select the search criteria on the left side of the search screen then click Search ...
Страница 145: ...144 3 The search results are displayed Click a thumbnail to start the media viewer ...
Страница 191: ...190 4 Click Edit Note The settings of the PHP language interpreter can be changed from Edit php ini 5 Click Browse ...


