


189
SSL Keys
SSL keys are used during setup screen operations and FTP communication. SSL (Secure Socket Layer) is a type of
encryption system called public key encryption. Generally, SSL is managed by the two files below.
server.crt (SSL Certificates)
The TeraStation sends the file to a computer, and the computer uses it to perform encryption. The TeraStation
receives the encrypted data and uses server.key ( the private key) to decrypt the data.
In SSL, this key contains the server certificate, and depending on your computer environment, a check may be
performed to determine the trustworthiness of the certificate. The server certificate included in the TeraStation in
the default settings was created by Buffalo, and in some cases the message "There is a problem with this website's
security certificate" may be displayed in your browser or other software. Disregard this message and continue.
server.key (SSL Key)
This file is used as a pair with server.crt (server certificate). This is required for decrypting the data that was
encrypted by the server certificate, and this is normally not revealed.
Updating SSL Key
To update a server certificate and a private key for SSL, follow this procedure.
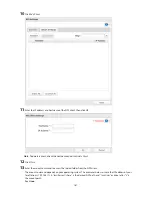
1
Navigate to
Management
-
SSL
.
2
Register "server.key" for "Secret Key" and "server.crt" for "Server Certificate (.crt)", then click
Import
.
Notes:
•
Place the SSL key files (server.key, server.crt) directly below the C root drive. The SSL key may not be able to
be updated if it is placed in folders or paths that contain multi-byte characters.
•
Use the provided password for the SSL key.
•
If Settings cannot be displayed after updating, initialize the TeraStation settings.
•
Updating the firmware initializes an SSL key.
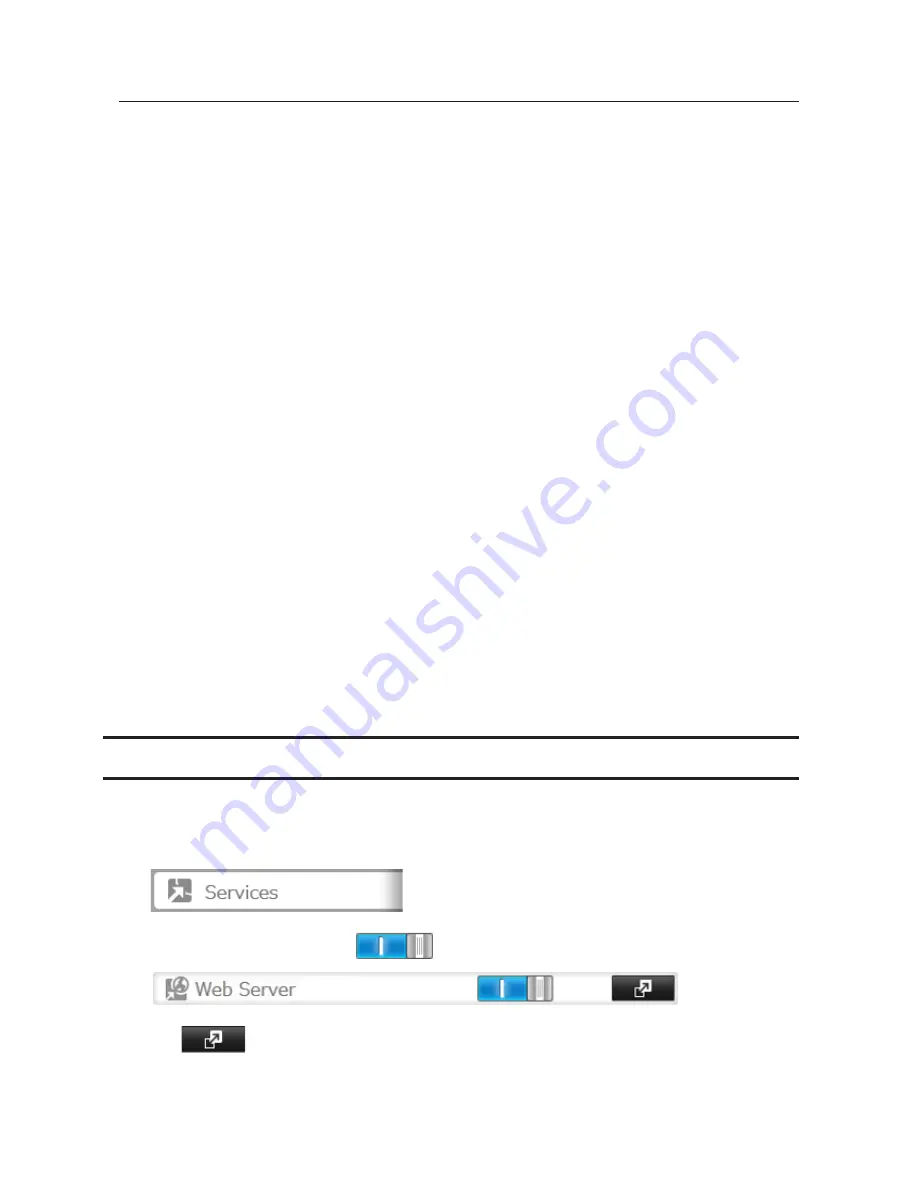
Web Server
The TeraStation can be used as a web server. In addition to HTML files, images, and JavaScript, the TeraStation also
allows installation of Perl script and PHP script files.
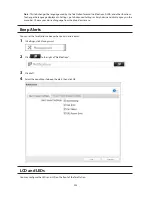
1
In Settings, click
Services
.
2
Move the web server switch to the
position to enable the web server.
3
Click
to the right of "Web Server".
Содержание TeraStation WSS 5000
Страница 10: ...9 Chapter 1 Installation Diagrams TS5800D TS5800DN TS5800DWR µ µ µ µ TS5600D TS5600DN µ µ µ µ ...
Страница 60: ...59 6 Click Edit under NAS Volume 7 Click Create Volume ...
Страница 67: ...66 2 Select the TeraStation name from the drop down menu of Target and click Register iSCSI Device 3 Click OK ...
Страница 88: ...87 2 Click to the right of Backup 3 Click List of LinkStations and TeraStations ...
Страница 90: ...89 3 Click Create New Job Note Up to 8 backup jobs can be configured ...
Страница 104: ...103 18Click Time Machine ...
Страница 105: ...104 19Click Select Backup Disk 20Select the TeraStation then click Use Disk ...
Страница 116: ...115 3 Click Create New Job ...
Страница 117: ...116 4 Select backup settings such as date and time to run 5 Click Add 6 Click Browse under Backup Source Folder Name ...
Страница 128: ...127 3 Click Edit 4 Click Browse 5 Select the shared folder that you want to make available to iTunes then click OK ...
Страница 131: ...130 9 Click Open Squeezebox The Squeezebox s settings will open ...
Страница 136: ...135 4 Open the License tab then click Activate Free License To deactivate the license click ...
Страница 138: ...137 3 Click Next 4 Click Find Cameras ...
Страница 144: ...143 2 Select the search criteria on the left side of the search screen then click Search ...
Страница 145: ...144 3 The search results are displayed Click a thumbnail to start the media viewer ...
Страница 191: ...190 4 Click Edit Note The settings of the PHP language interpreter can be changed from Edit php ini 5 Click Browse ...