R5905948 /12
Event Master Devices
93
The unit begins to reset. This takes about two minutes.
4.
Remove the USB drive.
Once the system resets, all the Inputs, Outputs, Destinations Presets, etc. from the simulated unit will have
been transferred to the live unit.
The icons from the simulated unit do not transfer to the live unit and must be recreated.
If the Multiviewer configurations are not transferred, they must be recreated.
5.9 System menu > Ethernet
General
The
Ethernet
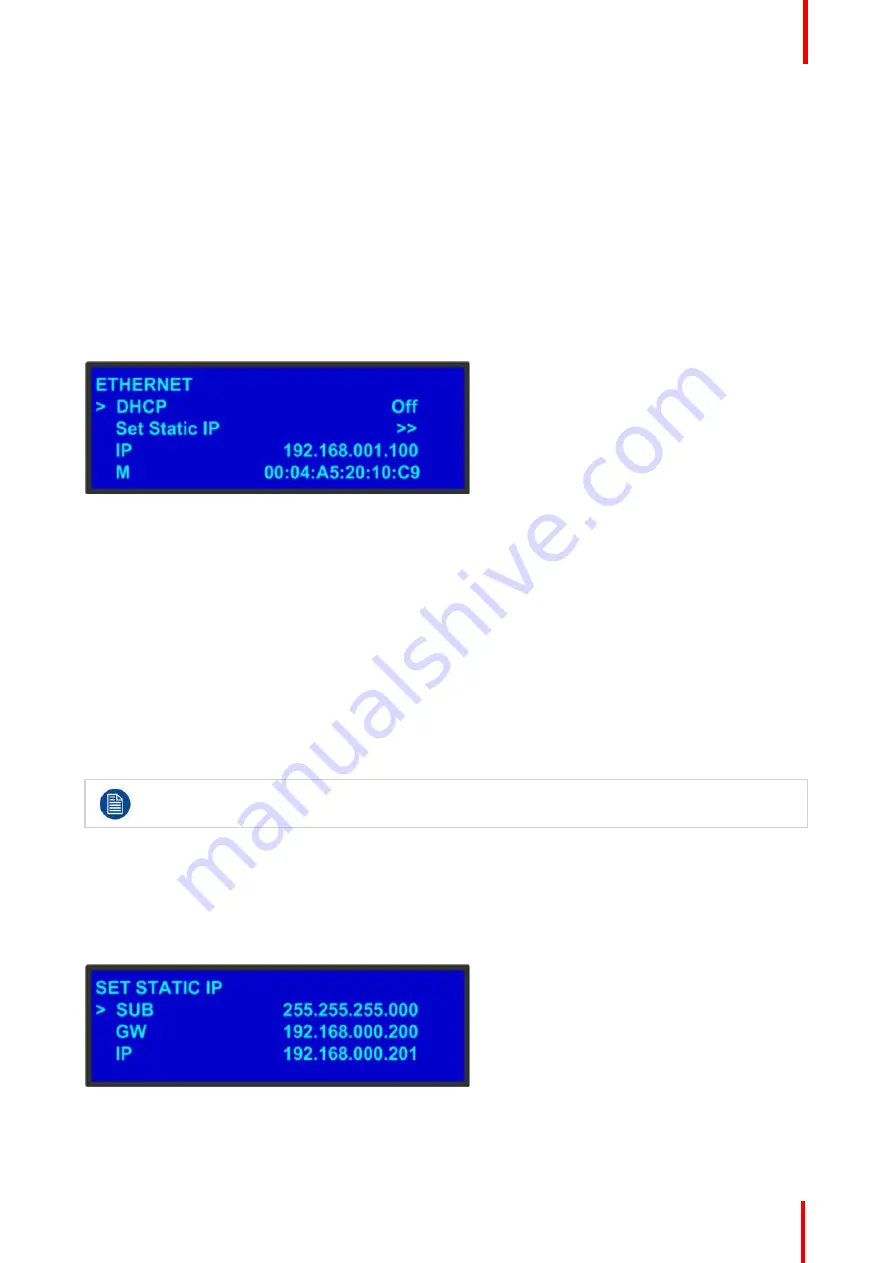
submenu allows the user to view and change certain Ethernet settings.
Image 5-17
Using this menu, you can:
•
Query the DHCP server for a valid IP address, or turn off this feature.
•
Set a static IP address for the Event Master unit, along with a subnet mask and gateway. This feature is
available only if
DHCP
is turned
Off
.
•
View the unit
’
s IP address.
If there is no internet connection, or if a DHCP server has not been found, the IP address is
000.000.000.000. In this case, the system ignores the Ethernet port.
•
View the Media Access Control (MAC) address of the unit
’
s Ethernet port.
Query the DHCP server
In the
Ethernet
submenu, the default setting for
DHCP
is
On
. When
DHCP
is turned on, the system
automatically queries the DHCP server for a valid IP address. If the unit receives an IP address, that address
is displayed in the
Ethernet
submenu.
It can take several seconds to obtain an address from the server. During this time, the
SEL
button
remains lit.
When
DHCP
is off, you can manually enter a static IP address, along with a subnet mask and gateway, in the
Set Static IP
submenu. Consult your network administrator for a valid IP address, subnet mask and gateway.
Setting a static IP Address
When a DHCP server is not available, you can set the Event Master unit
’
s IP address, using the
Set IP
submenu shown in the following illustration.
Image 5-18: Set IP Submenu (sample)
Содержание Event Master E2 Series
Страница 1: ...ENABLING BRIGHT OUTCOMES User s Guide Event Master Devices...
Страница 12: ...R5905948 12 Event Master Devices 12...
Страница 24: ...R5905948 12 Event Master Devices 24 Safety...
Страница 52: ...R5905948 12 Event Master Devices 52 General...
Страница 82: ...R5905948 12 Event Master Devices 82 Hardware orientation...
Страница 102: ...R5905948 12 Event Master Devices 102 Front Panel Menu orientation...
Страница 272: ...R5905948 12 Event Master Devices 272 Image 6 137 EM GUI orientation...
Страница 304: ...R5905948 12 Event Master Devices 304 Updating firmware...
Страница 326: ...R5905948 12 Event Master Devices 326 Image 9 28 General operation example...
Страница 382: ...R5905948 12 Event Master Devices 382 Preventive maintenance actions...
Страница 386: ...R5905948 12 Event Master Devices 386 14 2 Process Overview Flow chart Image 14 2 E2 Maintenance...
Страница 444: ...R5905948 12 Event Master Devices 444 E2 Maintenance...
Страница 448: ...R5905948 12 Event Master Devices 448 15 2 Process Overview Flow chart Image 15 2 S3 Maintenance...
Страница 528: ...R5905948 12 Event Master Devices 528 EC 200 EC 210 Maintenance...
Страница 569: ...569 R5905948 12 Event Master Devices Troubleshooting C...
Страница 572: ...R5905948 12 Event Master Devices 572 Troubleshooting...
Страница 583: ...R5905948 12 Event Master Devices 583 Index...


