CHAPTER 10. EDITING MIDI NOTES AND VELOCITIES
139
It always shows the complete contents of the selected MIDI clip. The black
rectangular outline represents the part of the clip that is currently displayed in
the Editor above. To scroll, click within the outline and drag left or right; to zoom
in and out, drag up and down.
6. Change the length of what is shown in the Editor by dragging the left or right
edges of the outline in the Clip Overview.
7. To quickly change what is shown in the Editor, click on a section that you want
to examine in the Clip Overview, then drag downwards to zoom in, or scroll by
dragging left and right.
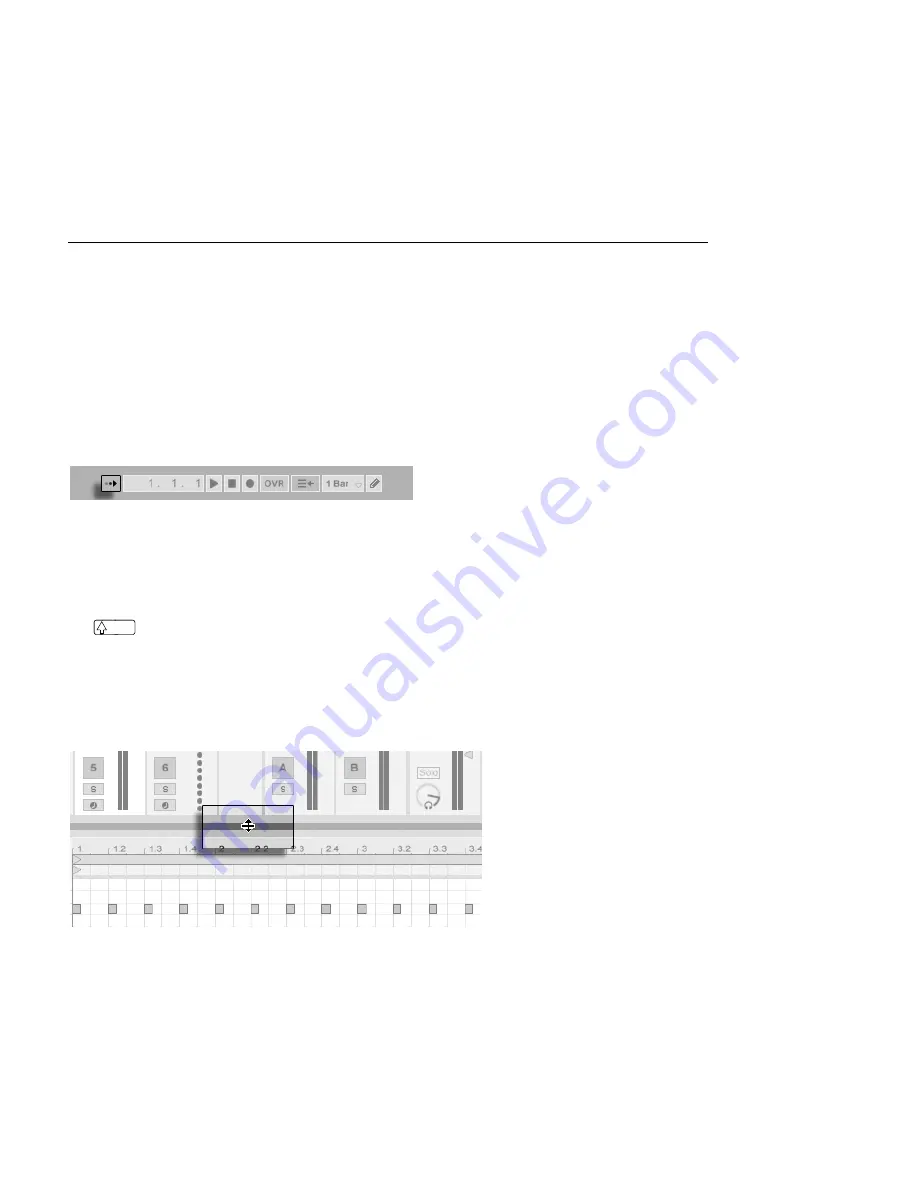
The Control Bar's Follow
Switch.
The area displayed in the Note Editor can be set to scroll with playback using the Follow
switch from the Control Bar.
When Permanent Scrub Areas is enabled in Live's Look/Feel Preferences, clicking in the
scrub area below the beat-time ruler starts playback from that point, rounded by the global
quantization setting. When the Permanent Scrub Areas preference is off, you can still scrub
by
-clicking anywhere in the scrub area or in the beat-time ruler. Learning about the
loop/region controls
and associated shortcuts can also be helpful in getting around in the
MIDI Editor and playing selections quickly and easily.
As you work with MIDI, you may nd yourself needing extra screen space. You can click and
drag vertically on the window split between the Session or Arrangement View and the Clip
View to enlarge the MIDI Editor.
Enlarge the MIDI Editor
by Dragging the
Window Split Between
Session and Clip Views.


