CHAPTER 9. TEMPO CONTROL AND WARPING
123
Transient Markers.
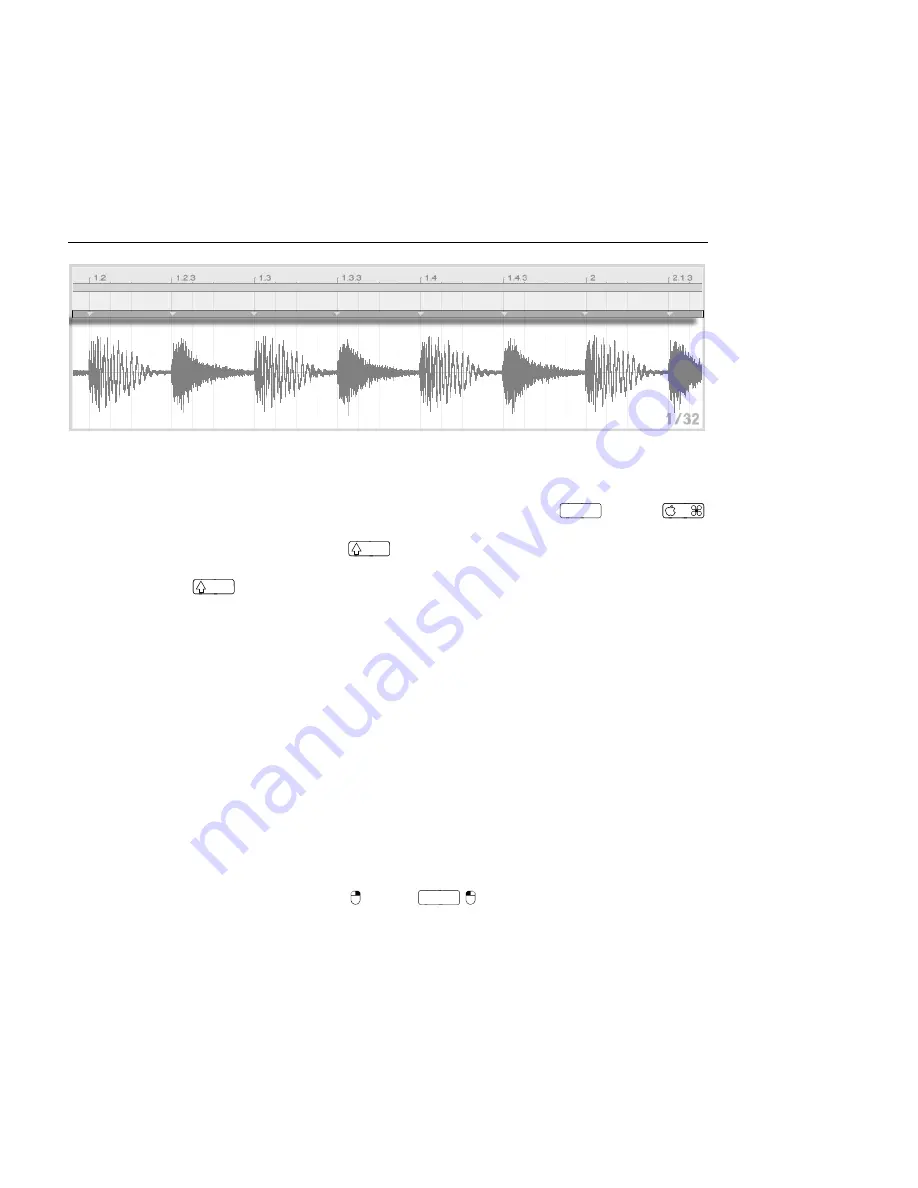
As you mouse over transients, temporary pseudo Warp Markers appear. These have
the same shape as regular Warp Markers, but they're grey. Double-clicking or dragging a
pseudo Warp Marker creates an actual Warp Marker or, if there are no Warp Markers later
in the clip, changes the tempo for the clip segment. Holding the
Ctrl
(PC) /
(Mac) modi er while creating a Warp Marker on a transient also creates Warp Markers at
the adjacent transients. Holding the
modi er while clicking on a pseudo Warp
Marker allows you to drag the transient to a new position. Once a Warp Marker has been
created, holding
while dragging the Warp Marker will move the waveform beneath
the marker, rather than the marker itself.
You can also select a range of time and create Warp Markers at all of the transients within
the range via the Create menu's Insert Warp Markers command. If there are no transients
within your time selection, a Warp Marker will be created at the end of the selection.
Although Live usually does a good job of placing transients in the right places, you can
delete and create transients as well, via the corresponding commands in the Create menu.
Saving Warp Markers
Your Warp Markers will automatically be saved with the Live Set, but you may also want to
save them with the sample le itself, so that they are reconstructed anytime you drag the
le into Live. To do this, click the Clip View's
Save button
.
Note that if a sample has a
saved set of Warp Markers
, Auto-Warp will have no effect. When
this is the case, you can use any of the
(PC) /
Ctrl
(Mac) context menu commands
described in this section to initiate auto-warping.


