14
Troubleshooting
214
Xerox Phaser 3635MFP User Guide
WARNING:
The metallic surfaces in the fuser area are hot. Please use
caution when removing paper jams from this area and avoid touching
any metallic surfaces
2.
Slide the green fuser door latch to the right and open the fuser door to
gain access to the inside of the fuser module. Remove any jammed
paper.
3.
Carefully close the fuser door. Ensure there is an audible click as the
fuser door latch slides back into position.
4.
Close the rear cover door.
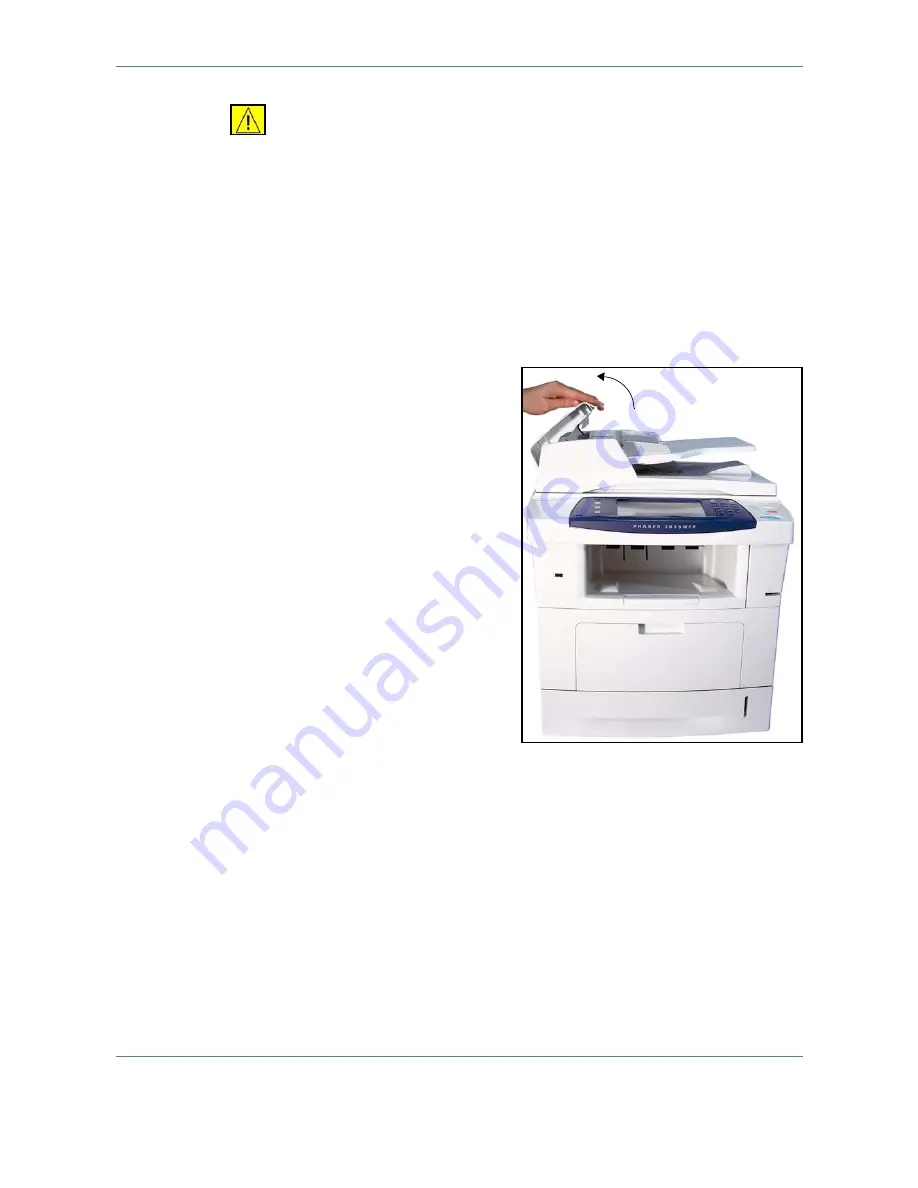
Document Jams
1.
Remove all the documents
from the document feeder and
document glass.
2.
Lift the document handler
cover and remover any
jammed paper.
3.
Close the document handler
cover.
4.
Re-order the documents as at
the start of the job and reload.
The documents will be
recycled automatically to
recover the job integrity.
NOTE:
If the paper is fed from the
bypass tray, refer to
Front Cover
Area Jams on page 213
for
clearance instructions.
NOTE:
If you are unable to clear the
fault, contact your local Xerox Welcome and Support Centre for assistance
(refer to
Customer Support and Supplies Numbers in the Setups chapter on
page 194.
).
Summary of Contents for Phaser 3635MFP/S
Page 1: ...Xerox Phaser 3635MFP User Guide Version 3 7 21 02 08...
Page 6: ...Table of Contents iv Xerox Phaser 3635MFP User Guide...
Page 42: ...2 Getting Started 36 Xerox Phaser 3635MFP User Guide...
Page 108: ...5 Network Scanning 102 Xerox Phaser 3635MFP User Guide...
Page 140: ...7 Store to USB 134 Xerox Phaser 3635MFP User Guide...
Page 148: ...8 Print Files 142 Xerox Phaser 3635MFP User Guide...
Page 202: ...11 Setups 196 Xerox Phaser 3635MFP User Guide...
Page 216: ...13 Specifications 210 Xerox Phaser 3635MFP User Guide...


