2017717_b•en•2016-11-01
We reserve the right to make technical changes
36
WAREMA climatronic® 3.x
Installation and connection
7.4 Switch actuator 4M230N (vivamatic® 3.0) DP/EGN
The switch actuator 4M230I (vivamatic® 3.0) is an electronic control device
for controlling up to four sun shading drives with or without an incremental
encoder. The switch actuator and its downstream power consumer are
supplied with 230 V AC. The connected products are controlled via the
WAREMA climatronic®; an on-site control device with operating elements is
also a possibility.
Function
An UP or DOWN move command can be issued both using a local operating
element and using the WAREMA climatronic®. The "Save slat angle"
command can only be issued via local operating elements.
The switch actuator 4M230I (vivamatic® 3.0) converts the issued commands
into a movement sequence appropriate for a vivamatic® sun shading system.
The vivamatic® bearing is brought into the required state before the move
command. Other button commands while the bearing is being prepared are
ignored.
Local operation
Push buttons are used for local operation.
Follow the external venetian blind operating instructions
(art. no. 867454) and the information at www.vivamatic.com.
Central operation by WAR MA climatronic®
Central operation enables the commands UP, DOWN and STOP.
The "Save slat angle" command cannot be issued centrally.
Local operation can override a command from the control panel.
Exception: A safety command (e.g. wind alarm) always has higher priority. In
this case, local operation is blocked. Local operation becomes active again
after the safety command is no longer present.
To operate the switch actuator 4M230I (vivamatic® 3.0), a WAR MA
climatronic® 3.0 control panel or newer is needed.
To prevent damage to the connected motors, the default settings are such
that only one relay is activated at a time and connected single push buttons
operate in dead man's mode. Group buttons and locking contacts are
functional after the actuator has been commissioned.
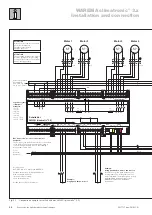
Install the actuator as described in
chapter 4.4 on page 15
.
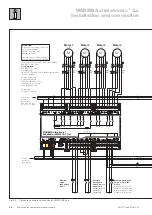
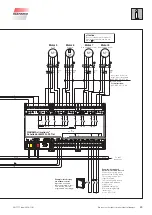
Use the
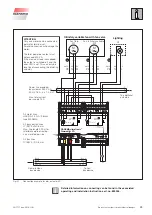
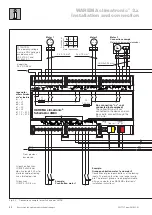
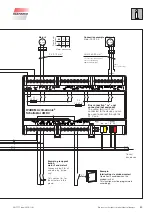
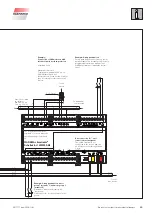
wiring diagram on page 46
to connect the actuator.
Detailed information on connecting can be found in the associated
installation instructions art. no. 2015105.


