6: Fine-Tuning Images
78
Table
of Contents
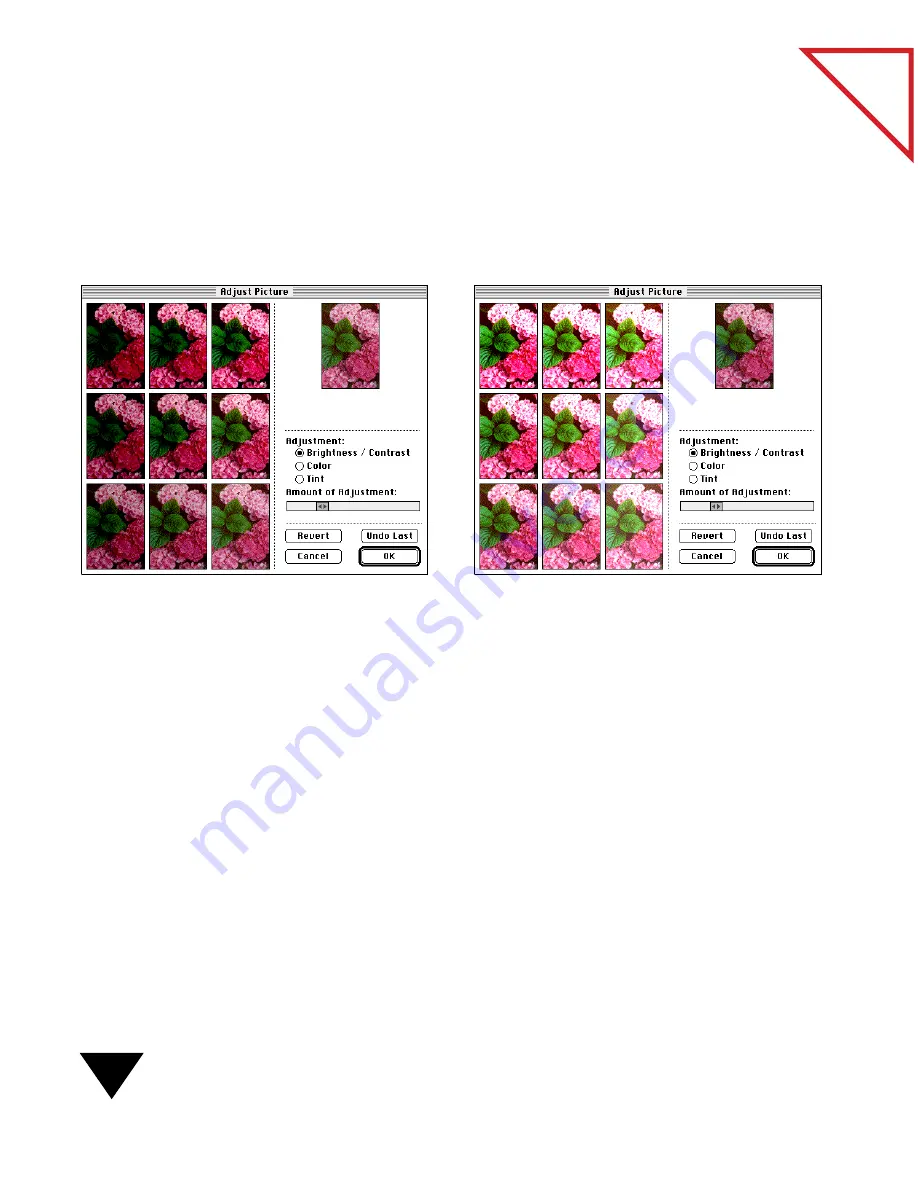
5. Click a picture that you like. The selected picture moves to the center
as your working picture. All other pictures are adjusted relative to the
center picture. For example, if you click the upper-left picture, which
is darker with greater contrast, it moves to the center. All other
pictures automatically adjust and become darker and with greater
contrast.
If you pick the upper-right picture, which is lighter and with less
contrast, it moves to the center and all other pictures are adjusted to a
lighter brightness and contrast. You can continue to click pictures,
until you are satisfied with the way the center picture looks.
6. Repeat Steps 4 and 5 until you have the center picture just the way
you want it.
7. To adjust another setting, such as color or tint, repeat Steps 3–6.
8. After you complete all adjustments, click
OK
. A progress dialog box
appears as your picture is adjusted.
Selecting the upper-left picture moves it to the center.
All other sample pictures are changed (in this
example, darkened) relative to the new working
center picture.
Selecting the upper-right picture moves it to the
center. All other sample pictures are changed (in this
example, lightened) relative to the new working
center picture.
Summary of Contents for PAPERPORT 5.0 SOFTWARE FOR MACINTOSH
Page 1: ...PaperPort 5 0 Software User s Guide F O R M A C I N T O S H...
Page 8: ...viii...
Page 42: ...2 Scanning Items 34 T a b l e o f C o n t e n t s...
Page 54: ...3 Viewing Items 46 T a b l e o f C o n t e n t s...
Page 88: ...6 Fine Tuning Images 80 T a b l e o f C o n t e n t s...
Page 110: ...7 Annotating Items 102 T a b l e o f C o n t e n t s...


