Vision MaxPro
74
© 2006 Vision Engraving Systems
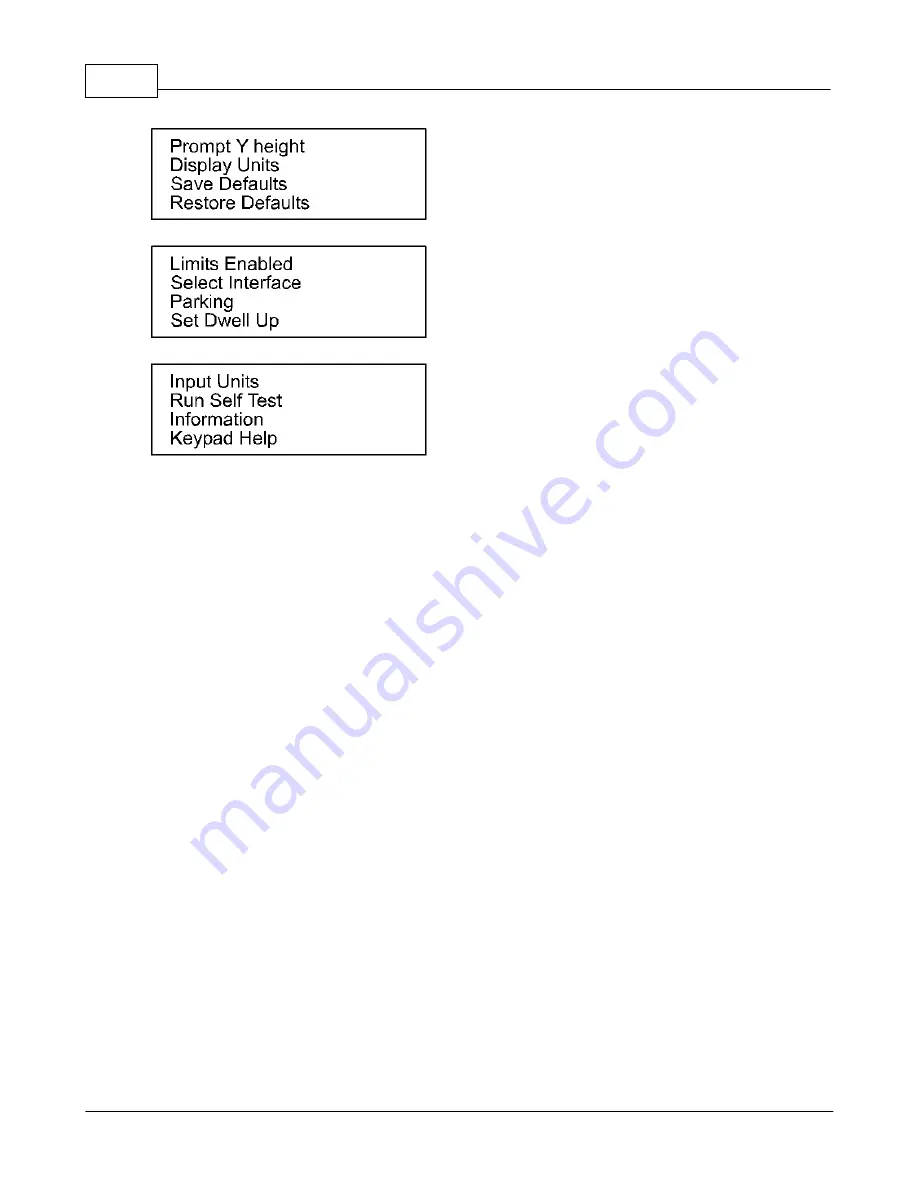
Prompt Y Height
When engraving jobs from programs such as CorelDRAW©, they may engrave upside. This
is typically caused by the program being used that is referencing the home position from the
lower left corner of the plate and the engraver or router is referencing the home position
from the upper left corner of the plate. To allow for this, the Vision Job Server will flip the job
automatically so that the engraving will come out properly. However, when doing this, the
Vision controller needs to know the page size that is setup in programs such as
CorelDRAW©. To accomplish this, the Prompt Y Height configuration setting must be
turned on. Move the cursor to the Prompt Y Height menu item using the Y up and down jog
buttons and press Enter. Press the X left jog button to select Yes and press Enter. Press
the Exit button two times to return to the main screen when finished.
Display Units
This menu item allows the LCD screen on the pendant to show the units on the LCD in
either inches or millimeters. To change between the two, move the cursor to the Display
Units menu item using the Y up and down jog buttons and press Enter. Press the X left jog
button to select imperial units or press the X right jog button to select metric units. Press the
Enter button and then press the Exit button two times to return to the main screen when
finished.
Save Defaults
This menu item is used if you would like to change the default settings in the MaxPro. You
can save settings such as the Spindle On/Off, Aux On/Off, Prox On/Off, Z lift, Z depth, RPM
and surface location. To save the machine defaults, change the settings above to the way
that you would like them. Move the cursor to the Save Defaults menu item using the Y up
and down jog buttons and press Enter. The LCD will show “Save Settins?”. Press Enter and
the settings are now saved. Press the Exit button two times to return to the main screen
when finished. The next time the machine is turned on, the defaults will be as you set them.
Summary of Contents for MaxPro
Page 5: ...Chapter I ...
Page 11: ...Chapter II ...
Page 23: ...Configuration 19 2006 Vision Engraving Systems 3 Click on the IP Address tab ...
Page 60: ......
Page 61: ...Chapter III ...
Page 100: ...Vision MaxPro 96 2006 Vision Engraving Systems Mounting the item to be engraved ...
Page 179: ...Operations 175 2006 Vision Engraving Systems The Plot screen below will appear ...
Page 182: ......
Page 183: ...Chapter IV ...
Page 191: ...Chapter V ...
Page 202: ...Vision MaxPro 198 2006 Vision Engraving Systems W Windows 2000 15 Windows 98 18 Windows XP 12 ...
Page 203: ......


