Operations
139
© 2006 Vision Engraving Systems
When selecting a large block of text, position the mouse cursor in front of the first character
and then drag the cursor directly to the last letter in the block. You do not have to move the
mouse cursor along the lines when drag selecting, just move directly from the beginning of
the block to the end in one smooth motion. All of the text in between should then be
highlighted.
Also remember that you can change a single character, a word, a single line, or all lines at
once depending on what you highlight before you make the change.
Several notes are worth mentioning when highlighting text:
1) You cannot select text that is not displayed on the screen. You might need to zoom out to
display the entire text block before selecting the text to modify.
2) If you accidentally move the mouse cursor off the visible screen when highlighting the
text, the mouse may behave as if the mouse button is stuck down. When this happens it
appears that you cannot end the highlight command. If this occurs, just click once within
the text frame to cancel the highlight command and try again.
3) You can start highlighting with the mouse cursor outside the blue dashed lines that
represent the text box as long as you hold the button down and then drag to highlight the
text. If you press and release the left mouse button with the mouse cursor outside the
text box, the text edit mode will be canceled and you will return to the normal graphic edit
mode. If you have done this my mistake, simply double click any text element with the left
mouse button to return to text mode.
Text Options and Settings
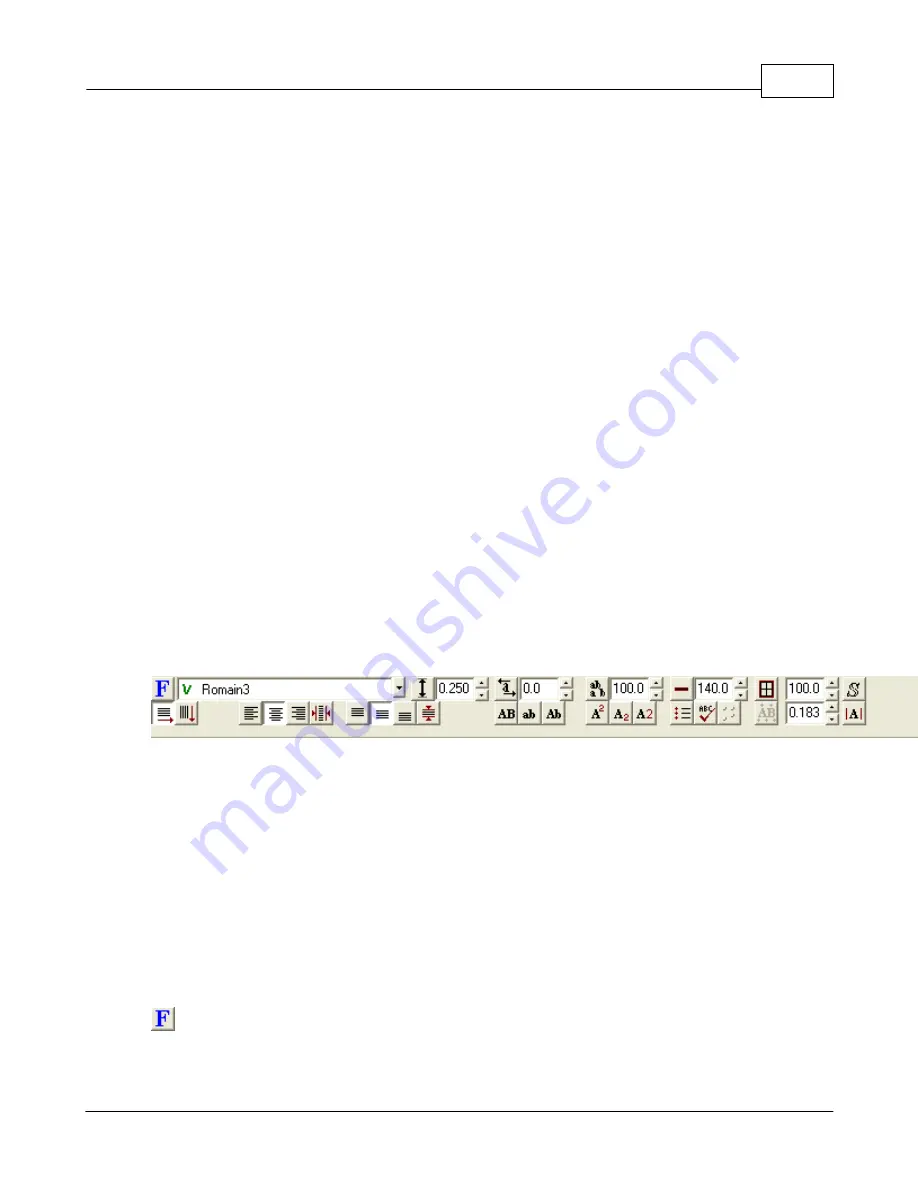
Each time you enter text mode in Vision Pro, the standard editing toolbar is replaced with a
text toolbar similar to the one shown below:
As you can see, the text toolbar consists of two rows of icons and edit boxes that control
virtually all text manipulation functions in the software. The software will display a title for
each icon and field if you place the mouse cursor on the value or icon for a few seconds
without moving it. A brief popup will then display the name of the field or icon as a reminder.
It is typically easier when changing numeric fields in Vision Pro such as Character Height is
to double click with the left mouse button to highlight the entire field, type in the new value
and press Enter once to instruct the software to accept the new value. Be careful to only
press enter once, since the cursor focus will then revert back to the text you have
highlighted in the layout. If you press enter again the highlighted text will be replaced with
the Enter keystroke. This is an easy mistake to make when you start working with Vision
Pro, but becomes much easier with a little practice.
Below defines and explains the of the text edit icons.
Select Font
– This icon has two functions depending on whether you click with the left
or right mouse button. When you click with the left mouse button, you will be able to
organize and manage the list of fonts displayed in the font pull down window. When left
Summary of Contents for MaxPro
Page 5: ...Chapter I ...
Page 11: ...Chapter II ...
Page 23: ...Configuration 19 2006 Vision Engraving Systems 3 Click on the IP Address tab ...
Page 60: ......
Page 61: ...Chapter III ...
Page 100: ...Vision MaxPro 96 2006 Vision Engraving Systems Mounting the item to be engraved ...
Page 179: ...Operations 175 2006 Vision Engraving Systems The Plot screen below will appear ...
Page 182: ......
Page 183: ...Chapter IV ...
Page 191: ...Chapter V ...
Page 202: ...Vision MaxPro 198 2006 Vision Engraving Systems W Windows 2000 15 Windows 98 18 Windows XP 12 ...
Page 203: ......


