Page | 130
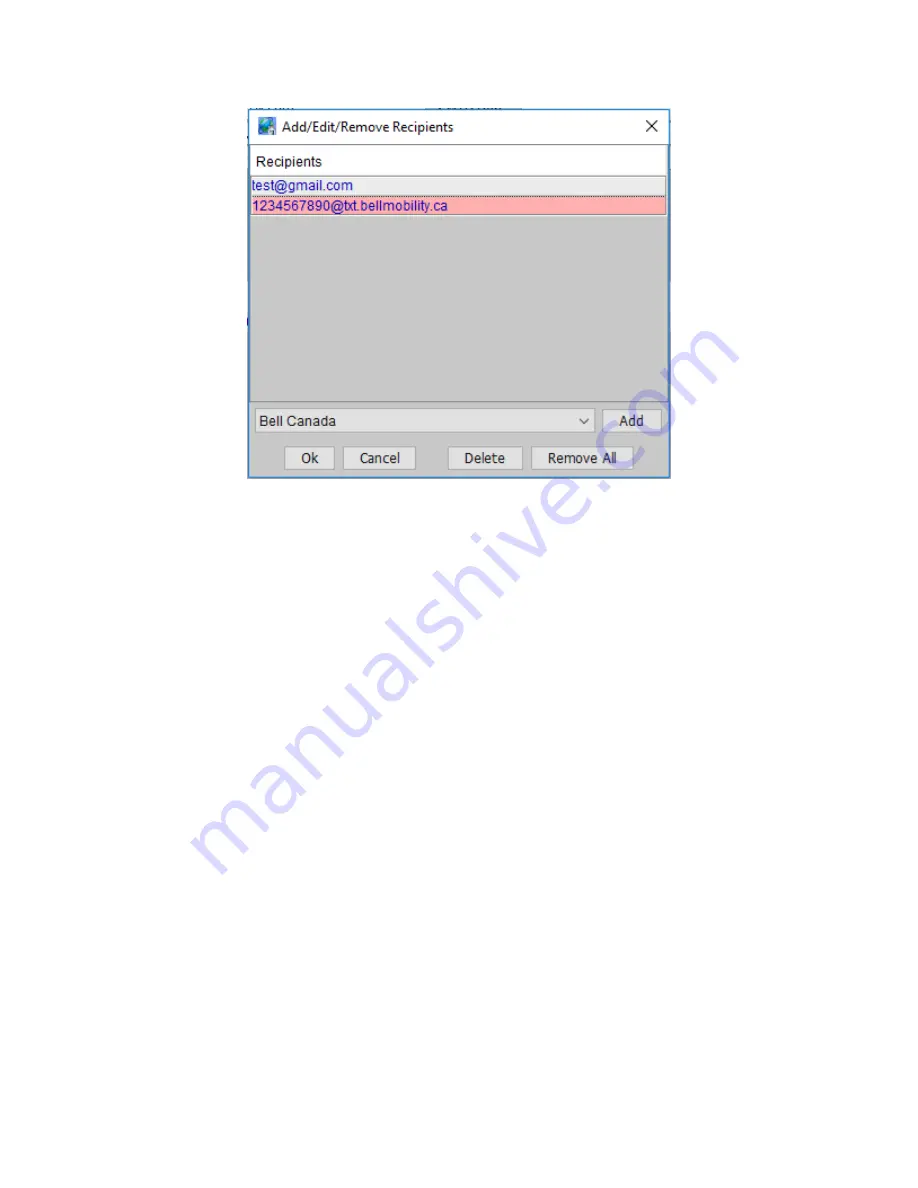
Figure 120: Email Recipients Screen
Choose the type of recipient you’
d like to add (Regular Email, text notification, etc.), hit the
Add button, then type the recipients corresponding address as instructed. When done, hit
OK to finish editing the group.
Always remember to hit the Save button on the bottom of the Admin Console to save
your settings to the ISY.
To send a test message to one of your recipient groups, highlight the group and hit the Test
button on the bottom of your screen.
On the top of the screen you’ll also find the “SMTP Settings” window where you can spe
cify
the email server used to deliver notifications. If “Use Default” is checked, the ISY utilize
s
the Universal-Devices server to send out notifications.
For advanced users, or if your ISP is blocking access to outside email servers, you can
uncheck this box and specify a custom SMTP server to use.
8.3.2
Custom Notifications
To configure custom notifications, click the Customizations sub-tab and hit the Add button.
Simply name your customization and type the message click the Customized Content field
to edit the content you want to send with your notification.
Use the drop-down boxes to add real time information to your notification, such as current
time/date, variable values, security system information, weather conditions, etc.
Summary of Contents for ISY-994i Series
Page 1: ...The ISY 994i Home Automation Cookbook ...
Page 35: ...Page 12 Figure 6 UDAjax Main Screen ...
Page 36: ...Page 13 Figure 7 UDAjax Devices Scenes Screen ...
Page 68: ...Page 45 Figure 44 NodeServer Configuration popup 5 2 5 Tools Menu Figure 45 Tools Menu ...
Page 102: ...Page 79 6 6 3 2Activate My OpenADR Portlet Figure 77 OpenADR My OpenADR Menu Option ...
Page 103: ...Page 80 6 6 3 3Configure OpenADR Settings Figure 78 OpenADR Settings Menu Option ...
Page 104: ...Page 81 Figure 79 OpenADR Settings Display ...
Page 108: ...Page 85 6 6 3 7Issue an Event Figure 84 OpenADR Issue and Event ...
Page 110: ...Page 87 Figure 86 OpenADR Event Viewer ...
Page 116: ...Page 93 Figure 92 ElkRP2 Account Details M1XEP Setup Button In the M1XEP Setup Window ...
Page 267: ...Page 244 Figure 189 State Variables ...
Page 268: ...Page 245 Figure 190 Programs and Folders ...
Page 292: ...Page 269 Figure 192 Irrigation Folders Figure 193 Irrigation Devices ...
Page 376: ...Page 353 Figure 209 Save Topology File ...
Page 433: ...Page 410 Figure 242 X 10 recognized as Living Room East Device ...
Page 540: ...Page 517 Figure 357 In Car Detection 12 Figure 358 In Car Detection 13 ...
Page 602: ...Page 579 Figure 382 SecureCRT SSH Raspberry PI Session ...
Page 685: ......


