Chapter 12: Recording
TruVision DVR 44HD User Manual
89
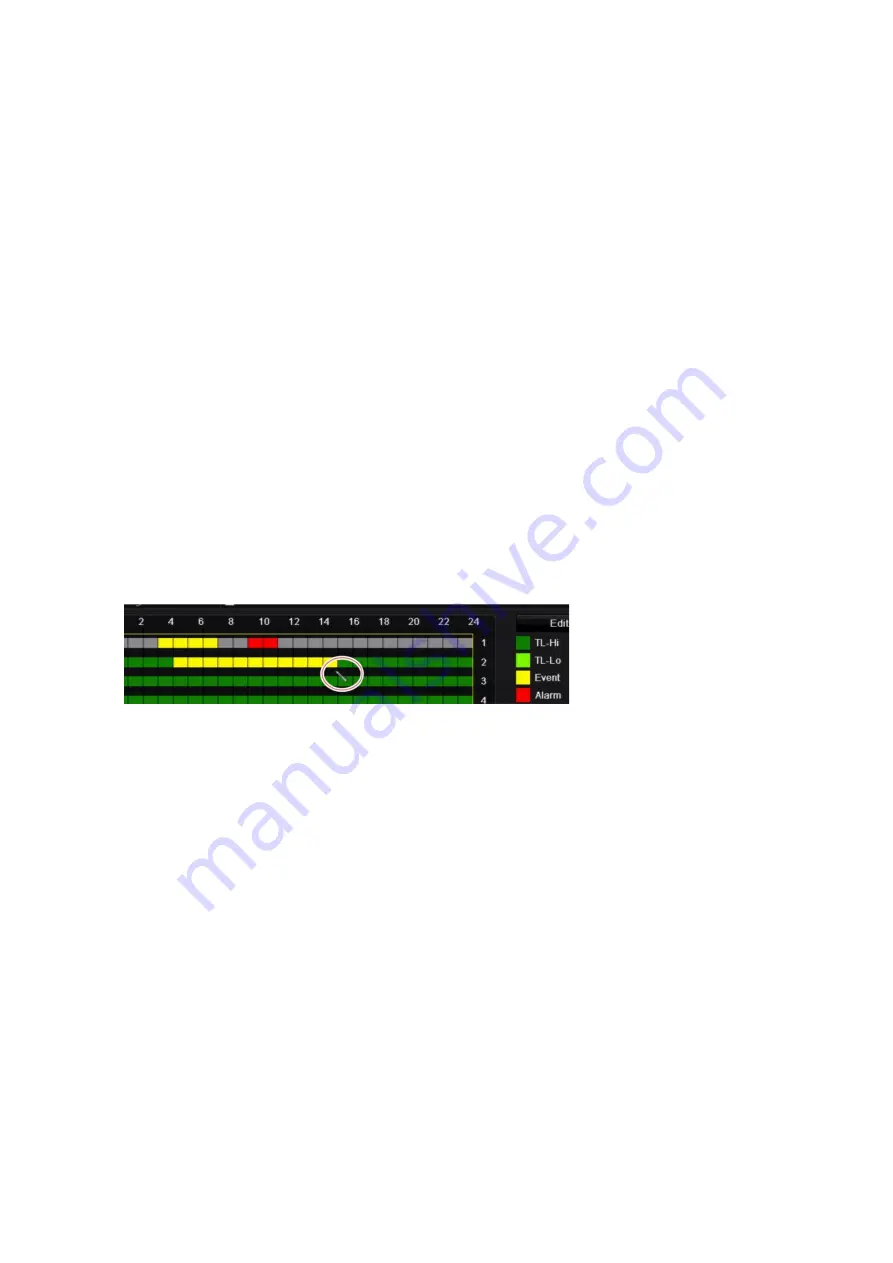
TL-Lo (Bright green): Low quality time lapse. Records low quality video. This could be used, for
example, for night recordings when few events or alarms are expected. Saving the video in low
quality helps save resources on the HDD.
Event (Yellow): Records only events, such as motion detection and POS/ATM text insertion.
Alarm (Red): Records only alarms.
None (Grey): No recording during this period.
5.
Edit button.
Click to modify schedules and to copy schedules to other days of the week.
6.
Timeline
. There is a 24-hour time line for each day. Up to eight recording periods can be scheduled
during the 24-hour period.
7.
Copy button.
Click to copy schedules between cameras.
Define a schedule from the recording schedule window
To set up a daily recording schedule:
1. Select a camera.
2. Check the
Enable Recording
box to indicate that video from this camera is to be recorded.
3. Click a record type in the legend to activate that record type. The cursor changes to a pen.
4. Drag the pen cursor across desired hours and days in the schedule overview to mark those
times with that specific record mode. To mark areas with a different record type, click on a
different record type to activate it.
5. Click
Apply
to save the settings and
Exit
to return live view.
Define a schedule from the Edit menu
To set up a daily recording schedule:
1. From the menu toolbar, click
Recording
>
Recording Schedule
.
2. Select a camera.
3. Check the
Enable Recording
box.
4. Click
Edit
. The following window is displayed:
Summary of Contents for interlogix TruVision DVR 44HD
Page 1: ...TruVision DVR 44HD User Manual P N 1072968 EN REV B ISS 11AUG15...
Page 174: ......


