47
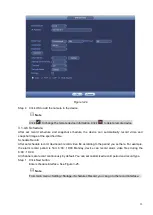
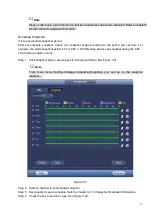
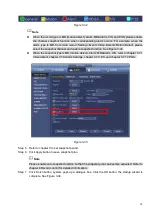
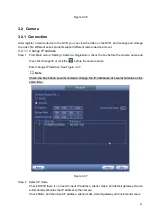
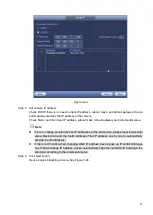
Figure 3-43
Step 5 Set camera IP address
Check DHCP, there is no need to input IP address, subnet mask, and default gateway. Device
automatically allocates the IP address to the camera.
Check Static, and then input IP address, subnet mask, default gateway and incremental value.
Note
⚫
If it is to change several devices IP addresses at the same time, please input incremental
value. Device can add the fourth address of the IP address one by one to automatically
allocate the IP addresses.
⚫
If there is IP conflict when changing static IP address, device pops up IP conflict dialogue
box. If batch change IP address, device automatically skips the conflicted IP and begin the
allocation according to the incremental value
Step 6 Click Next button.
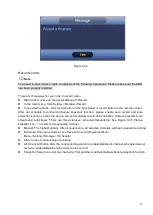
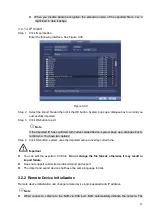
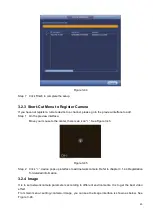
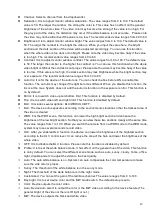
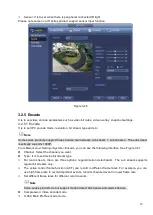
Device begins initializing camera. See Figure 3-44.
Summary of Contents for EmPower NVR
Page 1: ...EmPower NVR User s Manual V4 4 3...
Page 36: ...23 Figure 3 16 Step 2 Click device display edit interface See Figure 3 17...
Page 97: ...84 Figure 3 91 Figure 3 92...
Page 120: ...107 Figure 3 110 Figure 3 111 Figure 3 112...
Page 131: ...118 Figure 3 123 Figure 3 124...
Page 133: ...120 Figure 3 126 Click draw button to draw the zone See Figure 3 127...
Page 137: ...124 Figure 3 130 Click Draw button to draw a zone See Figure 3 131 Figure 3 131...
Page 142: ...129 Figure 3 136 Click draw button to draw the zone See Figure 3 137...
Page 155: ...142 Figure 3 149 Figure 3 150...
Page 156: ...143 Figure 3 151 Figure 3 152...
Page 174: ...161 Figure 3 172 Figure 3 173...
Page 277: ...264 Figure 4 61 Figure 4 62 Figure 4 63...
Page 303: ...290 Figure 4 101 Figure 4 102...
Page 327: ...314 Figure 4 136 Note For admin you can change the email information See Figure 4 137...

