296
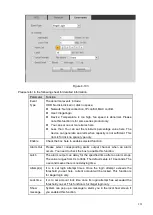
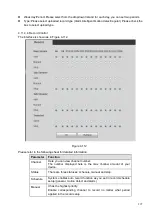
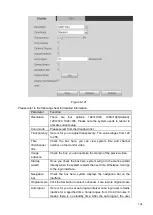
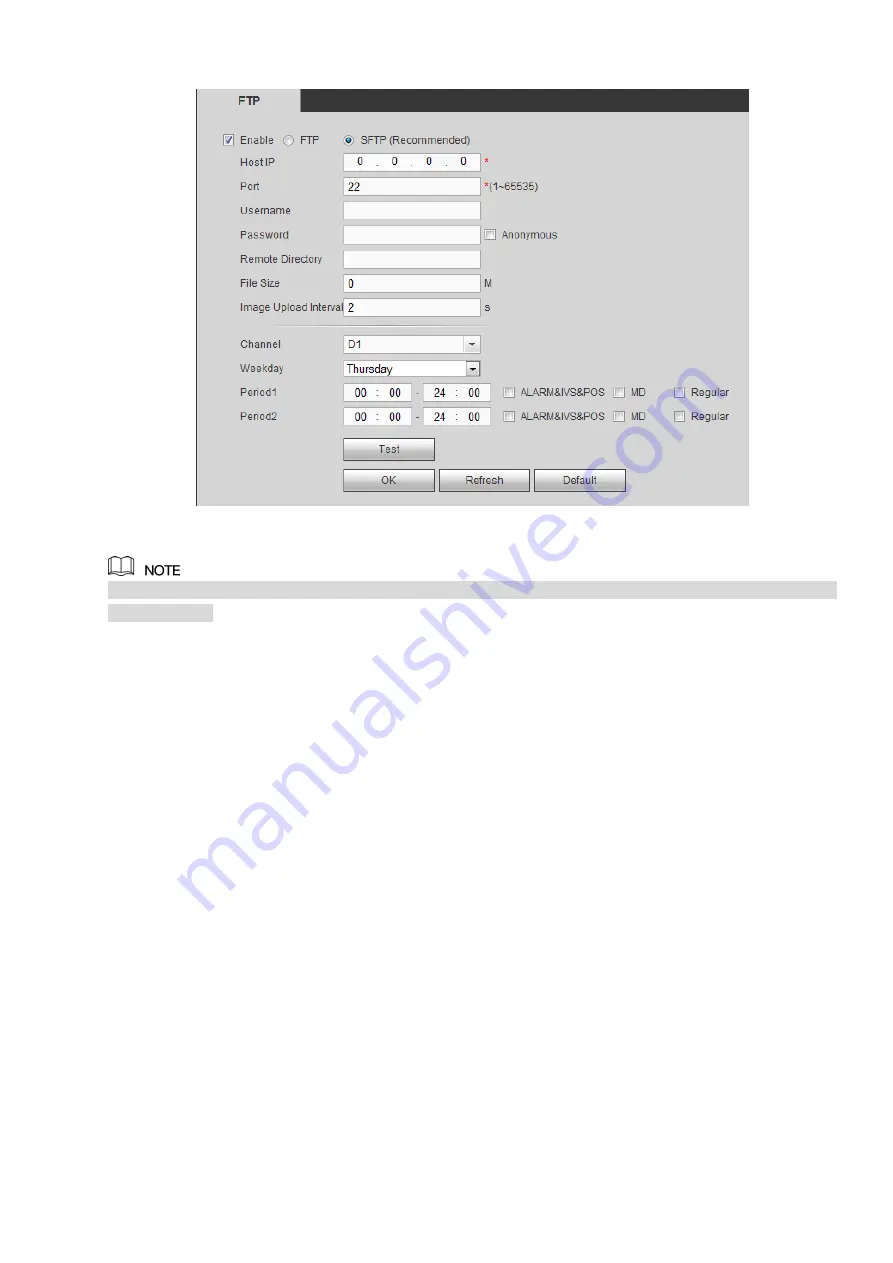
Figure 4-111
FTP transmits data with clear text mode and SFTP transmits data with encrypted mode. SFTP is
recommended.
⚫
Host IP: The host IP you have installed the FTP server.
⚫
Port: The default SFTP port number is 22 and the default FTP port number is 21.
⚫
User name/Password: The account for you to access the FTP server.
⚫
Remote directory: The folder you created under the root path of the FTP according to the
corresponding rule.
If there is no remote directory, system can auto create different directories according to the IP,
time and channel.
If there is remote directory, system can create corresponding folder under the FTP root path and
then create different folders according to IP address, time and channel.
⚫
File length: File length is upload file length. When setup is larger than the actual file length, system
will upload the whole file. When setup here is smaller than the actual file length, system only uploads
the set length and auto ignore the left section. When interval value is 0, system uploads all
corresponding files.
⚫
Image upload interval: It is the image upload interval. If the image upload interval is larger than the
image snapshot frequency, system just uploads the lasted image.
If the image interval is 5 seconds and the snapshot frequency is 2 seconds, system will send out
the latest image at the buffer at 5 seconds.
If the image upload interval is smaller than the snapshot frequency, system will upload at the
snapshot frequency. For example, if the image interval is 5 seconds and the snapshot frequency
is 10 seconds, system will send out the image at 10 seconds.
From main menu->Setting->Camera->Encode->Snapshot to set snapshot frequency.
⚫
Channel: Select a channel from the dropdown list and then set week, period and record type.
Summary of Contents for EmPower NVR
Page 1: ...EmPower NVR User s Manual V4 4 3...
Page 36: ...23 Figure 3 16 Step 2 Click device display edit interface See Figure 3 17...
Page 97: ...84 Figure 3 91 Figure 3 92...
Page 120: ...107 Figure 3 110 Figure 3 111 Figure 3 112...
Page 131: ...118 Figure 3 123 Figure 3 124...
Page 133: ...120 Figure 3 126 Click draw button to draw the zone See Figure 3 127...
Page 137: ...124 Figure 3 130 Click Draw button to draw a zone See Figure 3 131 Figure 3 131...
Page 142: ...129 Figure 3 136 Click draw button to draw the zone See Figure 3 137...
Page 155: ...142 Figure 3 149 Figure 3 150...
Page 156: ...143 Figure 3 151 Figure 3 152...
Page 174: ...161 Figure 3 172 Figure 3 173...
Page 277: ...264 Figure 4 61 Figure 4 62 Figure 4 63...
Page 303: ...290 Figure 4 101 Figure 4 102...
Page 327: ...314 Figure 4 136 Note For admin you can change the email information See Figure 4 137...

