


43
⚫
When you disable backup encryption, the extension name of the exported file is .csv. It
might lead to data leakage.
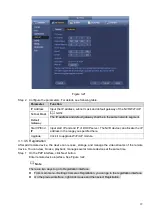
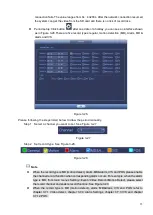
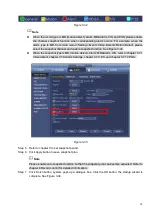
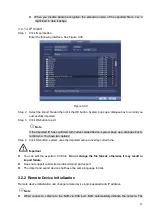
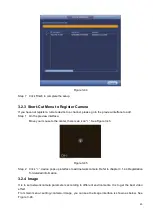
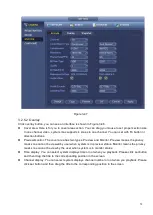
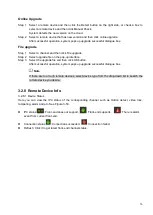
3.2.1.3 IP Import
Step 1 Click Import button.
Enter the following interface. See Figure 3-39.
Figure 3-39
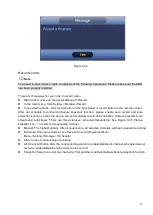
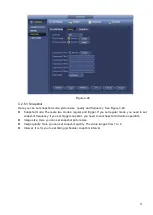
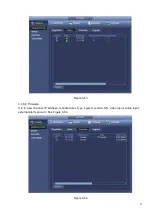
Step 2 Select the import file and then click the OK button. System pops up a dialogue box to remind you
successfully imported.
Step 3 Click OK button to exit.
Note
If the imported IP has conflicted with current added device, system pops up a dialogue box to
remind you. You have two options:
Step 4 Click OK button, system uses the imported setup to overlay current one.
Important
⚫
You can edit the exported .CVS file.
Do not change the file format; otherwise it may result in
import failure.
⚫
Does not support customized protocol import and export.
⚫
The import and export device shall have the same language format.
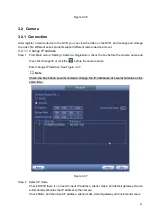
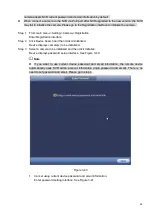
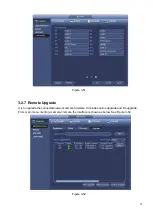
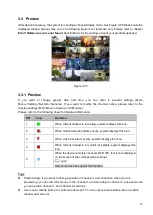
3.2.2 Remote Device Initialization
Remote device initialization can change remote device login password and IP address.
Note
⚫
When connect a camera to the NVR via PoE port, NVR automatically initialize the camera. The
Summary of Contents for EmPower NVR
Page 1: ...EmPower NVR User s Manual V4 4 3...
Page 36: ...23 Figure 3 16 Step 2 Click device display edit interface See Figure 3 17...
Page 97: ...84 Figure 3 91 Figure 3 92...
Page 120: ...107 Figure 3 110 Figure 3 111 Figure 3 112...
Page 131: ...118 Figure 3 123 Figure 3 124...
Page 133: ...120 Figure 3 126 Click draw button to draw the zone See Figure 3 127...
Page 137: ...124 Figure 3 130 Click Draw button to draw a zone See Figure 3 131 Figure 3 131...
Page 142: ...129 Figure 3 136 Click draw button to draw the zone See Figure 3 137...
Page 155: ...142 Figure 3 149 Figure 3 150...
Page 156: ...143 Figure 3 151 Figure 3 152...
Page 174: ...161 Figure 3 172 Figure 3 173...
Page 277: ...264 Figure 4 61 Figure 4 62 Figure 4 63...
Page 303: ...290 Figure 4 101 Figure 4 102...
Page 327: ...314 Figure 4 136 Note For admin you can change the email information See Figure 4 137...