162
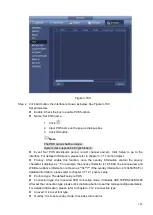
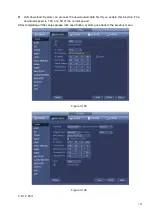
Step 5 Click Apply or OK to save the configuration.
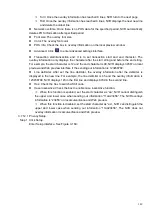
Unbinding Repeater
If you want to unbind the repeater, click the corresponding channel and the IPC in this channel will
connect to the NVR device directly.
You can delete repeater IPC only from the last level
3.8.1.6 3G
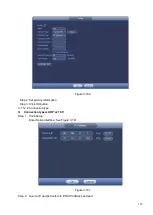
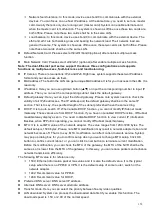
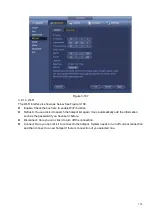
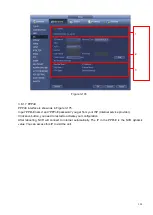
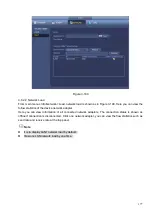
3G setup interface is shown as below. See Figure 3-174.
Please refer to the following contents for the parameter information.
⚫
Pane 1: Display 3G signal intensity after you enabled 3G function.
⚫
Pane 2: Display 3G module configuration information after you enabled 3G function.
⚫
Pane 3: Display 3G module status information after you enabled 3G function.
It is to display current wireless network signal intensity such as EVDO, CDMA1x, WCDMA, WCDMA,
EDGE and etc.
⚫
3G module: It is to display current wireless network adapter name.
⚫
3G Enable/Disable: Check the box here to enable 3G module.
⚫
Network type: There are various network types for different 3G network modules. You can select
according to your requirements.
⚫
APN: It is the wireless connection server. It is to set you access the wireless network via which
method.
⚫
AUTH: It is the authentication mode. It supports PAP/CHAP.
⚫
Dial number: Please input 3G network dialup number you got from your ISP.
⚫
User name: It is the user name for you to login the 3G network.
⚫
Password: It is the password for you to login the 3G network.
⚫
Pulse interval: You can set dialup duration. Once you disable the extra stream, the connection time
begins. For example, if you input 5 seconds here, then 3G network connection period is 5 seconds.
The device automatically disconnect when time is up. If there is no extra stream, 3G network
connection is valid all the time.
If the alive time is 0, then the 3G network connection is valid all
the time.
⚫
Dial: Here you can enable or disable 3G network connection/disconnection manually.
⚫
3G wireless network: Here is to display wireless network status, SIM card status, dial status. If the 3G
connection is OK, then you can see the device IP address the wireless network automatically
allocates.
Summary of Contents for EmPower NVR
Page 1: ...EmPower NVR User s Manual V4 4 3...
Page 36: ...23 Figure 3 16 Step 2 Click device display edit interface See Figure 3 17...
Page 97: ...84 Figure 3 91 Figure 3 92...
Page 120: ...107 Figure 3 110 Figure 3 111 Figure 3 112...
Page 131: ...118 Figure 3 123 Figure 3 124...
Page 133: ...120 Figure 3 126 Click draw button to draw the zone See Figure 3 127...
Page 137: ...124 Figure 3 130 Click Draw button to draw a zone See Figure 3 131 Figure 3 131...
Page 142: ...129 Figure 3 136 Click draw button to draw the zone See Figure 3 137...
Page 155: ...142 Figure 3 149 Figure 3 150...
Page 156: ...143 Figure 3 151 Figure 3 152...
Page 174: ...161 Figure 3 172 Figure 3 173...
Page 277: ...264 Figure 4 61 Figure 4 62 Figure 4 63...
Page 303: ...290 Figure 4 101 Figure 4 102...
Page 327: ...314 Figure 4 136 Note For admin you can change the email information See Figure 4 137...

