C2-5000 Series Universal Scaler Operation Manual
26
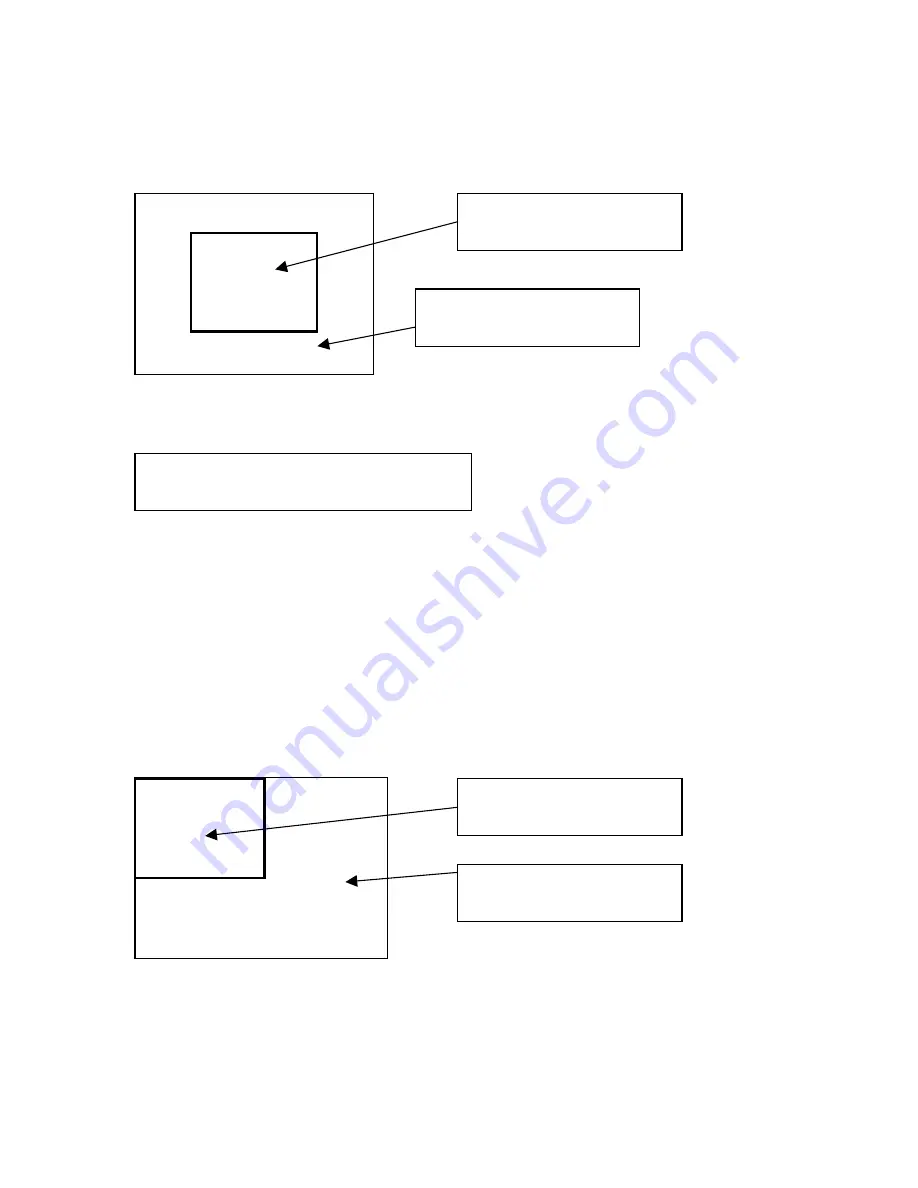
The brackets have now ceased their flashing and on the monitor you should see
the foreground image shown at 50% of its full screen size, replacing the middle of
the background image:
The last step is to set the position of the PIP. Rotate the Menu Select knob to
the right until the H/V Shr. pos % screen will appears on the LCD display:
Foreground Image
(RGB2 in the example)
Background Image
(RGB1 in the example)
Adjust Scaler Parameters
H/V shr. pos.% [ 50] 50
Press the knob once and the brackets will begin to flash. This is where you’ll set
the Horizontal position of the inserted (PIP) image. Rotating the knob to the left
(Counter-clockwise) will cause the inserted image to move to the left. Rotating
the knob right (Clockwise) moves the image to the right. When you reach the
Horizontal position you desire, press the knob again to lock in that value and stop
the brackets from flashing. Rotate the knob one ‘click’ to the right, press the knob
again and the Vertical position of the image can be set. Rotating the knob to the
left causes the image to move up and rotating it to the right moves the image
down. In this tutorial, we’ve moved the inserted image to the top, left corner of
the monitor’s display. Press the knob again to lock in the value and stop the
brackets from flashing.
The LCD screen now looks like
Foreground Image
(RGB2 in the example)
Background Image
(RGB1 in the example)
Summary of Contents for C2-5000 Series
Page 1: ...C2 5000 Series Universal Scaler Operation Manual...
Page 2: ...C2 5000 Series Universal Scaler Operation Manual 2...
Page 4: ...C2 5000 Series Universal Scaler Operation Manual 4...
Page 105: ...C2 5000 Series Universal Scaler Operation Manual 105 C2 5100 5200 Block Diagram...
Page 115: ...C2 5000 Series Universal Scaler Operation Manual 115...


