


Model Two & Model Two Lite - Operation Manual
46
Channel Spectrum Scanning
The Model Two is designed to display the full span of video and audio carriers in your system.
This function provides a quick check of your system’s overall flatness and amplitude.
The Model Two can also be set to display the video and audio carriers at reduced frequency
spans. Amplitude limits can be imposed on the display, while a convenient Frequency Marker
enables you to
zoom
in on any suspect channels.
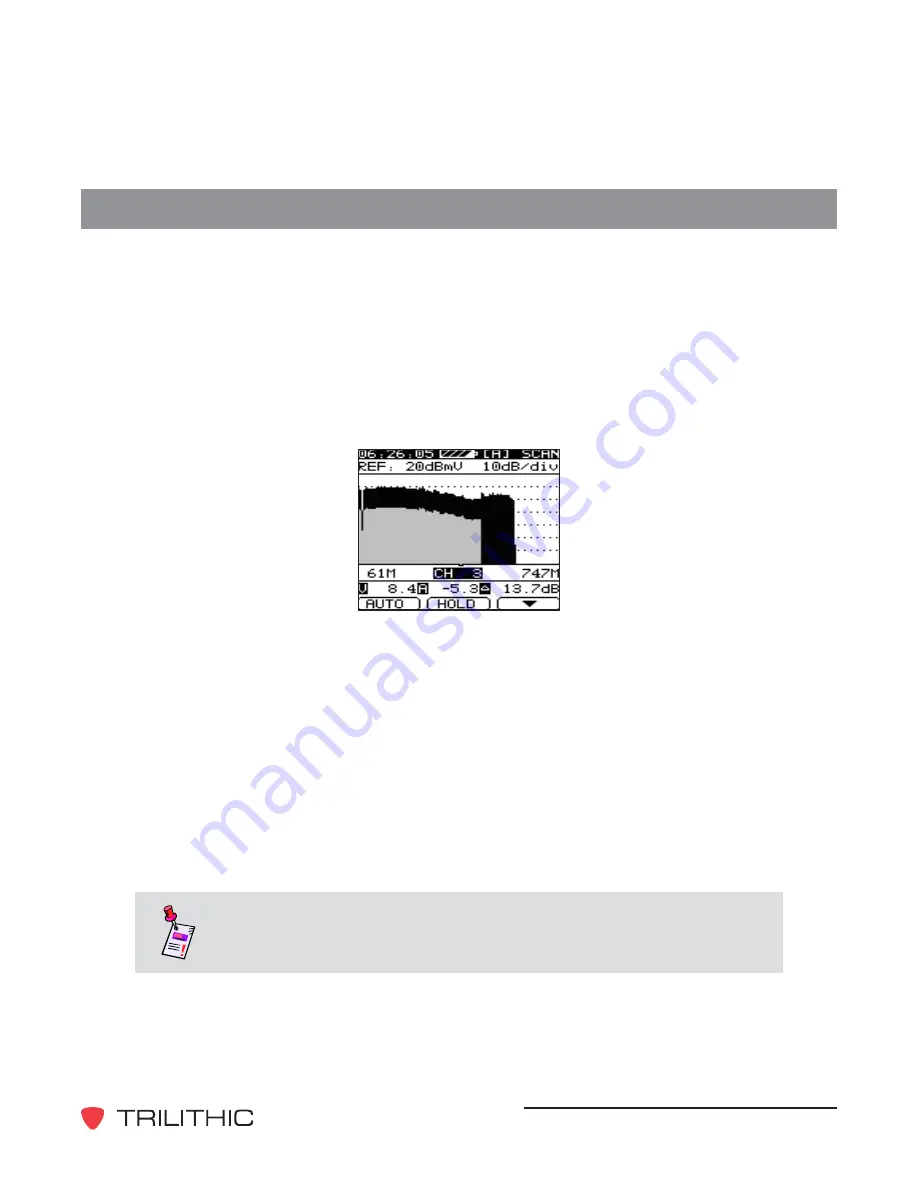
To enter the Channel Spectrum Scanning screen, press
SCAN
. The currently selected User
Channel Plan measurement data is displayed in a graph with a viewing range of 126 channels.
(This can be extended to 150 by adjusting the Scan Marker line).
The Audio levels are shown graphically with a light shade, while Video levels are shown darker.
Digital channels (DIGI) and Single Frequency channels (SNGL) that do not have separate audio
and video components are shown as all dark.
The Model Two also displays the marker (channel or frequency) and its video, audio, and V/A
Δ
levels along with the Low (starting) and High (ending) frequencies.
When entering Scan mode, the marker is positioned on the last channel used in Level mode. This
makes it easy to quickly view a selected channel within the channel plan.
To change the marker channel, press the
UP
and
DOWN
arrow keys. You can also press
FCN
and enter the channel (or frequency if selected), then press
F1
to move the marker to the desired
location.
Note:
The marker may be changed from channel number to frequency:
Press
SET
once for Fast Setup, select
Marker
, and press
F1
to change
the marker indication.


