Connecting Components
Connecting peripherals
64
3
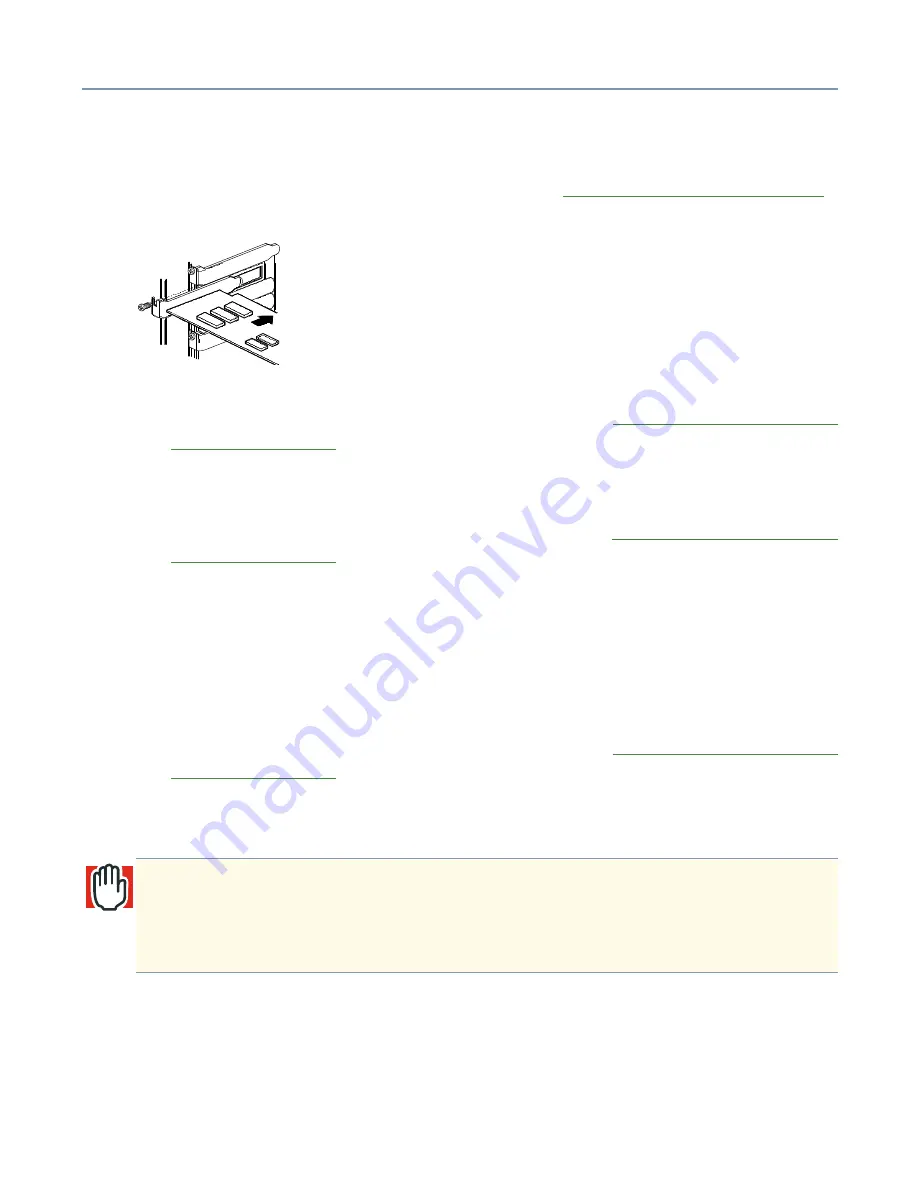
Align the contacts on the edge of the expansion card with the expansion slot
connector on the system board, then press down on the card to secure it in the
connector. Using “Screw A” shown in the table of
Toshiba supplied hardware items
on page 29, secure the expansion card in the slot.
Installing an expansion card
4
Reinstall the bezel and side panel. For instructions, see
Removing and installing the
bezel and side panel
on page 31.
Removing expansion cards
1
Remove the bezel and side panel. For instructions, see
Removing and installing the
bezel and side panel
on page 31.
2
Remove the screw securing the expansion card to the server chassis. Save the
screw for future use.
3
Grasp the expansion card firmly and lift it carefully to separate it from the expansion
card connector on the system board. Place the expansion card in an antistatic bag.
4
Insert the expansion slot cover in the opening to the expansion slot.
5
Reinstall the bezel and side panel. For instructions, see
Removing and installing the
bezel and side panel
on page 31.
Connecting peripherals
The server has sockets on the back for connecting a keyboard, a mouse, a monitor, a
printer, or other peripheral devices.
WARNING: Use genuine Toshiba peripherals or recommended equivalents, and
refer to the manuals supplied with them. Some peripherals and interface cables that
aren’t recommended may pose a fire hazard. Consult your authorized service repair
office or sales office for recommended optional devices.


