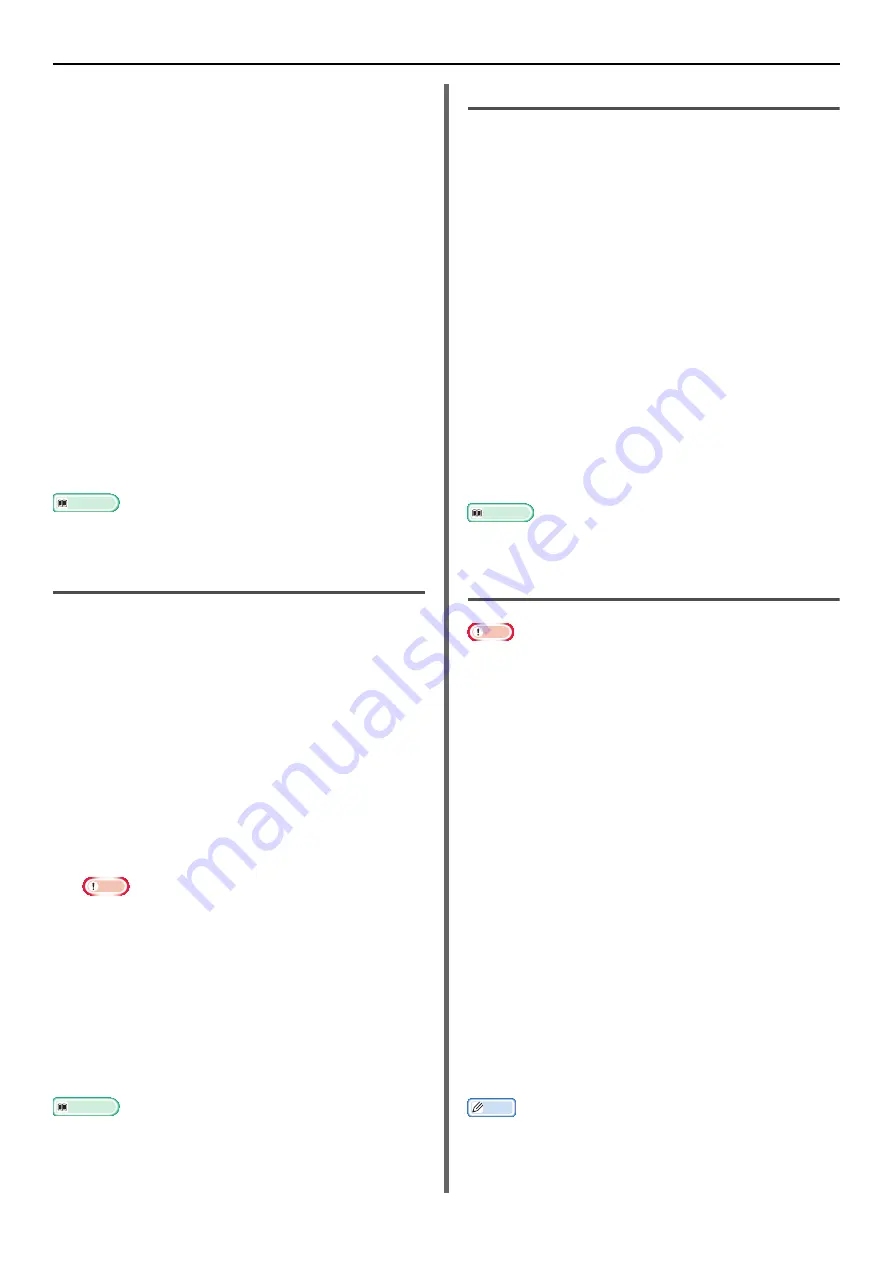
Useful Operations for Printing From a Computer
- 54 -
3
On the [
Setup
] tab, click [
Paper Feed
Options
].
4
Click [
Custom Size
].
5
Enter a name and the dimensions.
a) Enter a name for the new size in the
[
Name
] box.
b) Enter its dimensions in the [
Width
] and
[
Length
] boxes.
6
Click [
Add
] to save the custom paper
size to the list and then click [
OK
].
You can save up to 32 custom sizes.
7
Press [
OK
] until the [
Printing
Preferences
] dialog box is closed.
8
Open the file you want to print.
9
Select the registered paper size and start
printing on the print dialog.
Reference
z
For how to specify paper in the printer driver, refer to
User's Manual Basic.
For Windows PS Printer Driver
1
Click [
Start
] and select [
Devices and
Printers
].
2
Right-click the TOSHIBA e-STUDIO403S
icon and select [
Printing preferences
]>
[
TOSHIBA e-STUDIO403S(PS)
].
3
On the [
Layout
] tab, click [
Advanced
].
4
Click [
Paper Size
] and select
[
PostScript Custom Page Size
] from
the drop-down list.
5
Enter the dimensions in the [
Width
] and
[
Height
] boxes, and press [
OK
].
Note
z
[
Offset for Paper Feeder Size
] is not available.
6
Press [
OK
] until the [
Print Setup
]
dialog box is closed.
7
Open the file you want to print from the
application.
8
Select [
PostScript Custom Page Size
]
for a paper size and start printing on the
printer driver.
Reference
z
For how to specify paper in the printer driver, refer to
User's Manual Basic.
For Windows PCL XPS Printer Driver
1
Click [
Start
] and select [
Devices and Printers
].
2
Click a printer icon in [
Printers and
Faxes
] and then click [
Print server
properties
] on the top bar.
3
Select the [
Forms
] tab.
4
Select the [
Create a new form
] check
box.
5
Enter the values in the [
Form name
],
[
Paper size
], and [
Printer area
margins
]. Click [
Save Form
].
6
Click [
Close
].
7
Open the file you want to print from the
application.
8
Select the registered paper size and start
printing on the printer driver.
Reference
z
For how to specify paper in the printer driver, refer to
User's Manual Basic.
For Mac OS X PCL/PS Printer Driver
Note
z
In the Mac OS X printer driver, paper size out of the
available range can be set, however, image is not correctly
printed. set paper size within available range.
1
Open the file you want to print.
2
From the [
File
] menu, select [
Page Setup
].
3
Select [
Manage Custom Sizes
] from
[
Paper Size
].
4
Click [
+
] to add an item to the list of
custom paper sizes.
5
Double-click [
Untitled
] and enter a
name for the custom paper size.
6
Enter the dimensions in the [
Width
] and
[
Height
] boxes.
7
Click [
OK
].
8
Click [
OK
].
9
From the [
File
] menu, select [
].
10
Configure other settings if necessary and
then start printing.
Memo
z
Open the Detailed Setup Menu by pressing the [
Show
Details
] button in Max OS X 10.7 or by clicking the
triangle symbol at the side of [
Printer
] menu in Max OS X
10.5 to 10.6.


