17
TANDBERG
FieldView Administrator Guide
D14098.02 June 2008
4. TANDBERG FieldView Device
Configuration
Quick Setup for Basic Wireless Operation
This section provides a quick description of how to initially configure the
TANDBERG FieldView Device for a wireless network. Configuring for wired
Ethernet operation is similar.
Preparation
In preparation, ensure the wireless infrastructure (access points) is operating
and available. Identify the configured channel, SSID, and security parameters.
Follow the instructions in the TANDBERG FieldView Device Quick Start Guide to
install and charge the battery. This may take up to eight hours if fully depleted.
Configuration
To start and login to the TANDBERG FieldView Device:
Press the
1.
Power
button to turn on the TANDBERG FieldView Device. When
the power is on, the Power indicator LED is green.
Login using the default account (User Name:
2.
admin
, Password:
admin
)
or select
Skip
if Anonymous Login is configured for this device (This is the
default).
Note:
This quick setup assumes that the initial default admin user and
password has not been altered. If unable to successfully login to the device,
consult your site administrator for the appropriate login information.
To open the Configuration window:
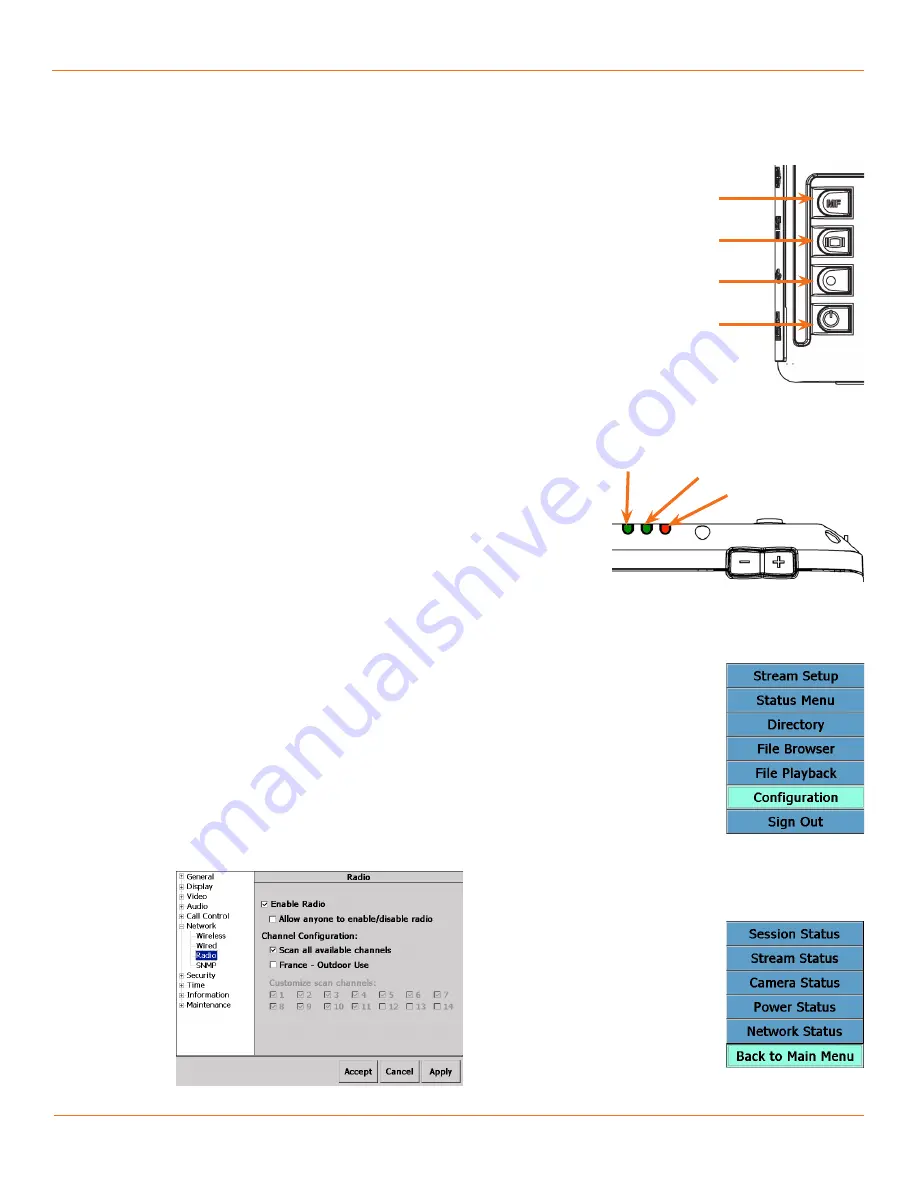
Repeatedly press the
1.
Display Mode
button until the Main Menu appears
(see Fig.s 4-1 and 4-3).
If the Status Menu appears (Fig. 4-4) instead of the Main Menu, tap the
2.
Back to Main Menu
option.
On the Main Menu, tap the
3.
Configuration
option. The Configuration
window appears.
To configure the radio:
In the Configuration window, use the navigation pane on the left-hand side
1.
of the window to select the Network>Radio page.
Fig. 4-5 Radio Configuration page
Manual Focus
Display Mode
Record
Power
Fig. 4-1 TANDBERG FieldView Device control
buttons.
Fig. 4-2 TANDBERG FieldView Device
indicators.
Power
Network available
Charging
Fig. 4-3 Main menu.
Fig. 4-4 Status menu.
Chapter 4


